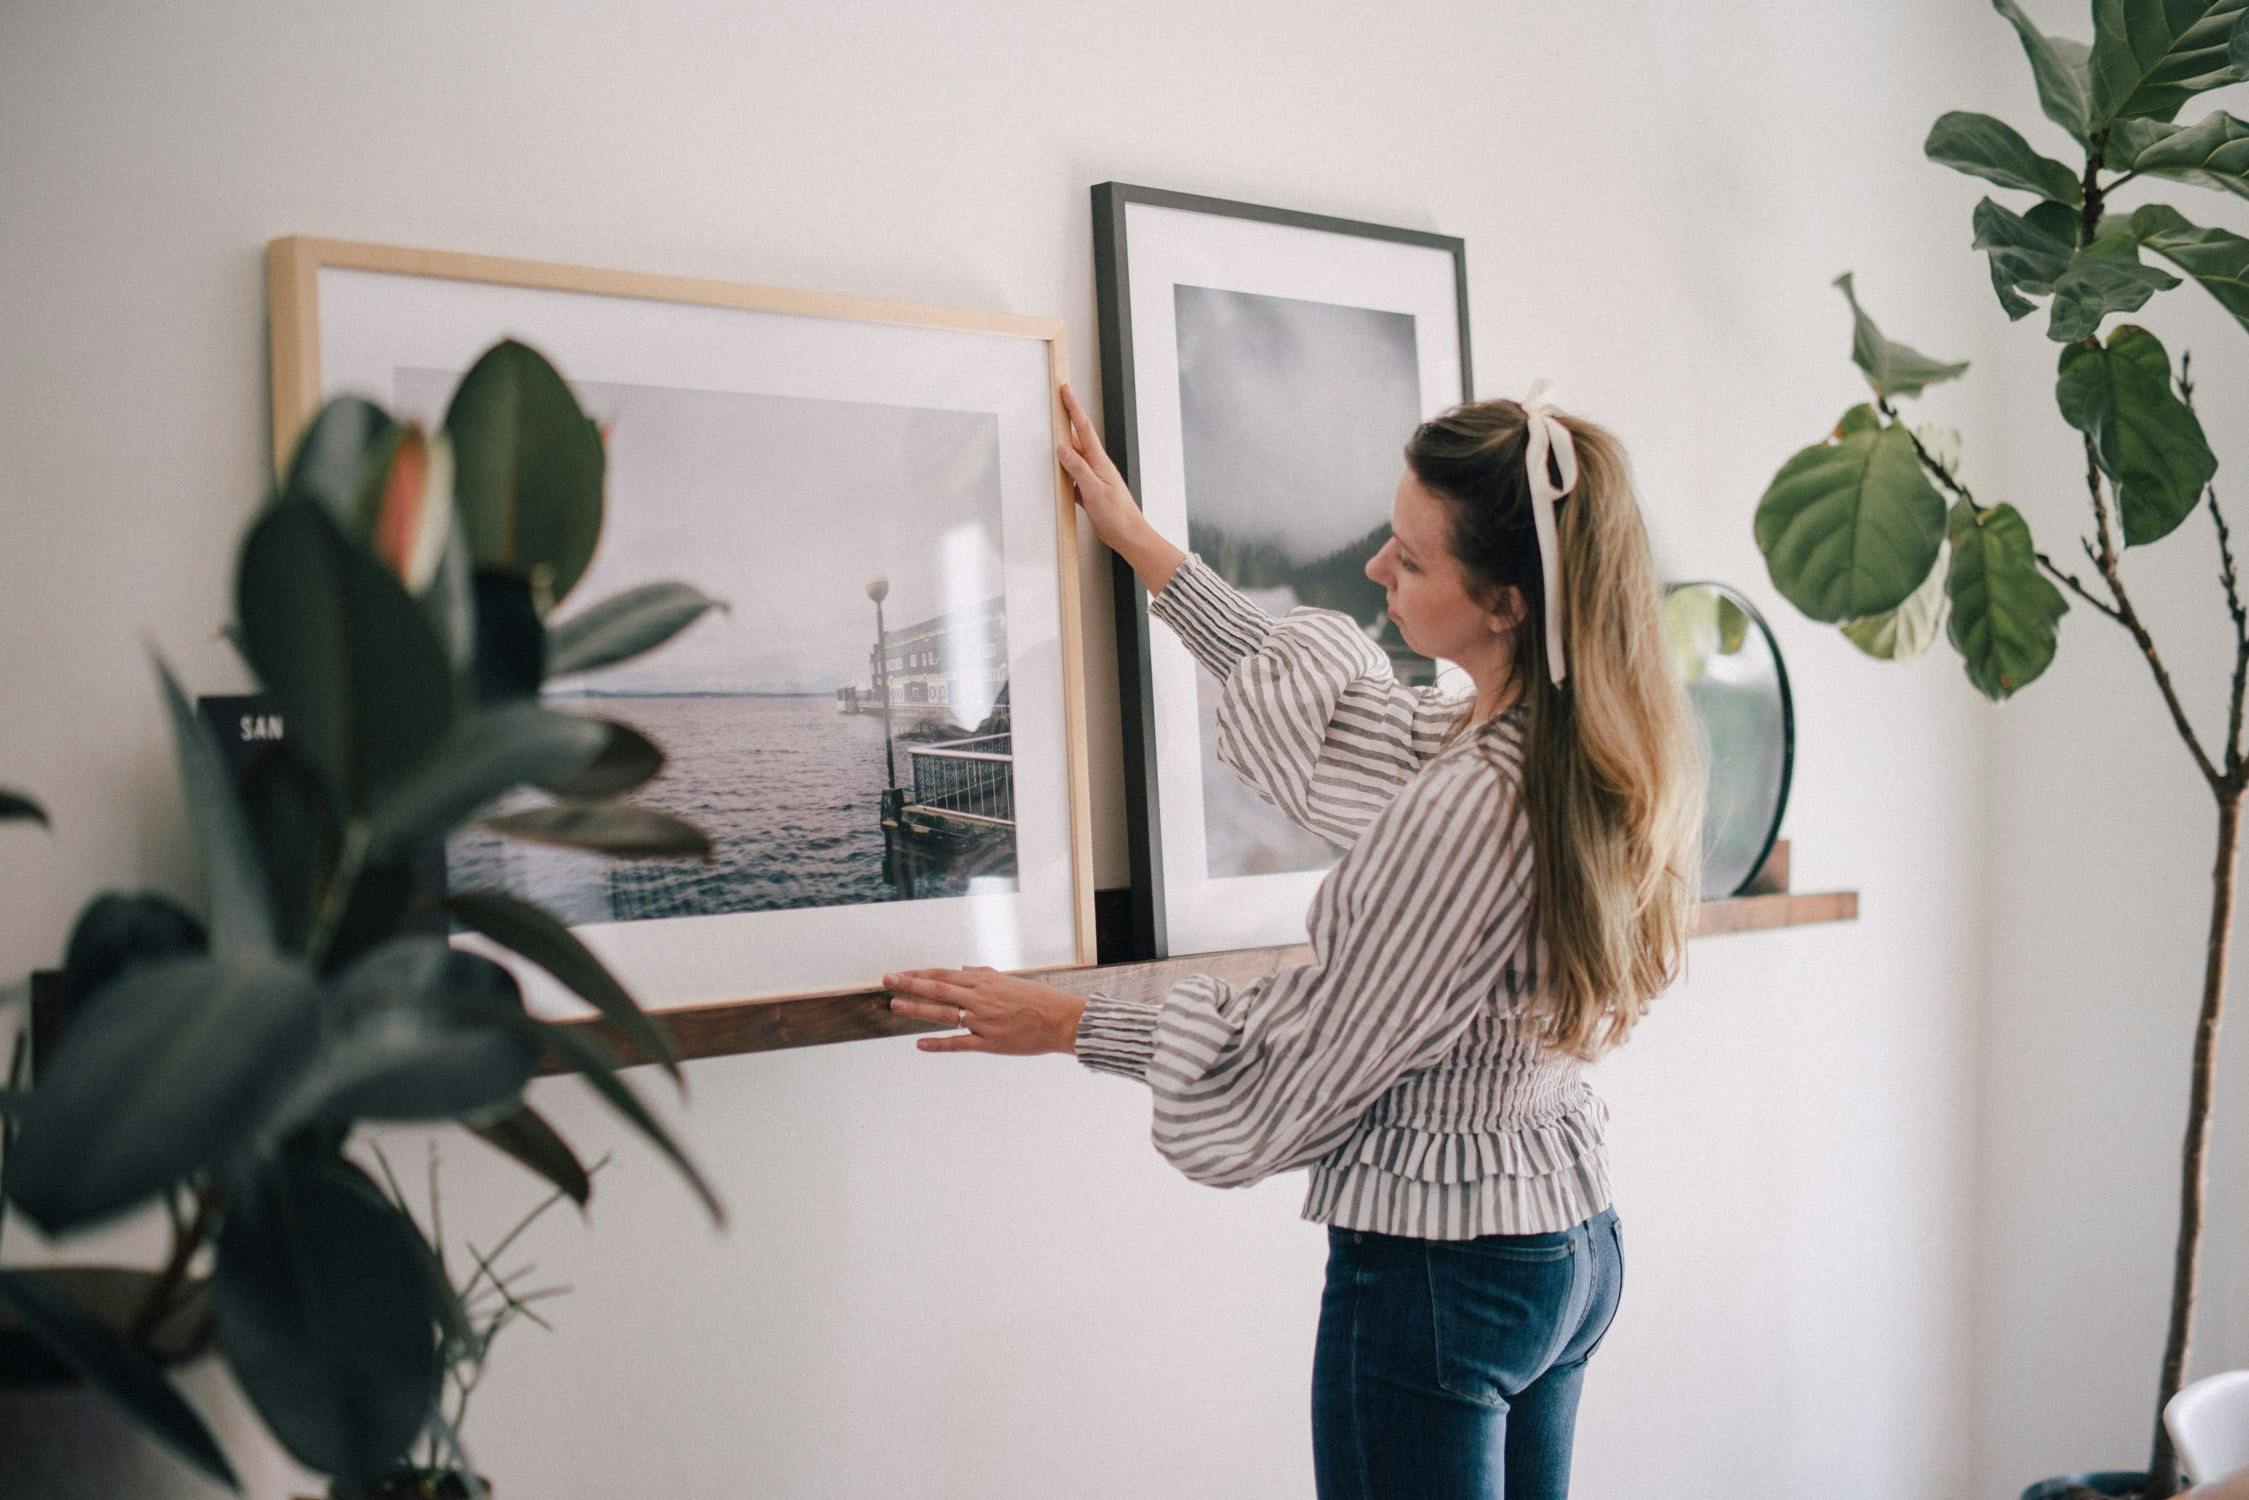
Lee got the idea for an 8 foot long photo shelf in our dining room months ago. I’ll admit it; at first I didn’t see the vision for it. Thank goodness for Pinterest!
A few searches later I started to picture (haha, no pun intended) what it would look like and I was 100% on board. The idea was to simplify our dining room space but give it a very custom vibe. We had our record player console and 3,000 plants in the dining room when we first moved in.
It was great. It felt like a jungle. But it was missing something – a bit of personality. We’ve always wanted to fill up the walls of our home with our own photography – why buy prints when we take thousands of beautiful photos every year? – and a long, narrow dedicated photo shelf was a great solution to just creating a standard gallery wall.
Thank you to Framebridge for partnering with me on this post. Featured frames are c/o of Framebridge, but all opinions are my own.
The process started by connecting what we wanted the shelf to look like. I think there were diagrams involved and the designed changed from a floating shelf to one with a short backboard to help secure it into the wall and give it a more custom feel.
Lee’s a big fan of walnut wood so we found a lumber yard in Greenville and after 3, maybe 4 trips to pick out and get the right proportions of our wood Lee got to work cutting, staining, and created the shelf.
It took a couple weeks to complete the process but once it was finished, polyurethaned, and fastened together we took a Saturday and hung it in our dining room.
We knew right away it was the perfect decor decision for that room – and the next step was to find prints and frames to fill the beautiful shelf.
Framebridge was my first – and honestly only choice – for big beautiful frames. We created a custom shelf so we wanted custom frames that drew the eye to our photography.
The photographs we choose were two favorites taken on our trip last year to Seattle and Portland. Once we decided on the photos we wanted framed the rest of the process was a breeze – Framebridge makes choosing frames, sizes, and ordering incredibly easy on their website.
We went with two frames: the Wren, a matte black frame with aged patina to highlight a moody, beautiful photo of the Oregon coast in the fall and the Marin, a natural wood frame to enclose a big, beautiful photo of the Seattle harbor.
The framing process from start to finish was a breeze – a bit of a contrast to other in-store framing experiences we’ve had in the past. The digital process on Frambridge lets you see your print or photo in relation to an object like a chair and lamp so you’re never left guessing how large or small the final framed photo will be.
You simply upload (or ship them) your print or photo or diploma or certificate then within 7 days they’ve shipped you your custom framed item. If you have artwork or prints that need framing, Framebridge even sends you the packaging to safely mail-in the physical objects to their factory.
I was a bit nervous about the frames coming back in one piece- after all our photos were pretty big – but they came so well packaged in bubble wrap that it took me a good amount of time to unwrap them!
Pulling the trigger on custom framing can be a bit nerve-wracking but let me tell you it truly does make all the difference. (And I’m not AT ALL paid to say that.)
Even if we hadn’t worked with Framebridge for this post I still would have gone through them to get our photos framed. I’ve bought my fair share of Wal-mart/Target quality frames and NONE of them have looked this good.
A grown-up space deserves grown-up frames. And to be honest with you, the price differential is not that big. We want to eventually add more framed photos to the shelf and create a bit of a layering effect so the next few Framebridge frames I have my eye on are these cute Instagram-sized ones in either the Wren again or just a classic black.
