

I haven’t done a house update in a while, but I promise we’re still working on things! This past weekend was tiling the kitchen backsplash and once we hang the shelves I’ll do a full kitchen reveal.
But I wanted this post to show that renovating a room doesn’t have to be time consuming or budget consuming. I took the reins on transforming our downstairs bathroom (not a total gut job, just fixing the cosmetic issues) and it took me about 6 hours over a few days and only $30.
And because no good house transformation is complete without some good before and after pics – here’s what it looked like before:


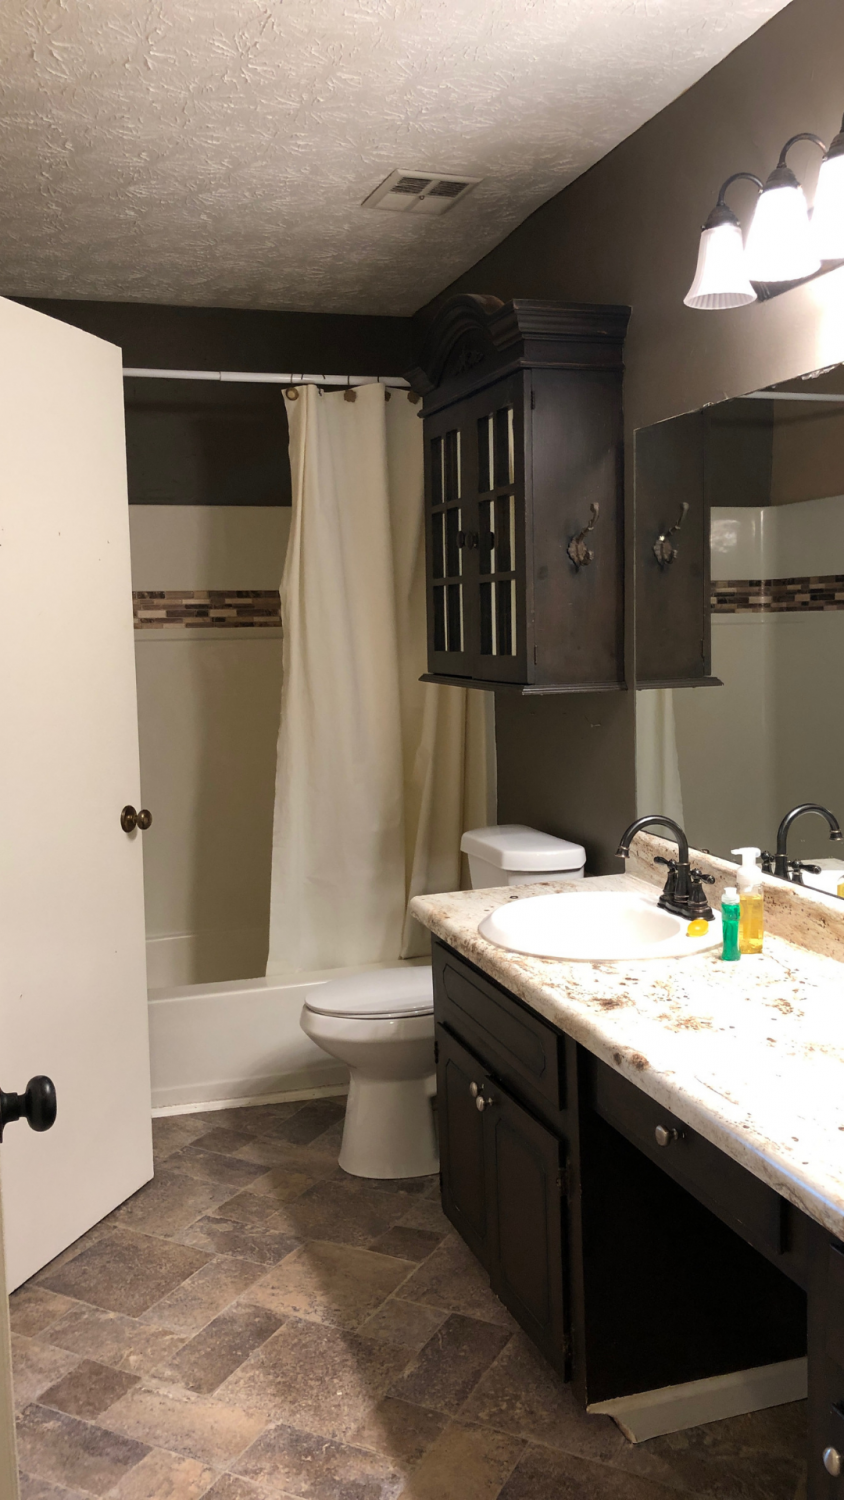
The first image was pretty heavily edited for the Zillow listing. The walls were dark dark brown in person, the cabinets almost black. There was a clunky, stainless steel grab bar right outside the shower and don’t even get me started on the wall cabinet.
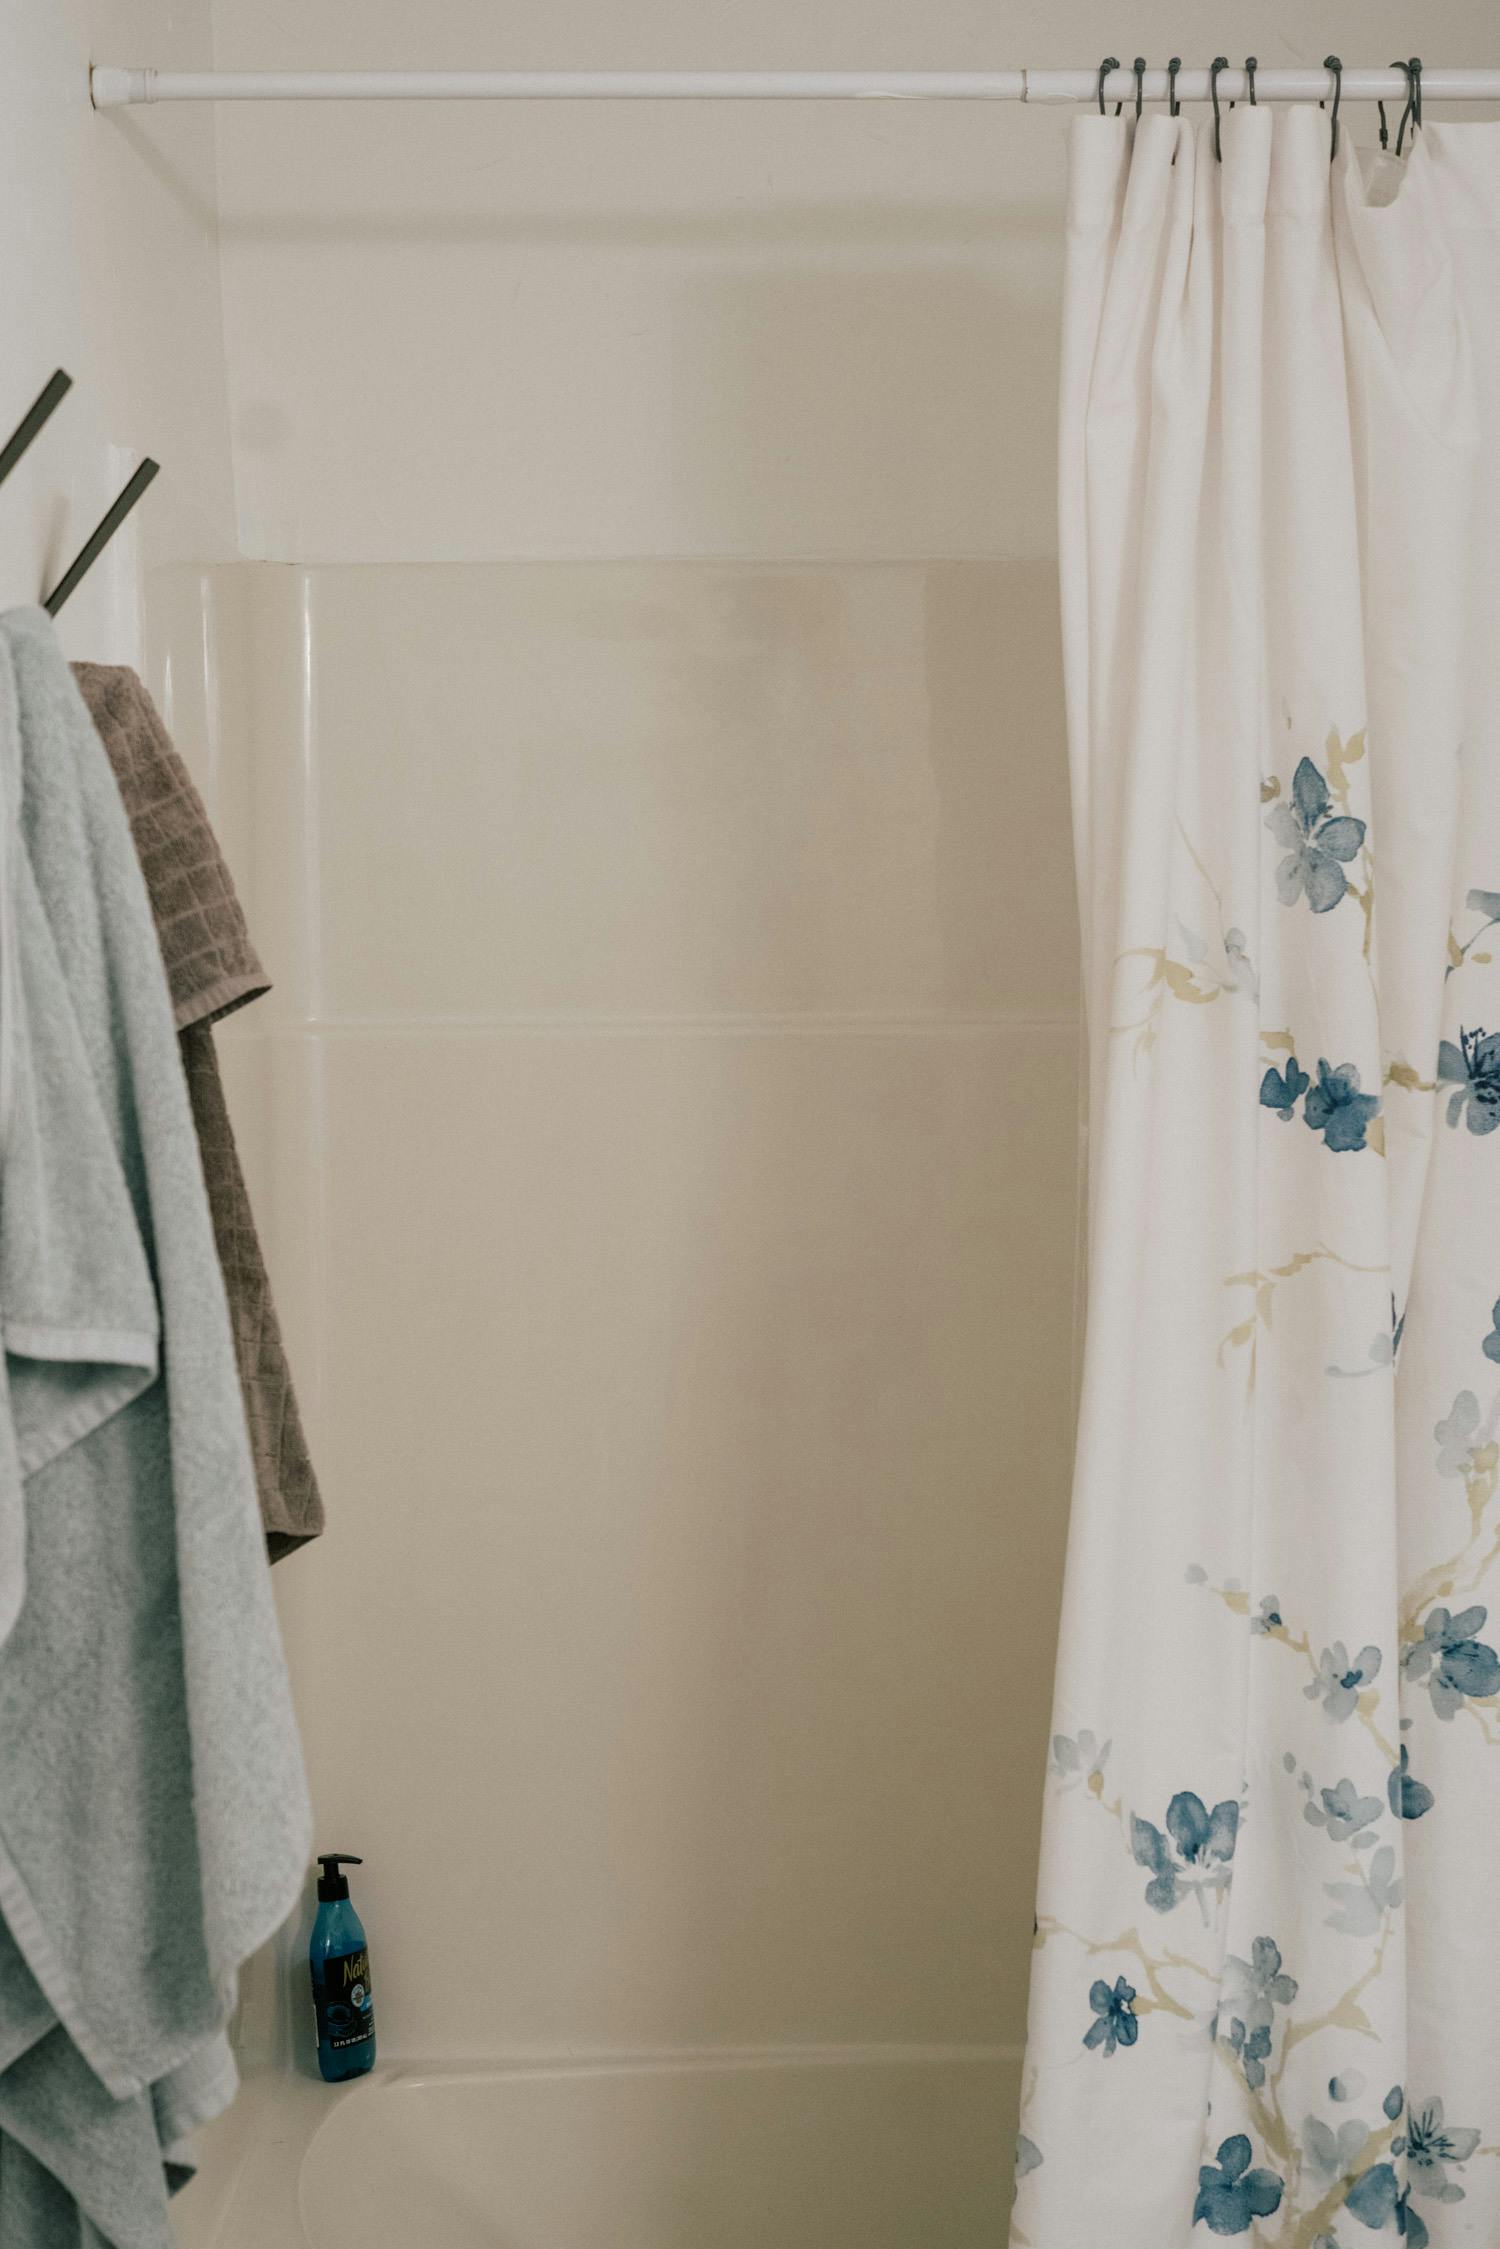
Here’s where we currently stand with the bathroom aesthetics:


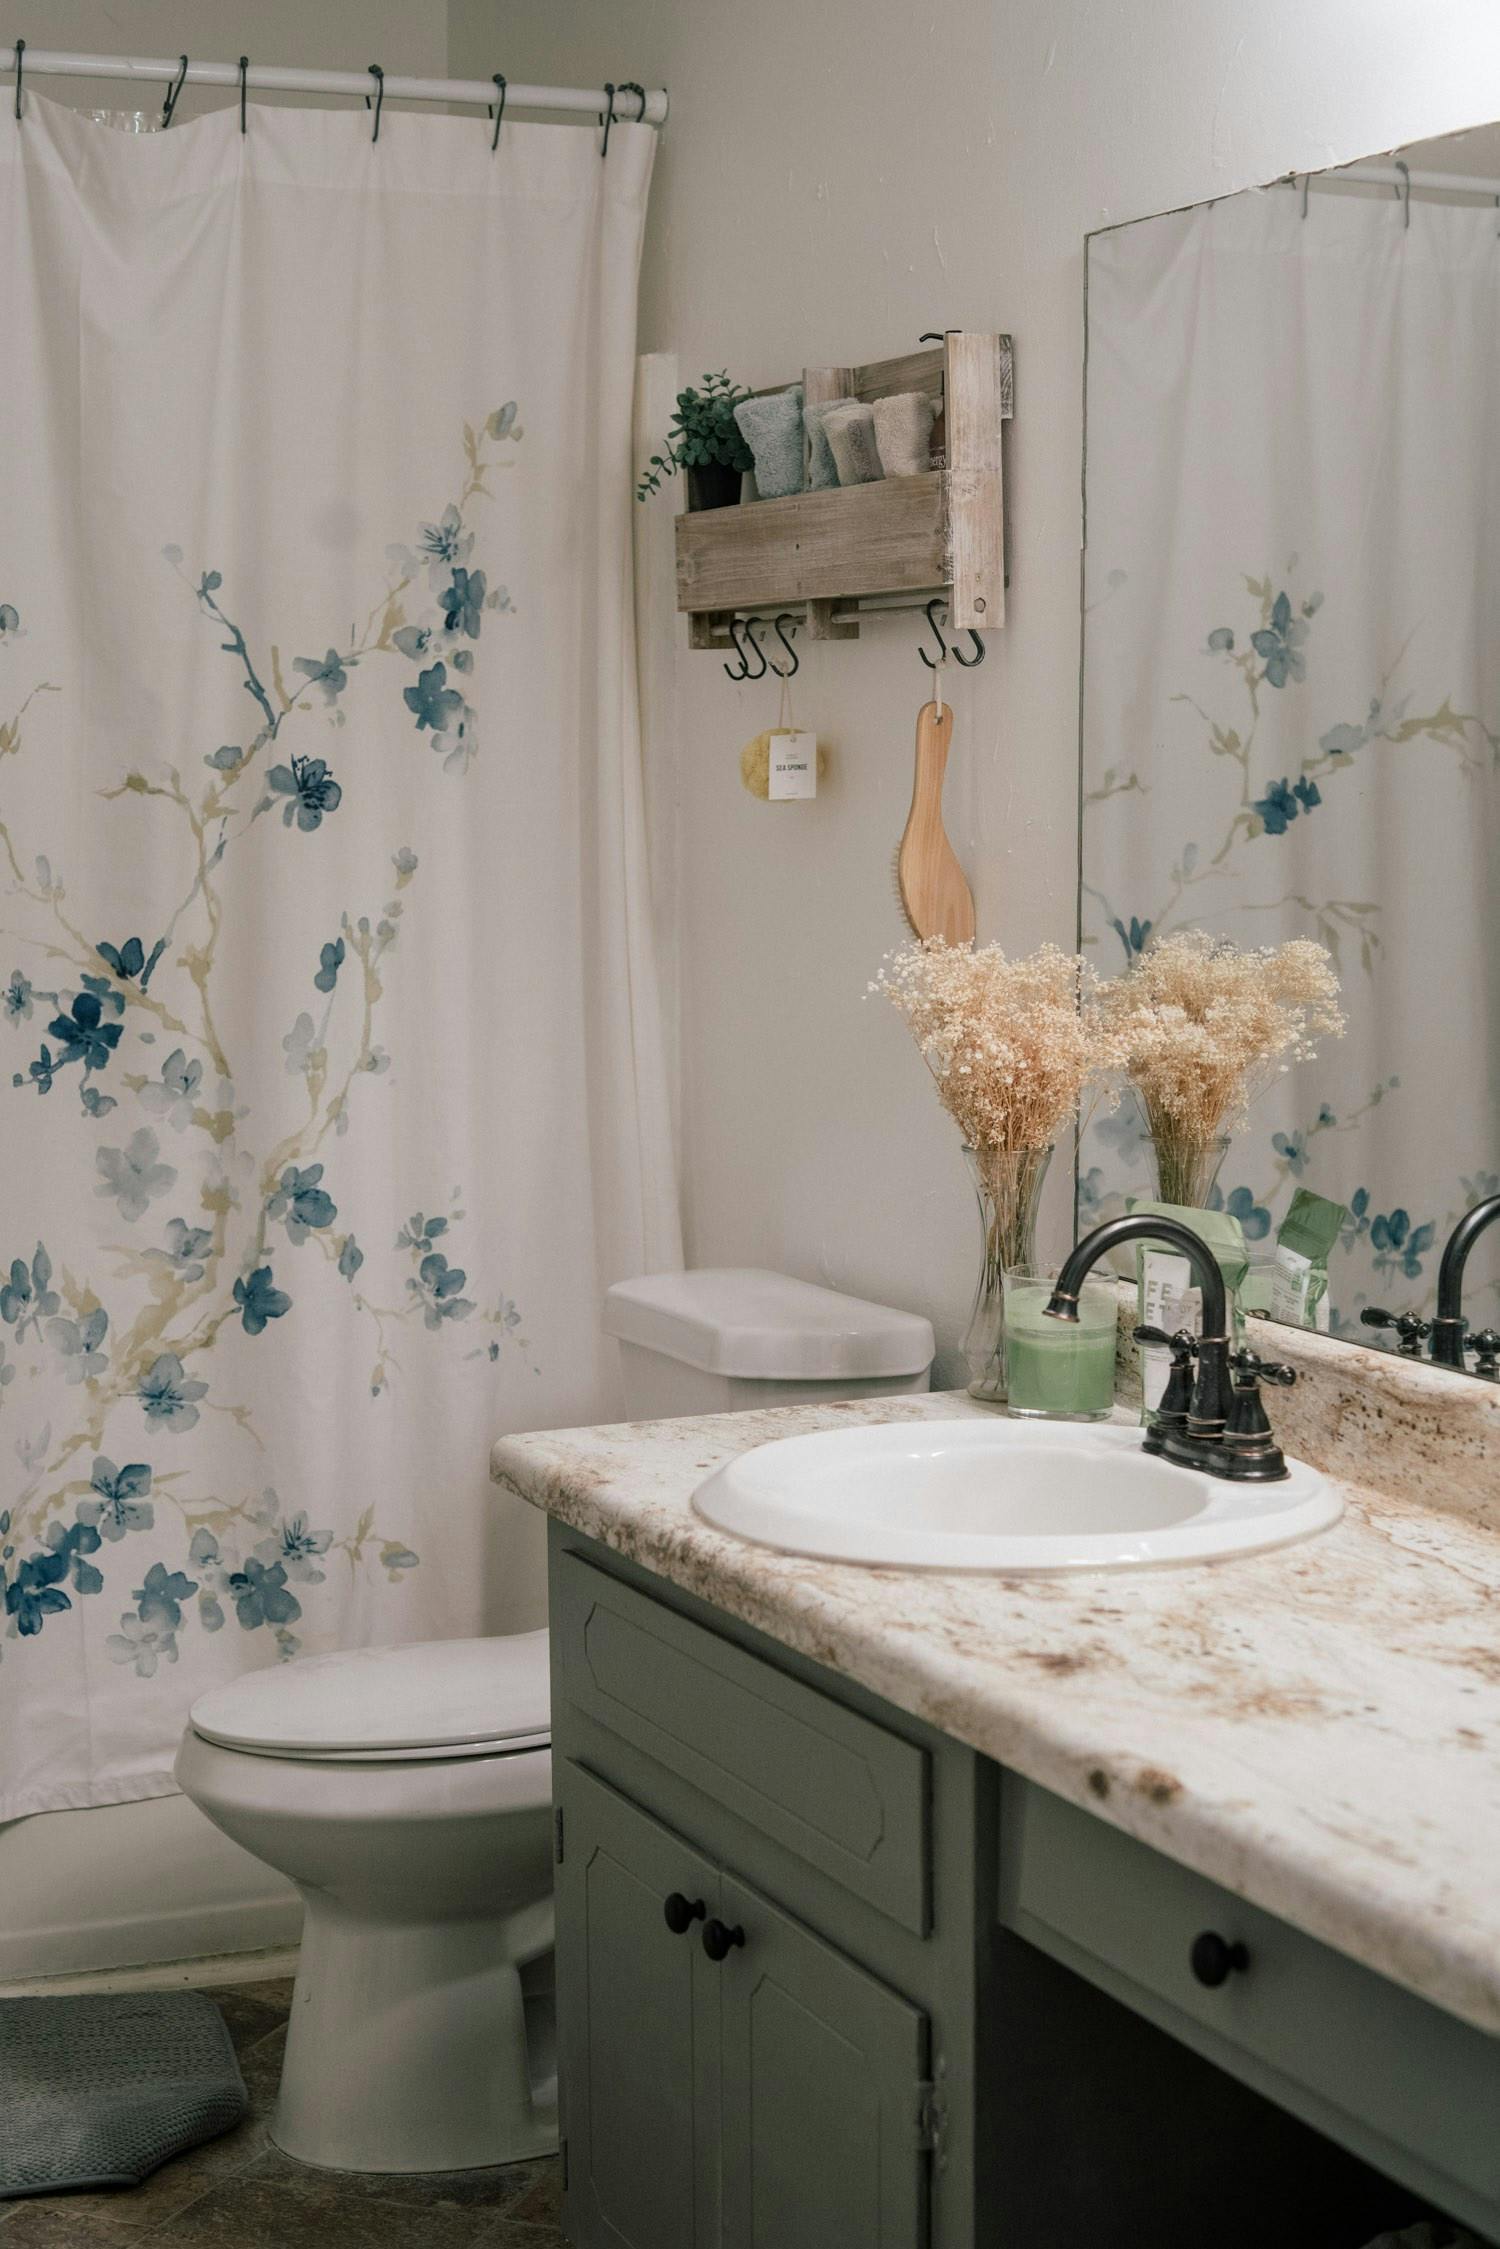
Good riddance to the dark brown walls, fake ivy, and dark cabinets.
To start, I knew I wanted to keep the cost down while making the bathroom a little nicer to look at. That obviously meant I didn’t want to change out the mirror, vanity, lighting, and flooring because in a bathroom those are the expensive items.
So I made a list of what I could fix at a low cost:
+ Wall color
+ Wall organization/decor
+ Hardware color
I started with the walls. I could have gone a little more creative with color, but we already had primer and the warm white wall color from Clare that’s in every other room of our house, so quite a bit of money saved by just using what I already had on hand.
What’s on the Wall – Whipped from Clare
It took two coats of primer and one coat of paint to cover up the dark brown, but it instantly brightened up the small, windowless room.
The second big upgrade to the space was to paint the bathroom vanity. I toyed with the idea of using a chalk paint, then thought a lot about different colors and textures to use.
I found a beautiful shade of green/grey called Eucalyptus that I fell in love from Jolie Paint with but a quart of the paint was $40, so after some time debating I pulled out a small can of paint we used to paint the trim around our kitchen island and decided it was perfect for the bathroom as well.
I did some light sanding on the vanity to get the paint to stick better, primed it, and then painted it with the light grey that now matches our kitchen cabinets.
For a painted vanity it turned out pretty well. Long-term the whole vanity will be replaced with a smaller one and more storage, but it was a great short-term solution that didn’t cost anything.
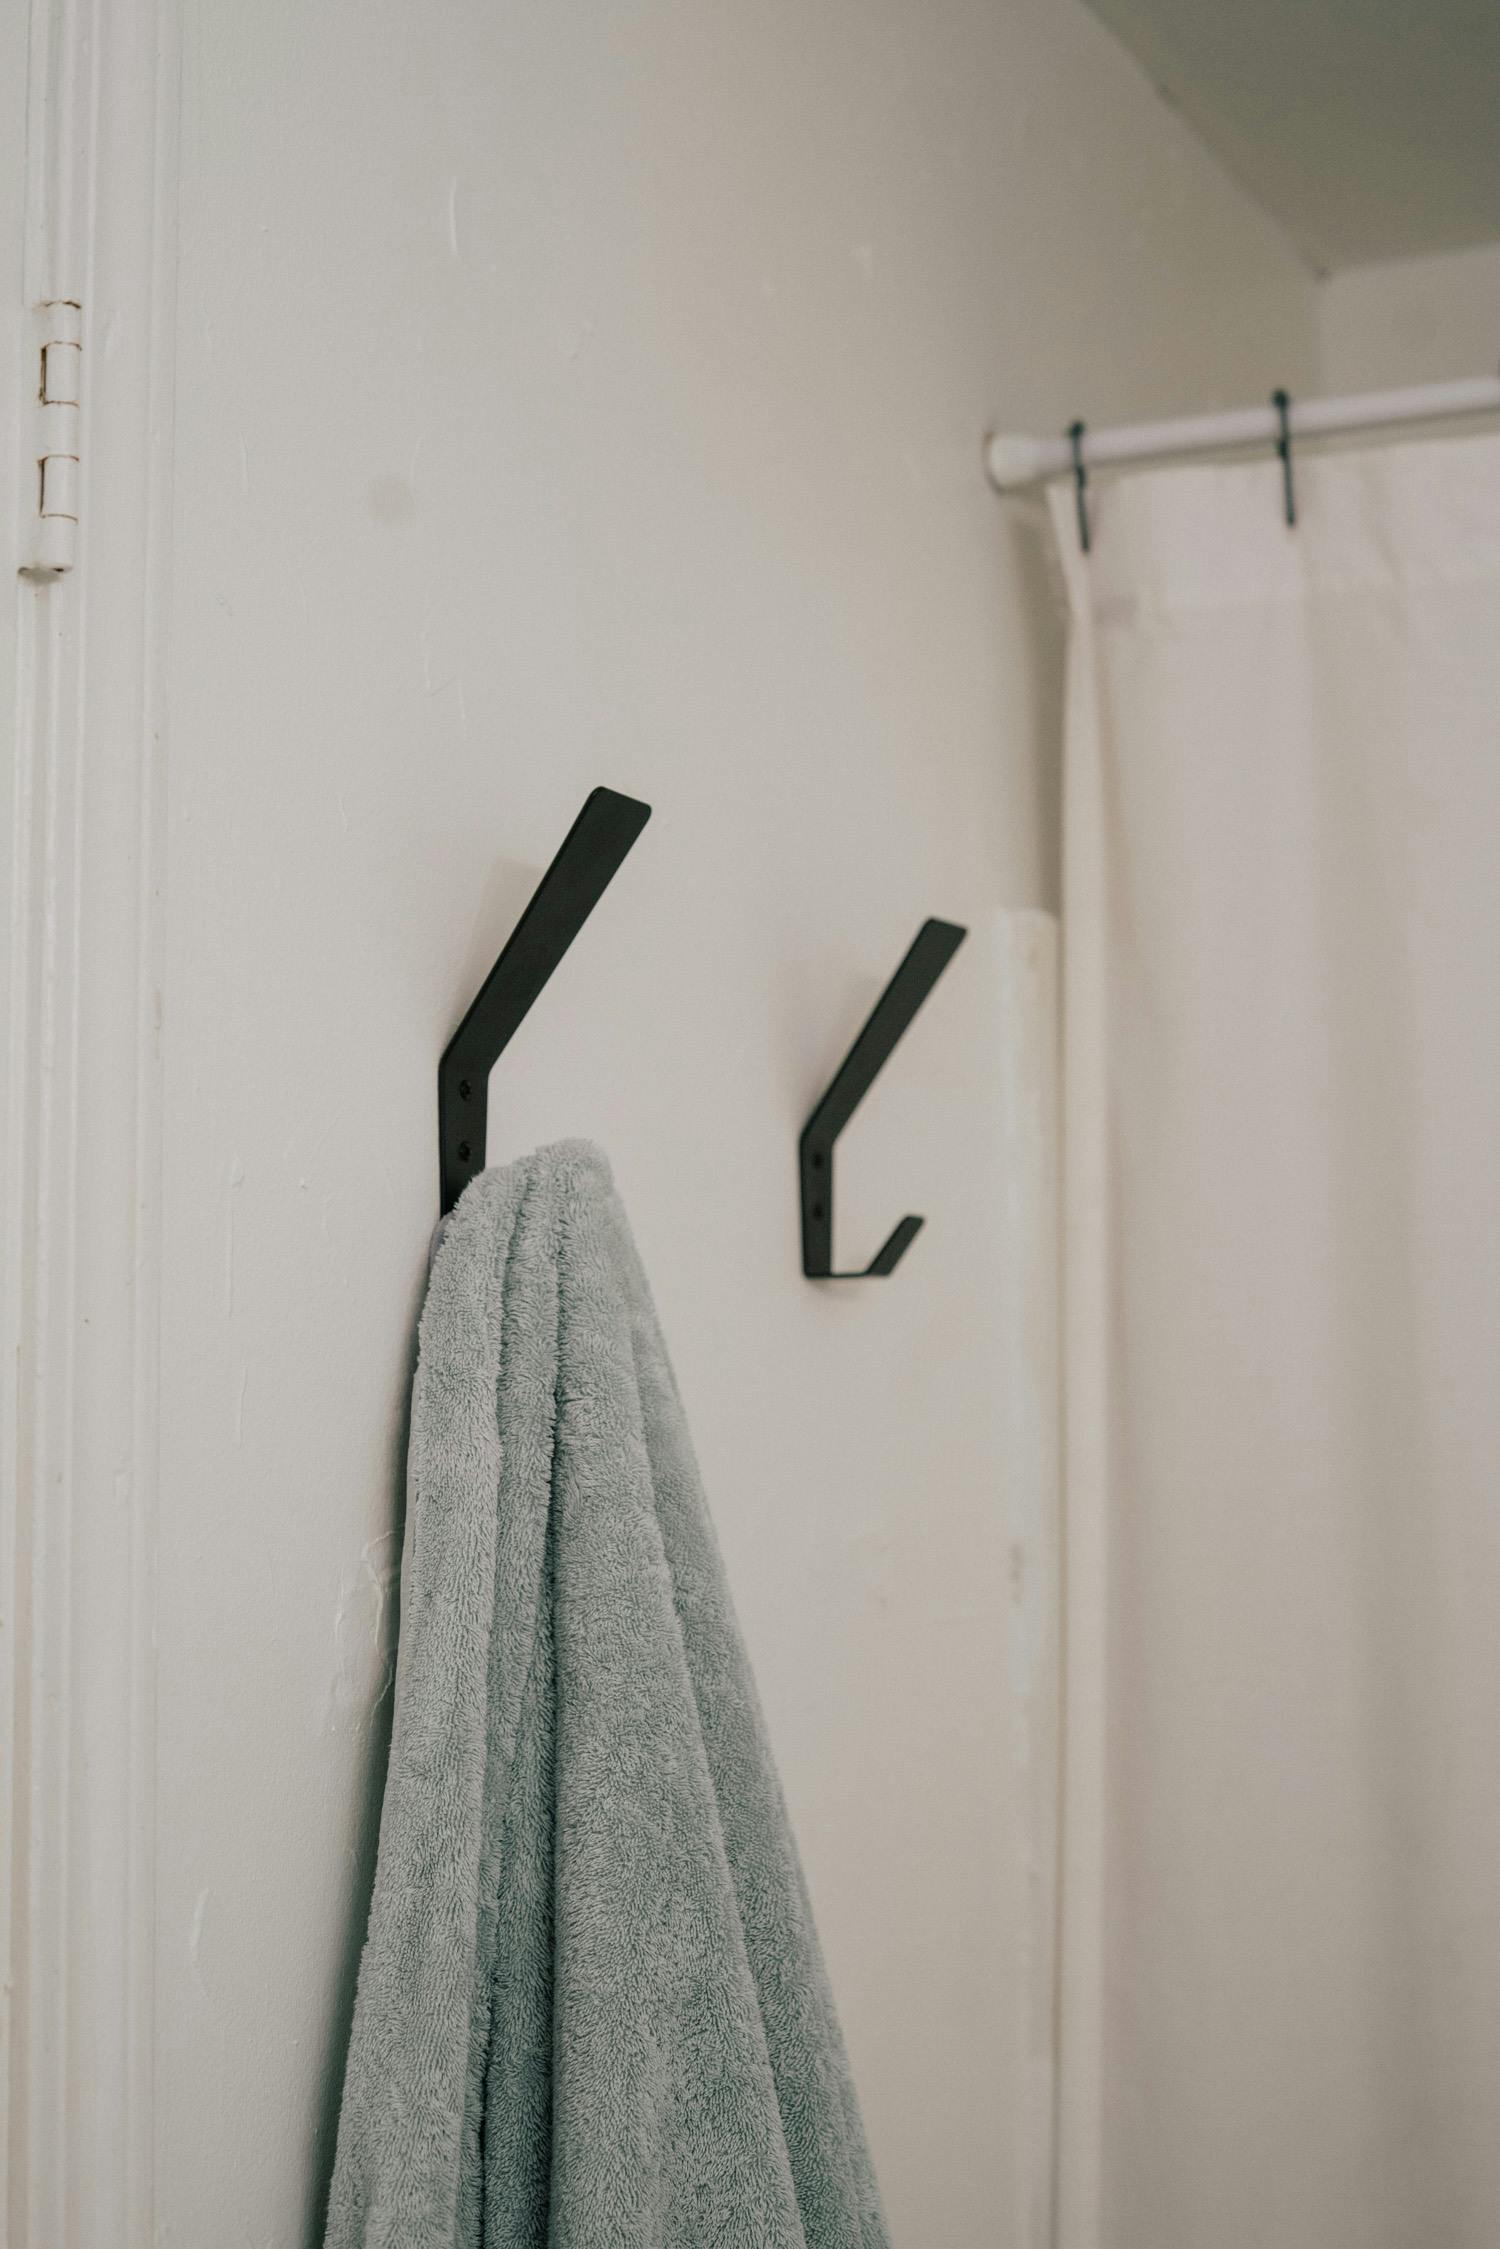
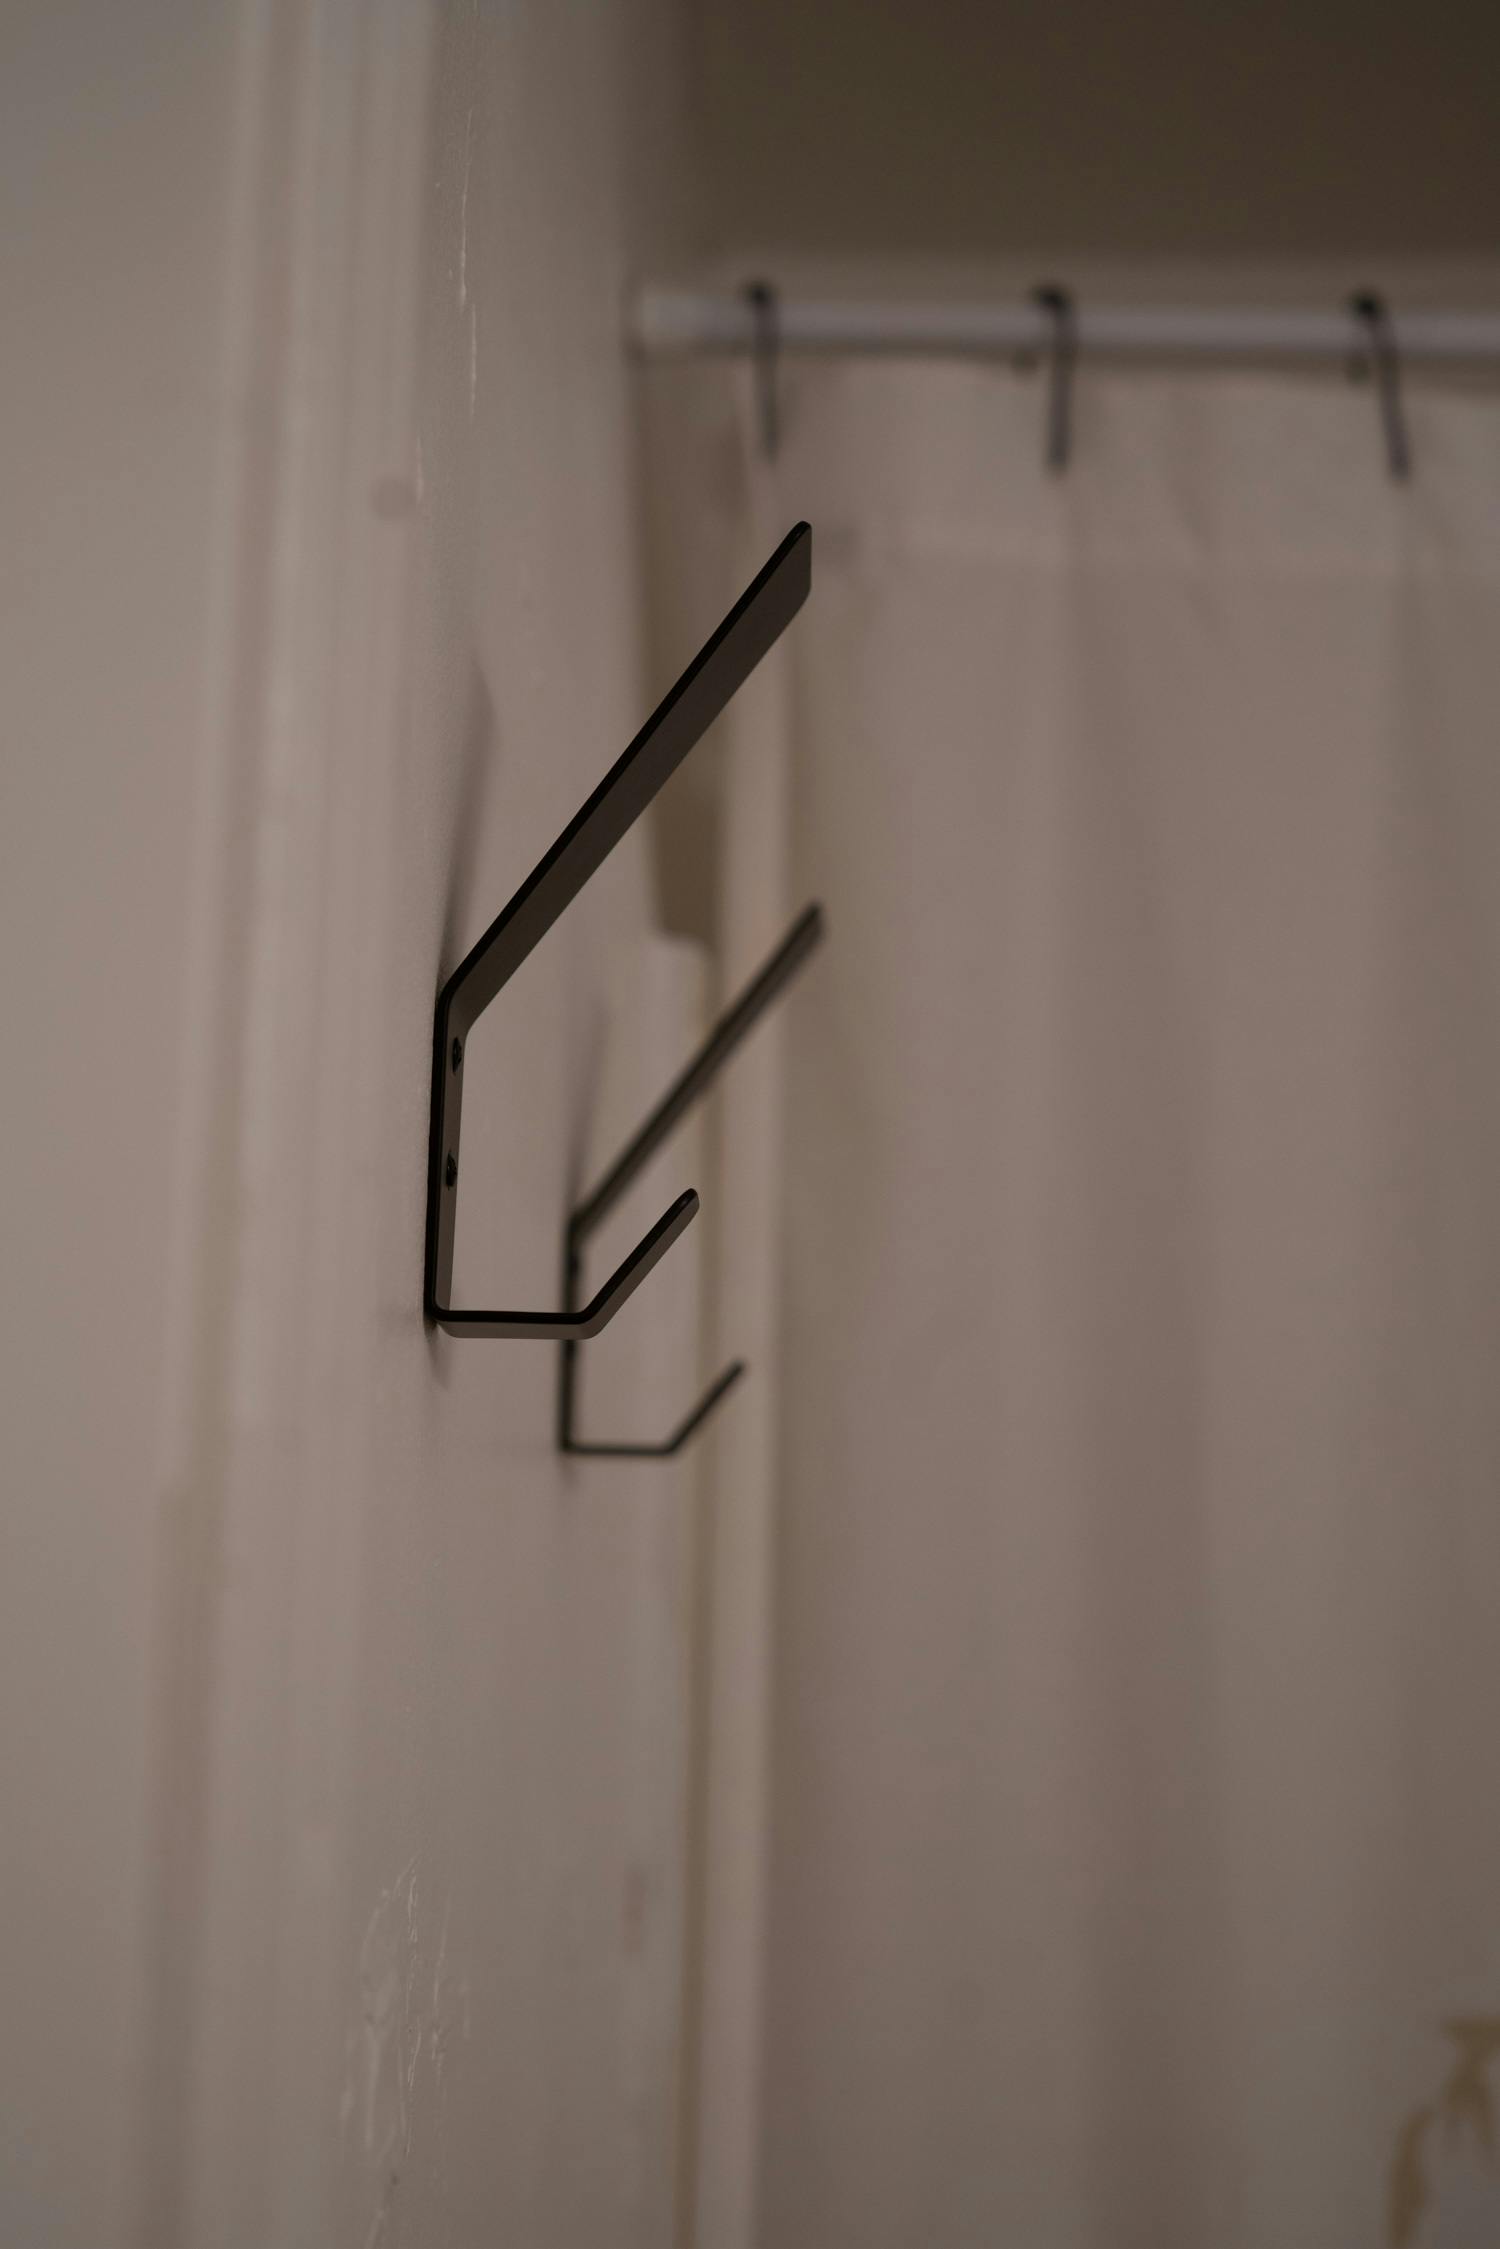
I should say that before painting I took off all the knobs and pulls from the vanity and along with the towel rod spray painted them matte black.
The black added a nice contrast to the white walls so I ran into Target one day and found hooks for our towels so they no longer had to hang on the back of the door.
After that I hung a little storage fixture on the wall I already owned (also from Target) and took the time to remove the faux tile sticker that ran on the inside of the shower.
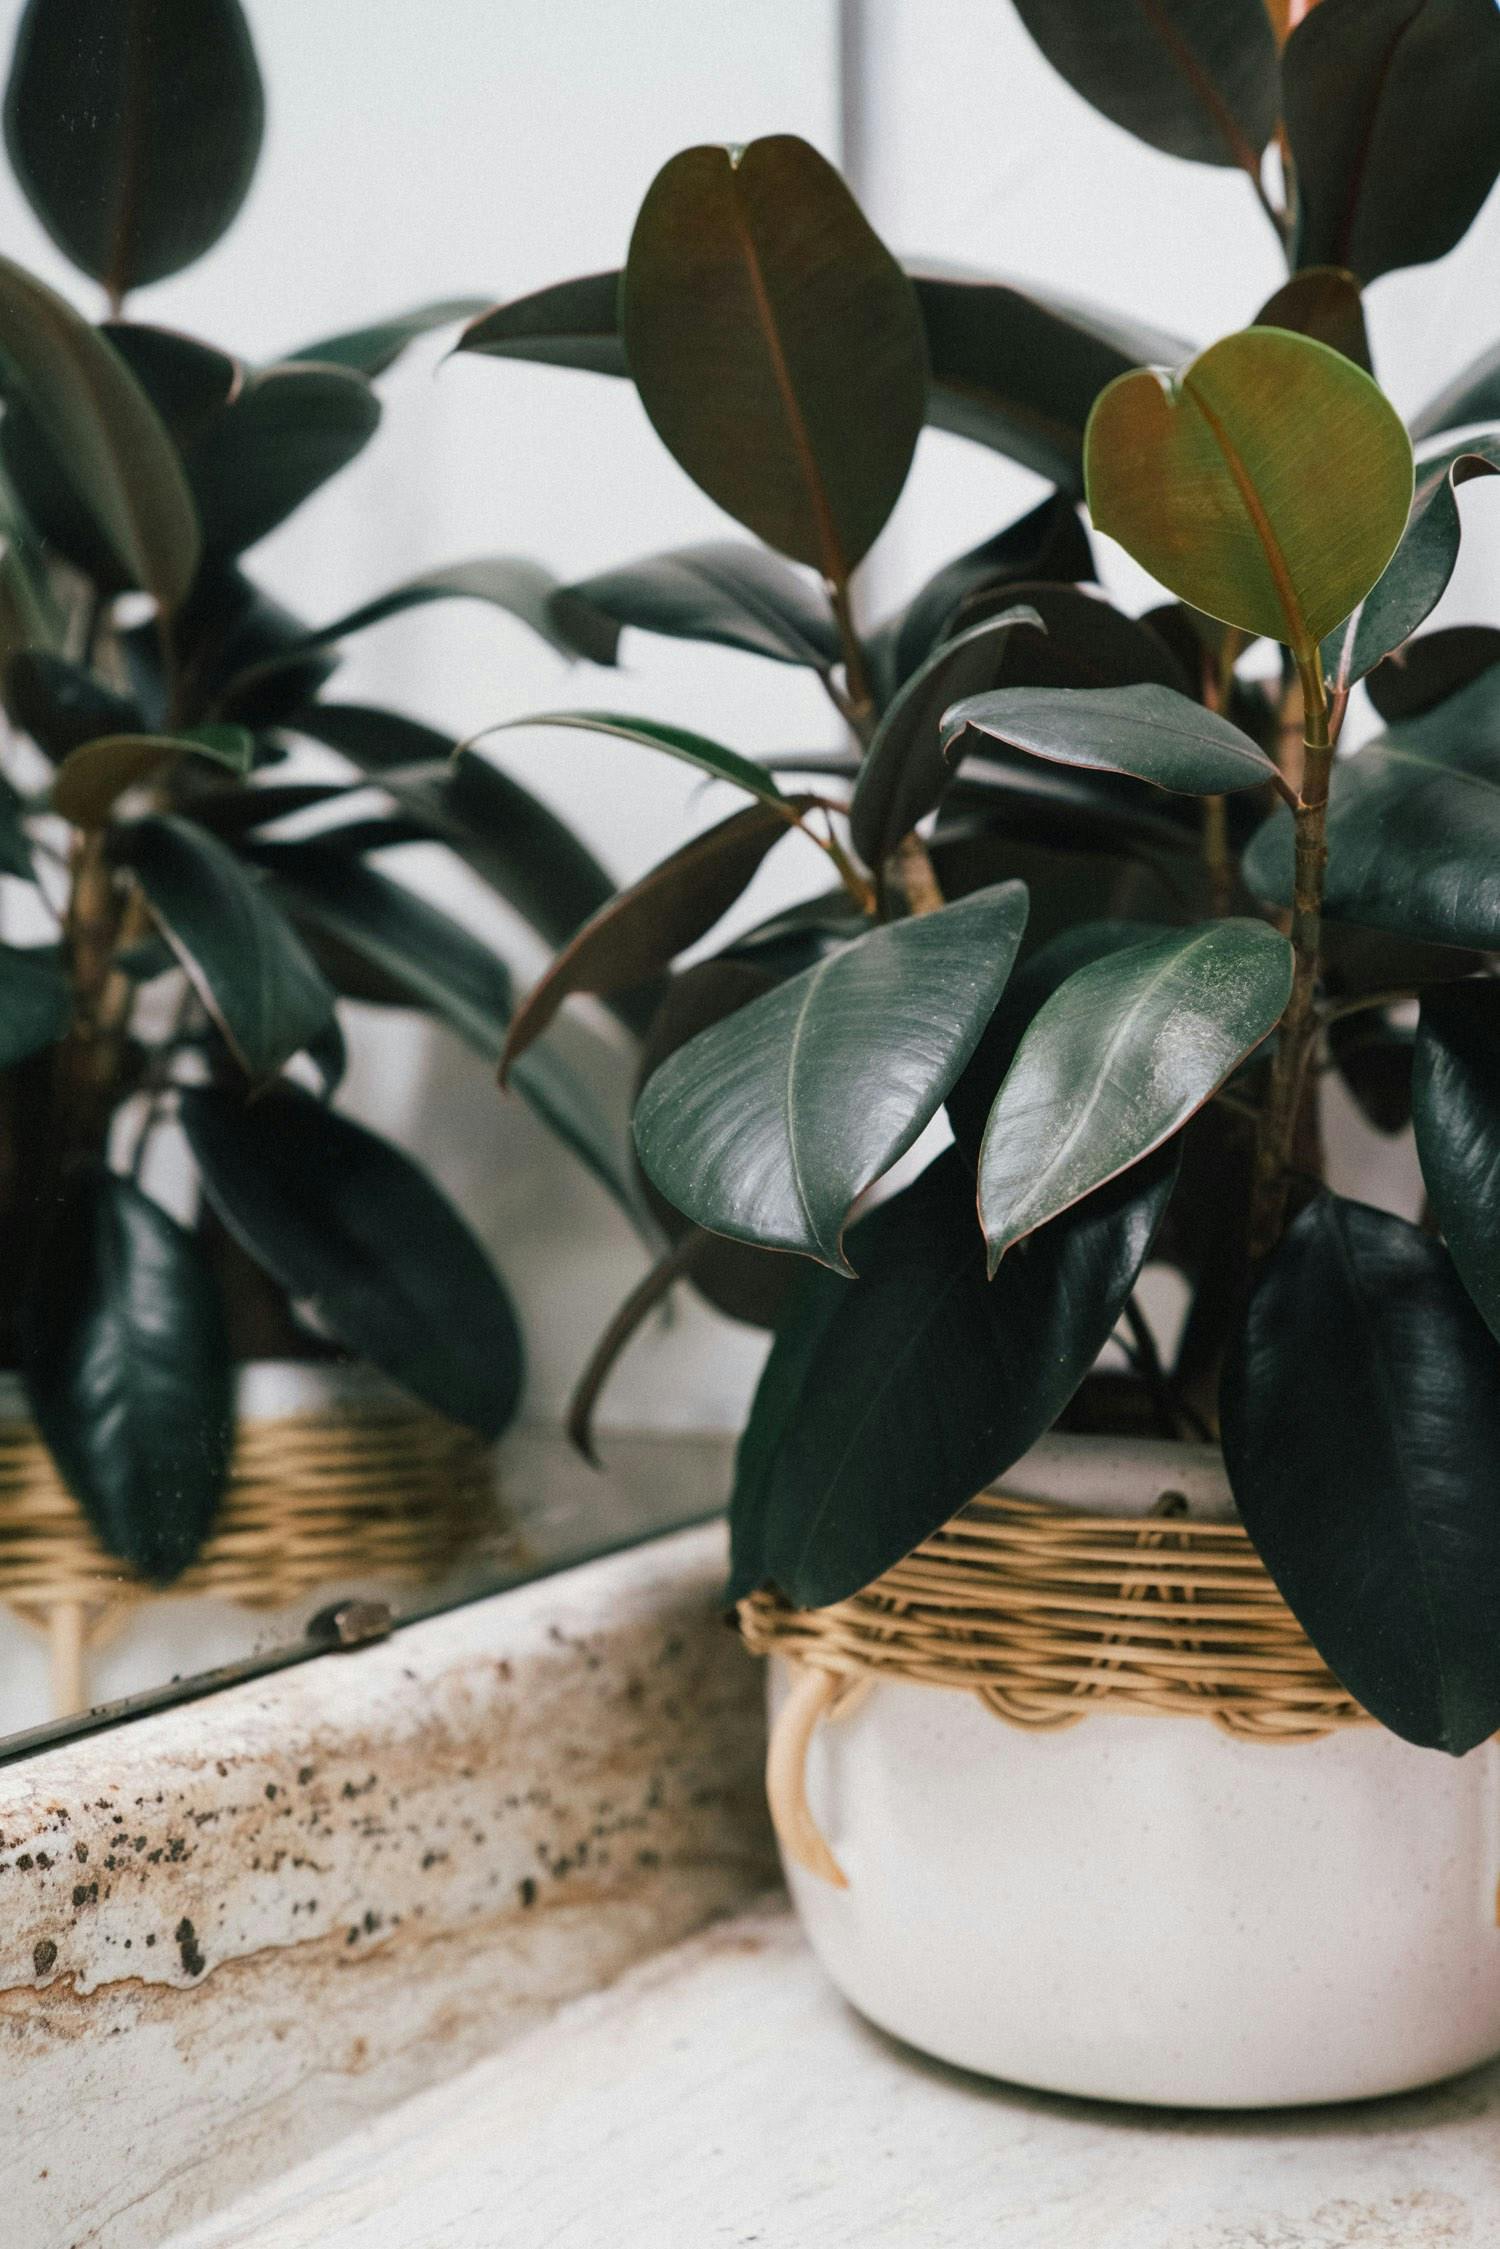
A couple plants later we had a much different bathroom in our house!
So just as a breakdown of what I actually bought for this project:
+ Goo Gone Solution (to remove sticker adhesive from tub) – $4.95
+ Towel Hooks from Target – $4.99 each (current ones are sold out – but here’s another great option)
+ 2 coats of primer – est. – $5