
Hello! And welcome to the final chapter of our laundry room saga. If you've missed the first post about our renovation you can find it here and I also shared a Laundry Tips and Tricks post here.
We've been so honored to work with Samsung Home Appliances this summer to share our washer and dryer and the space they live in. I only promote products I believe in on my blog and since we've owned our Samsung appliances for over 2 years, I was more than happy to share why I love them!
This is the final post sponsored by Samsung Home Appliances. It's been such an honor working for a brand I truly love.


Today's blog post is, of course, all about that final reveal but I also wanted to share the before pictures, our inspiration, and where we sourced the materials and products for the space.
We want this post (and all of our home renovation posts) to be as helpful and as informative as possible. If you have any questions about our process or renovations, we're happy to answer them all!
So before we dive in, these photos are too good not to share...
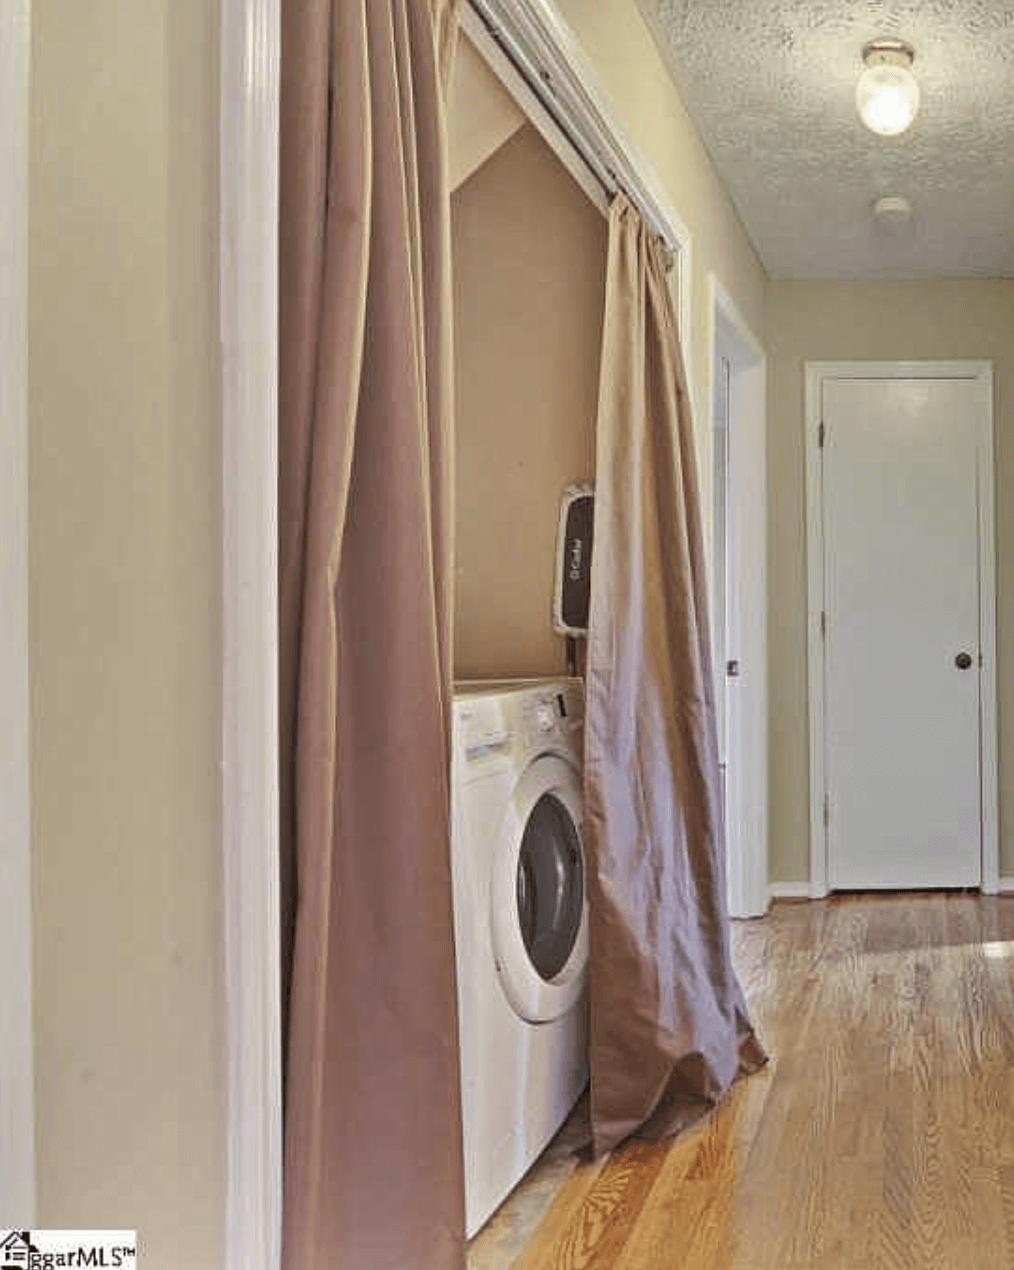
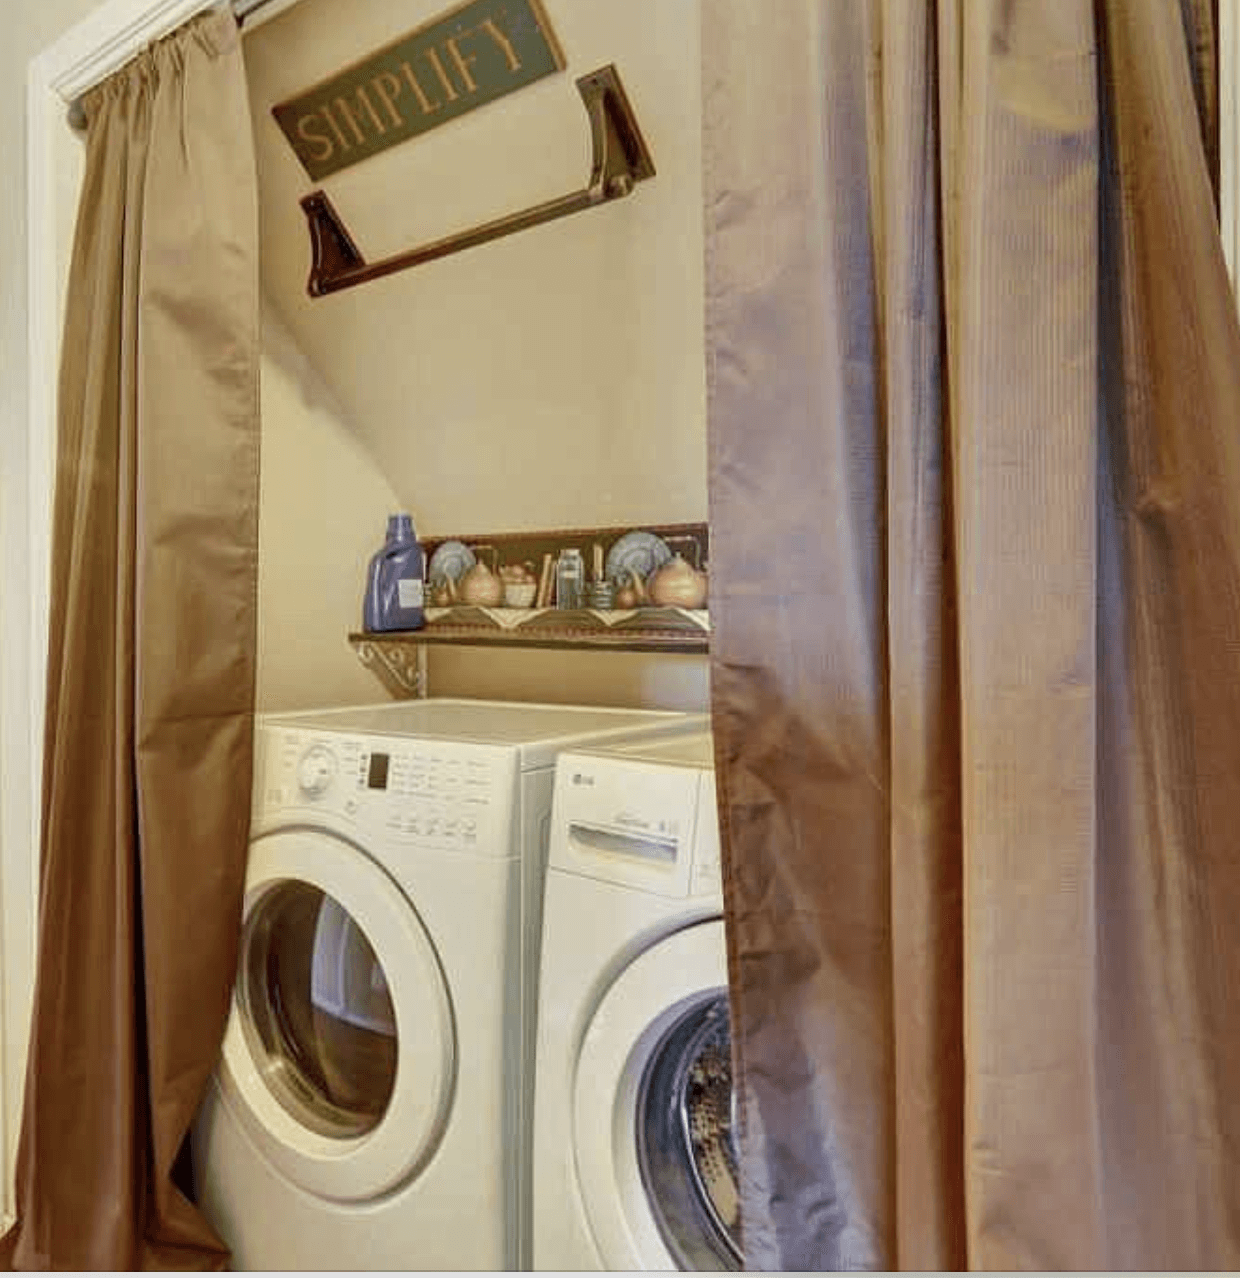
BEFORE PHOTOS
These were taken right after we bought the home. I think one of the first tasks I was assigned was taking down the curtains and the border paper.


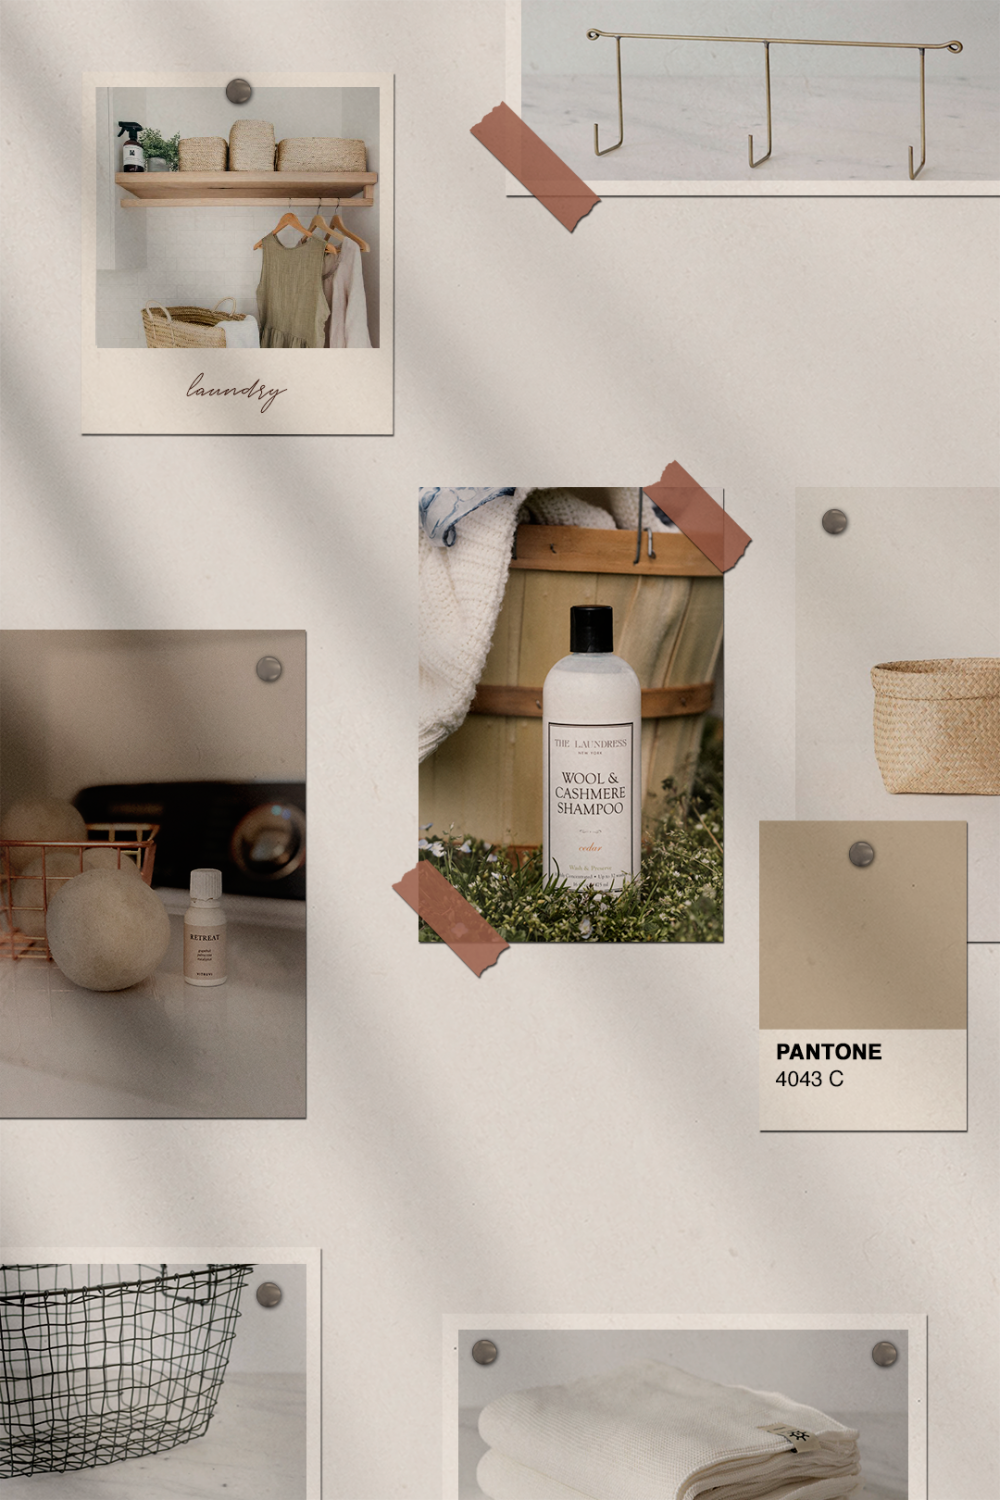
During/Inspiration Photos
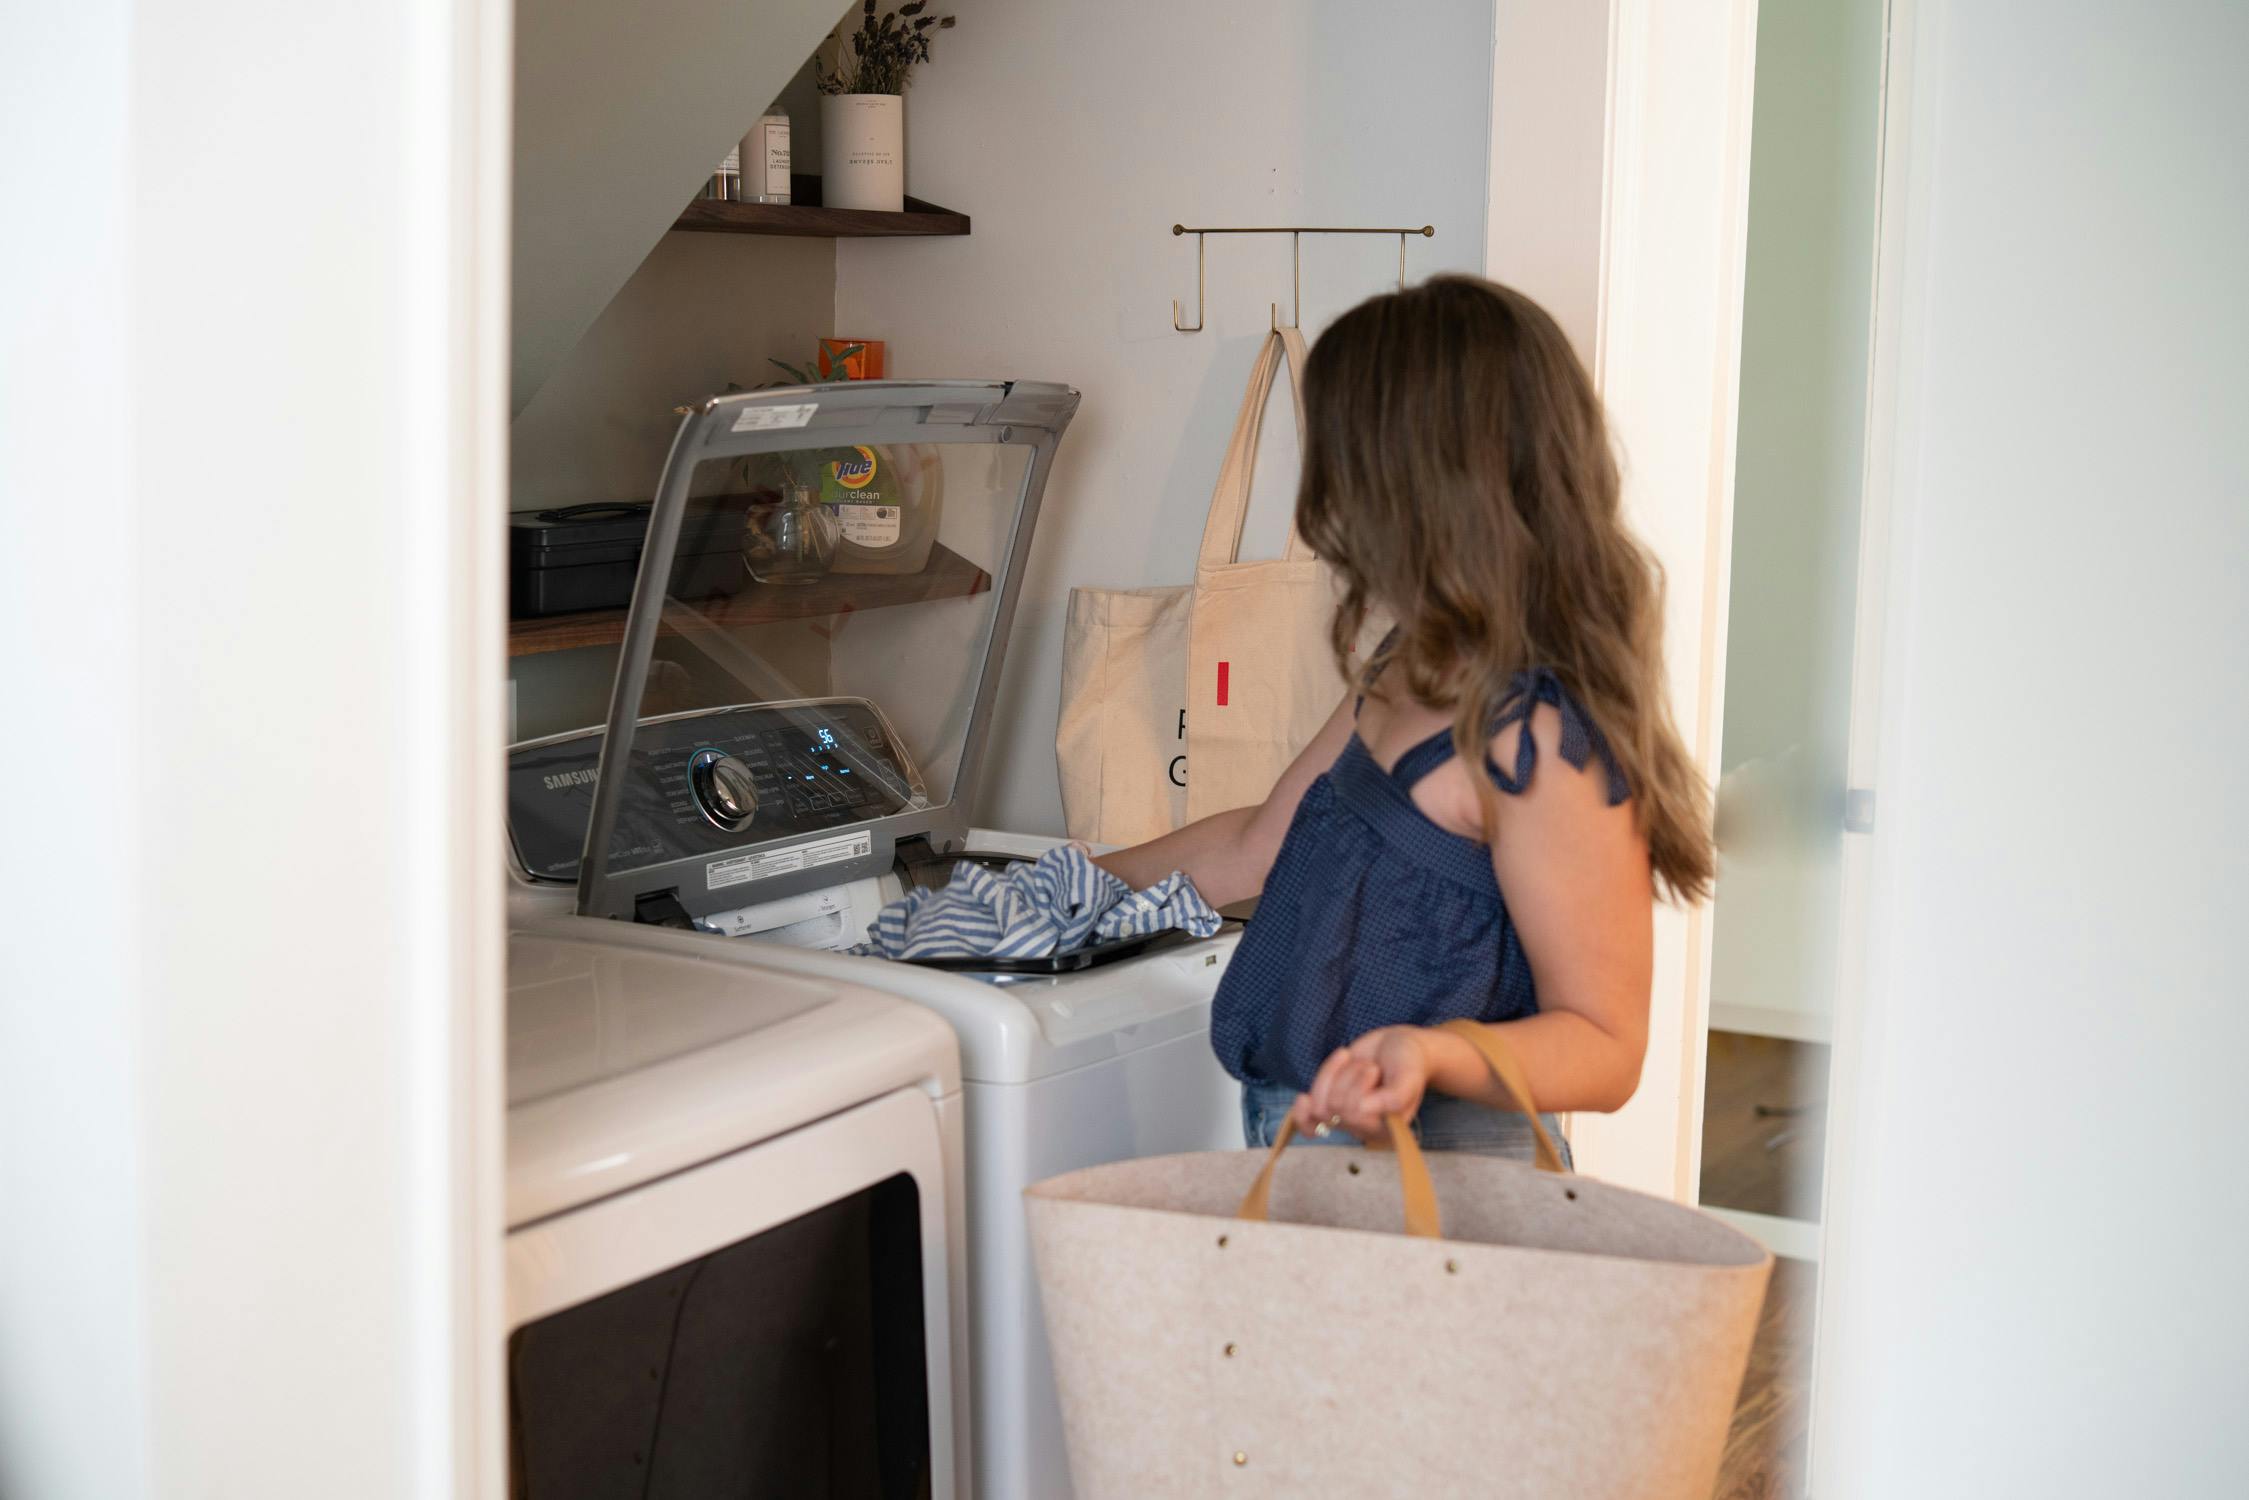
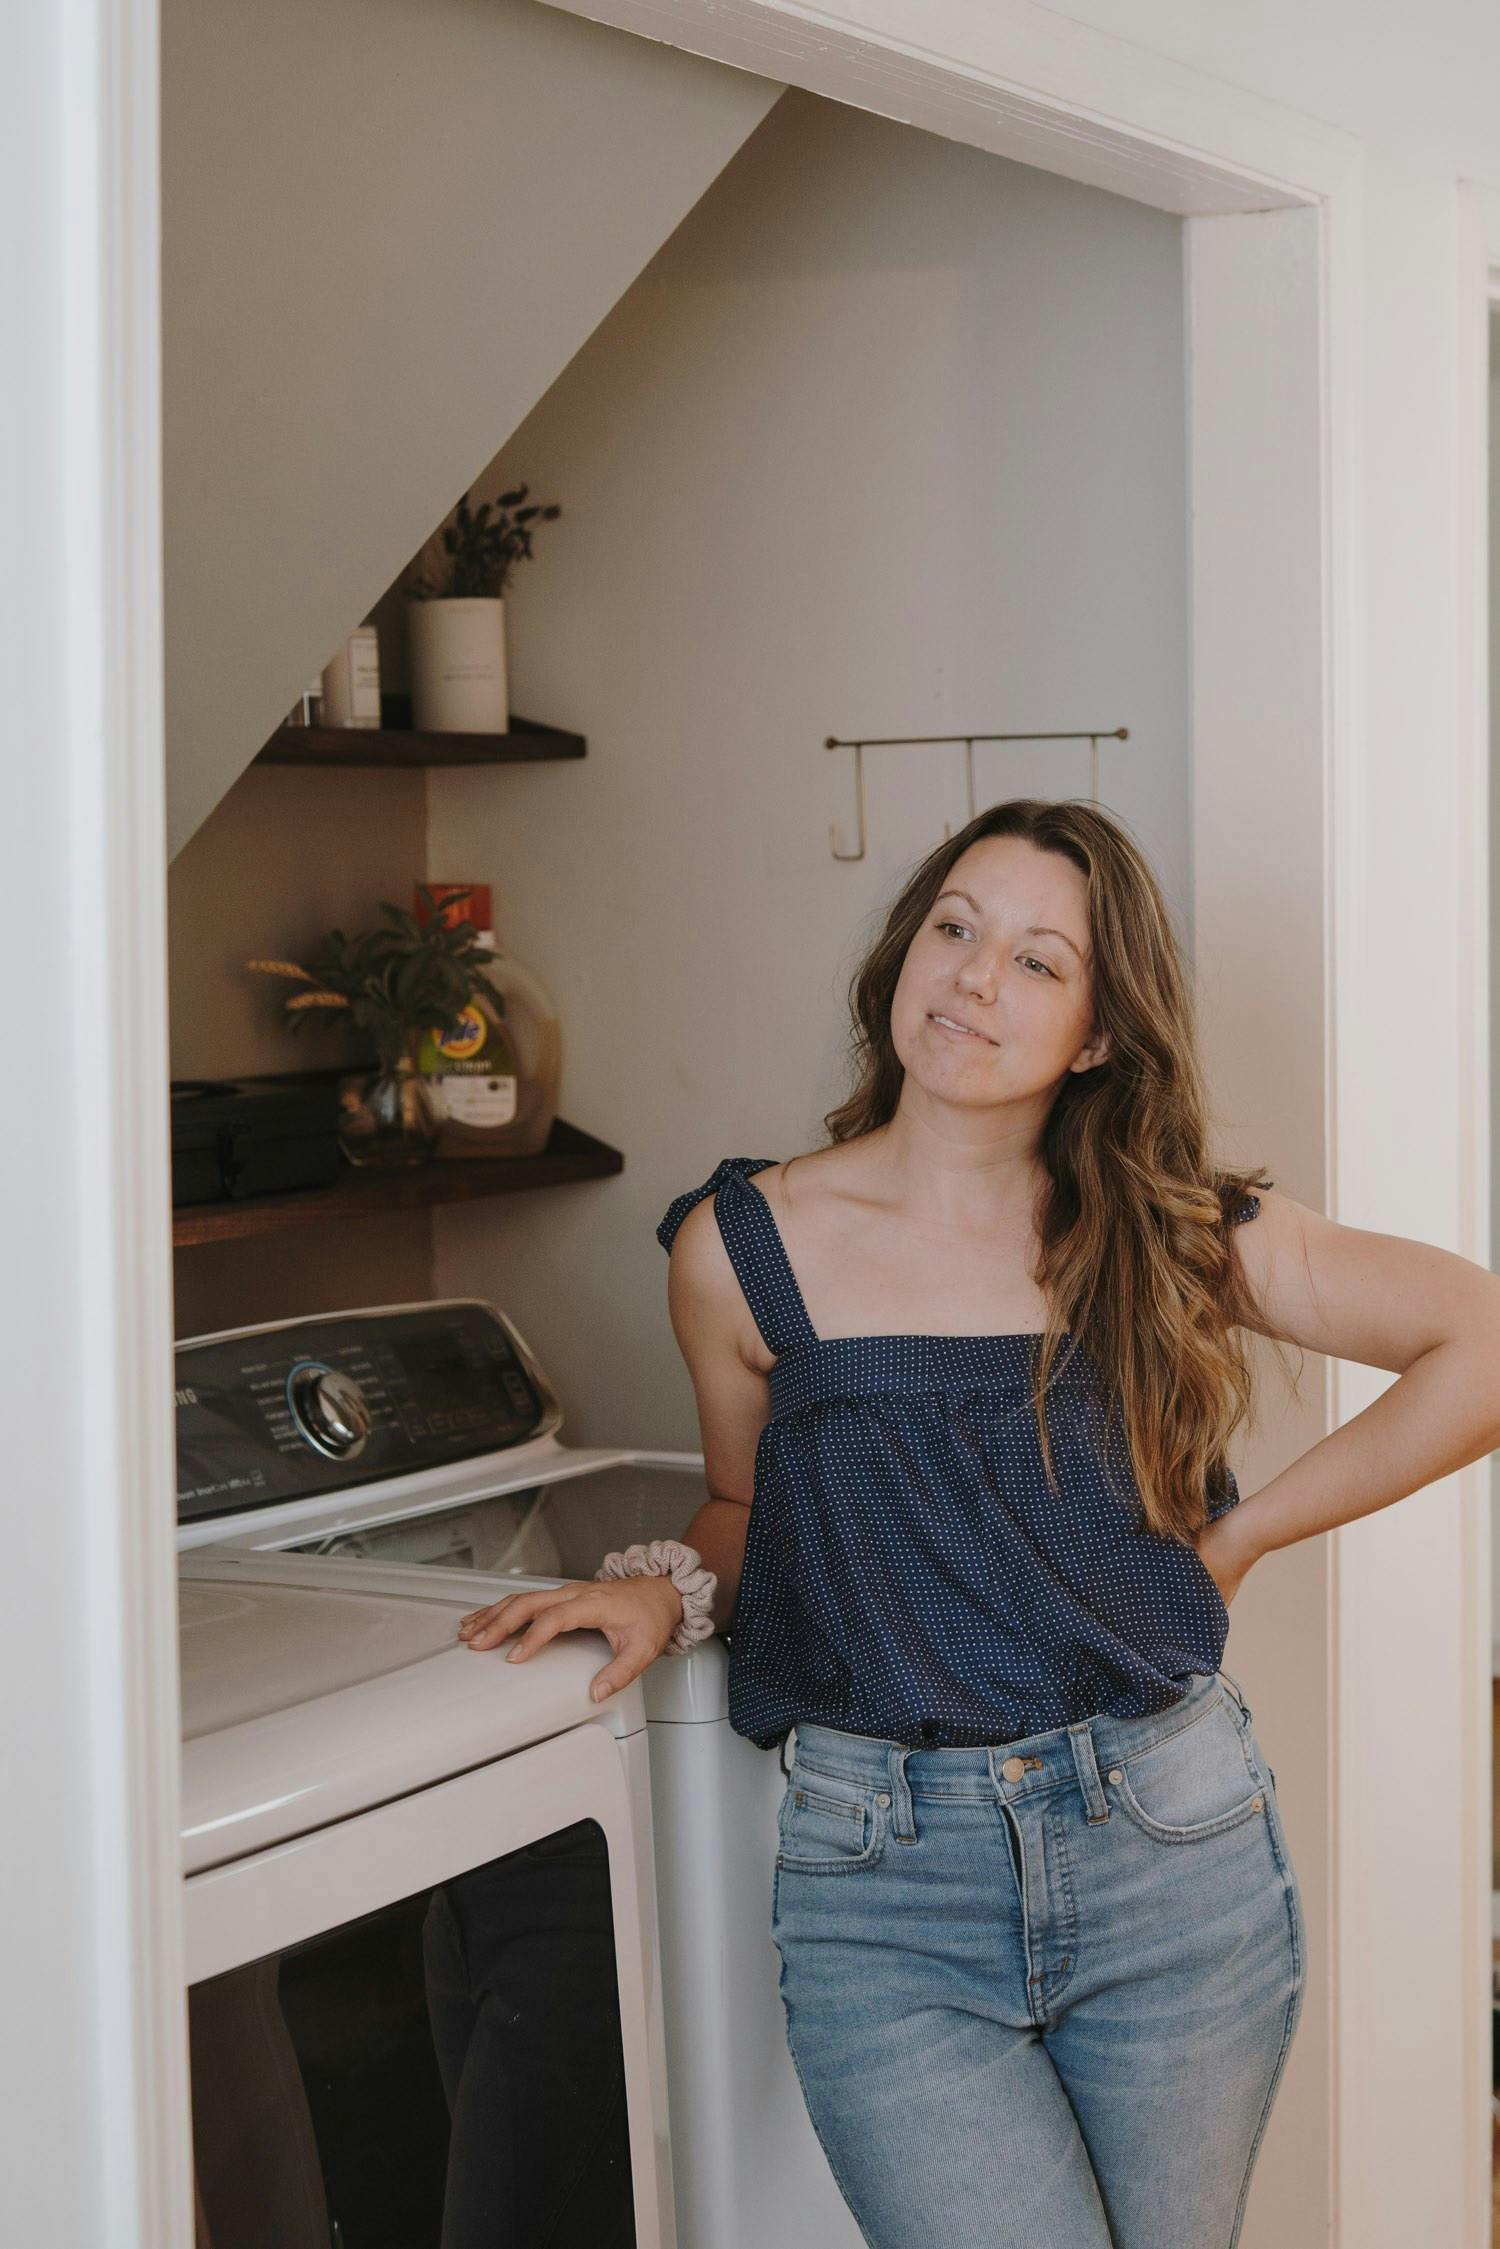
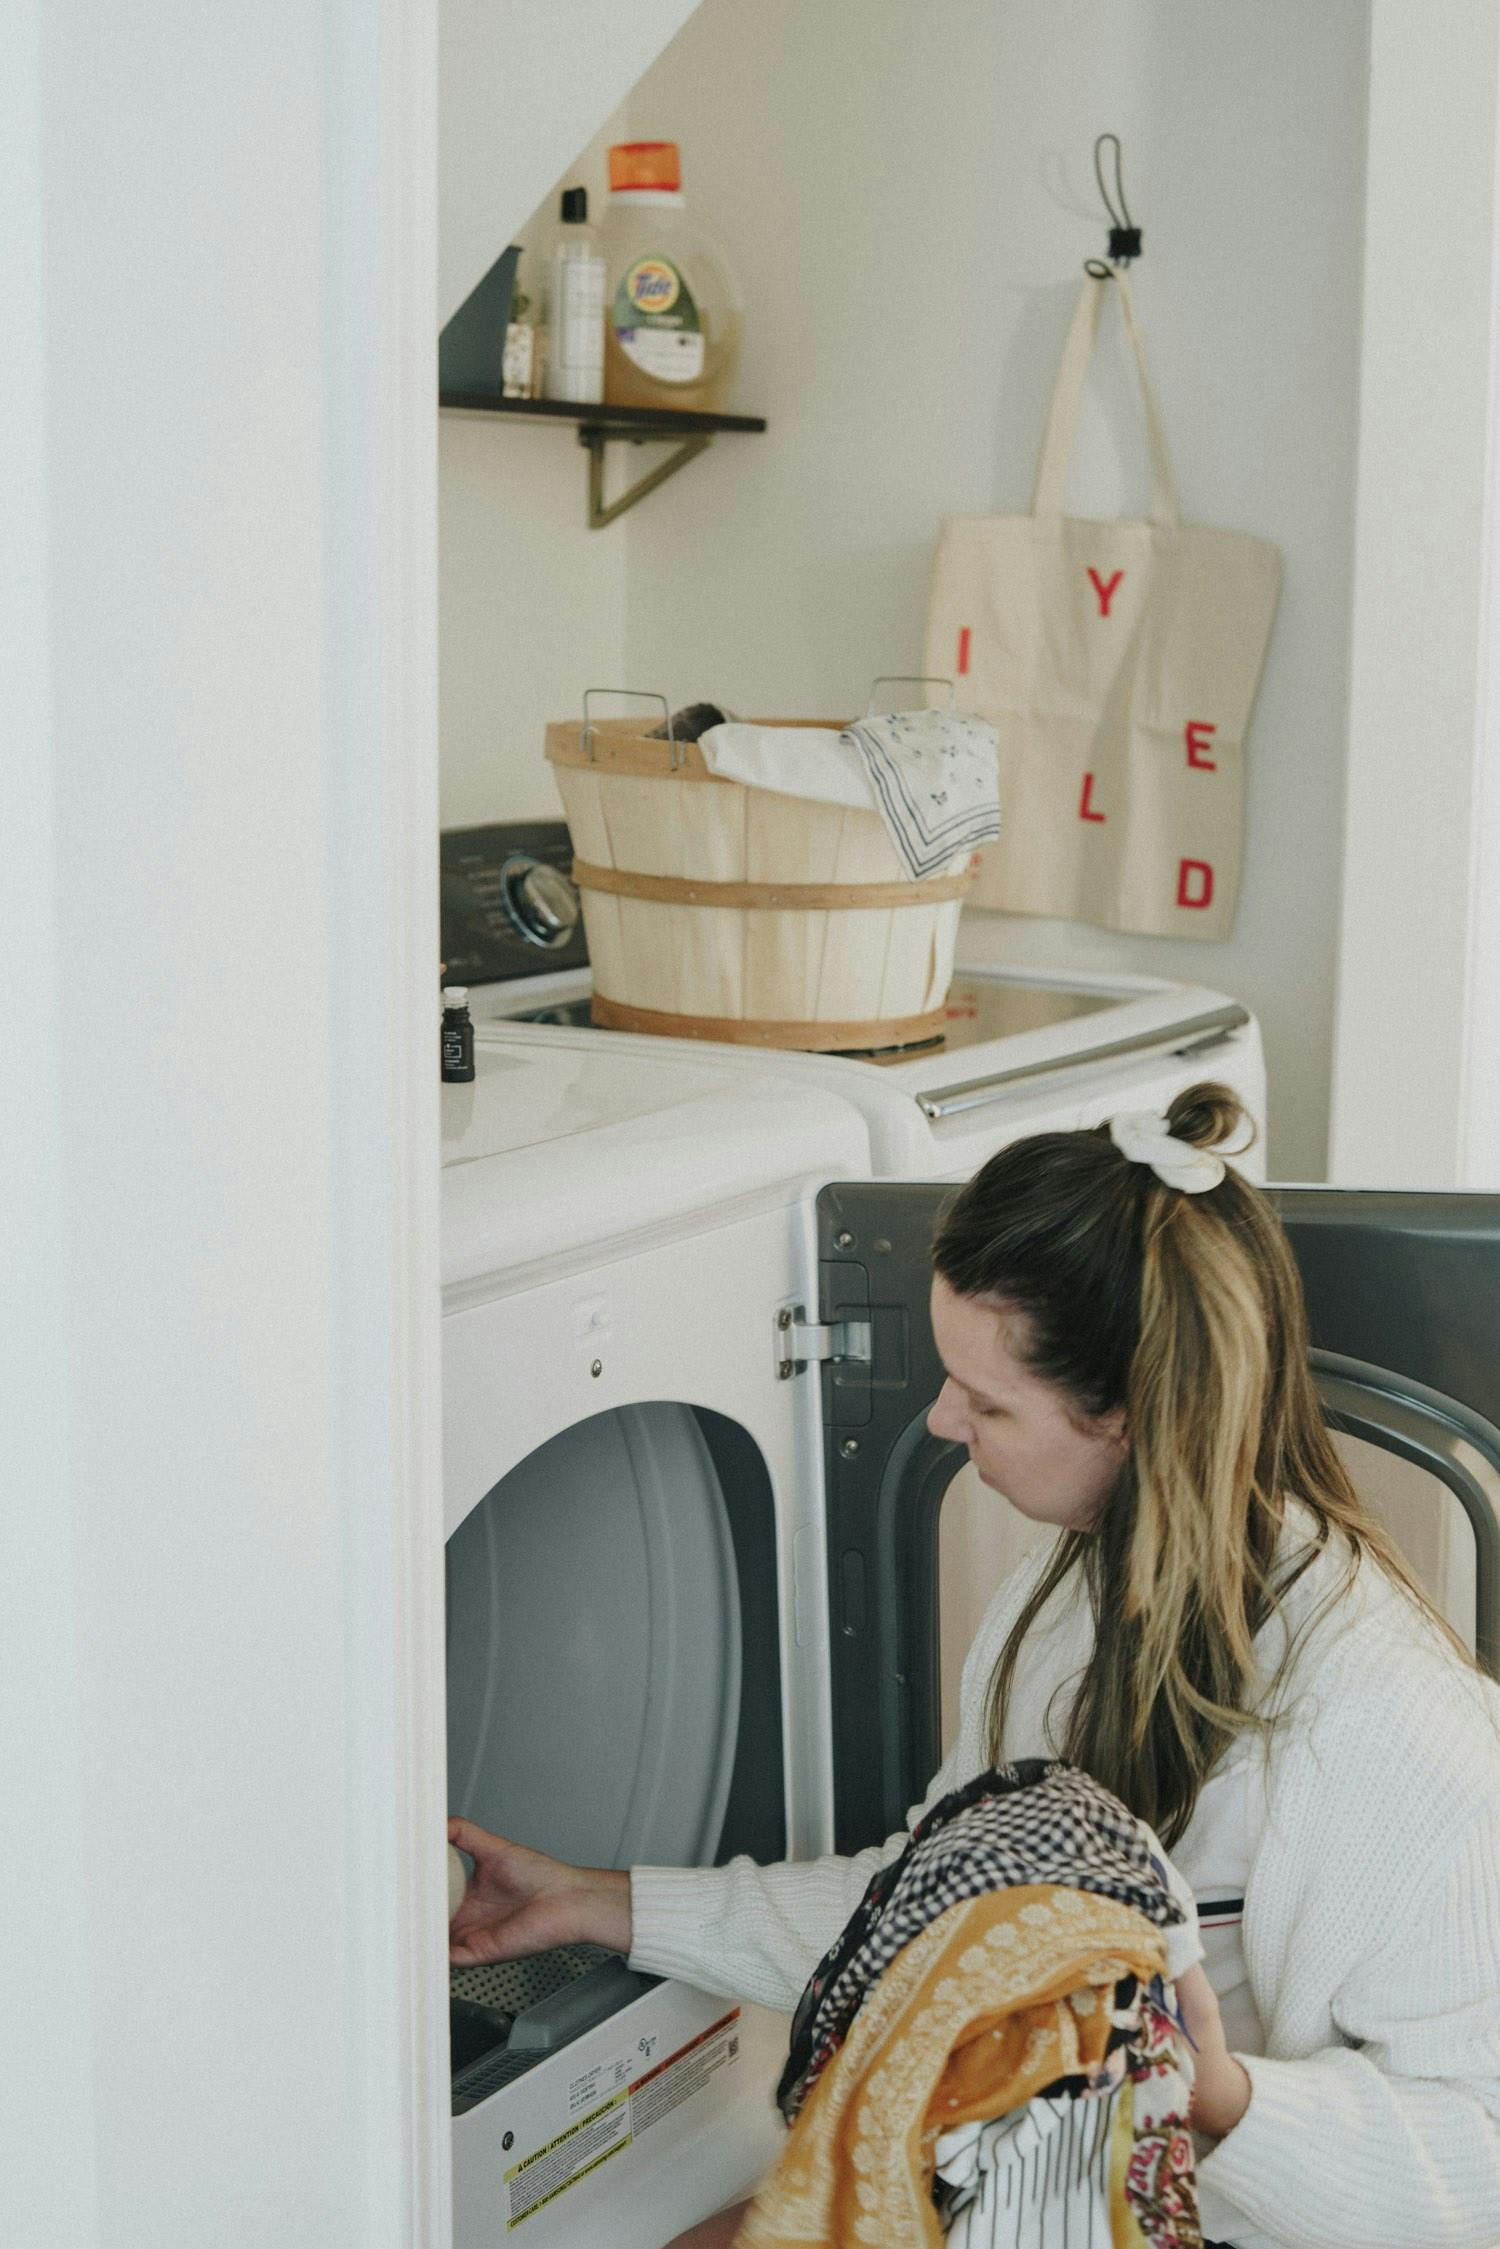
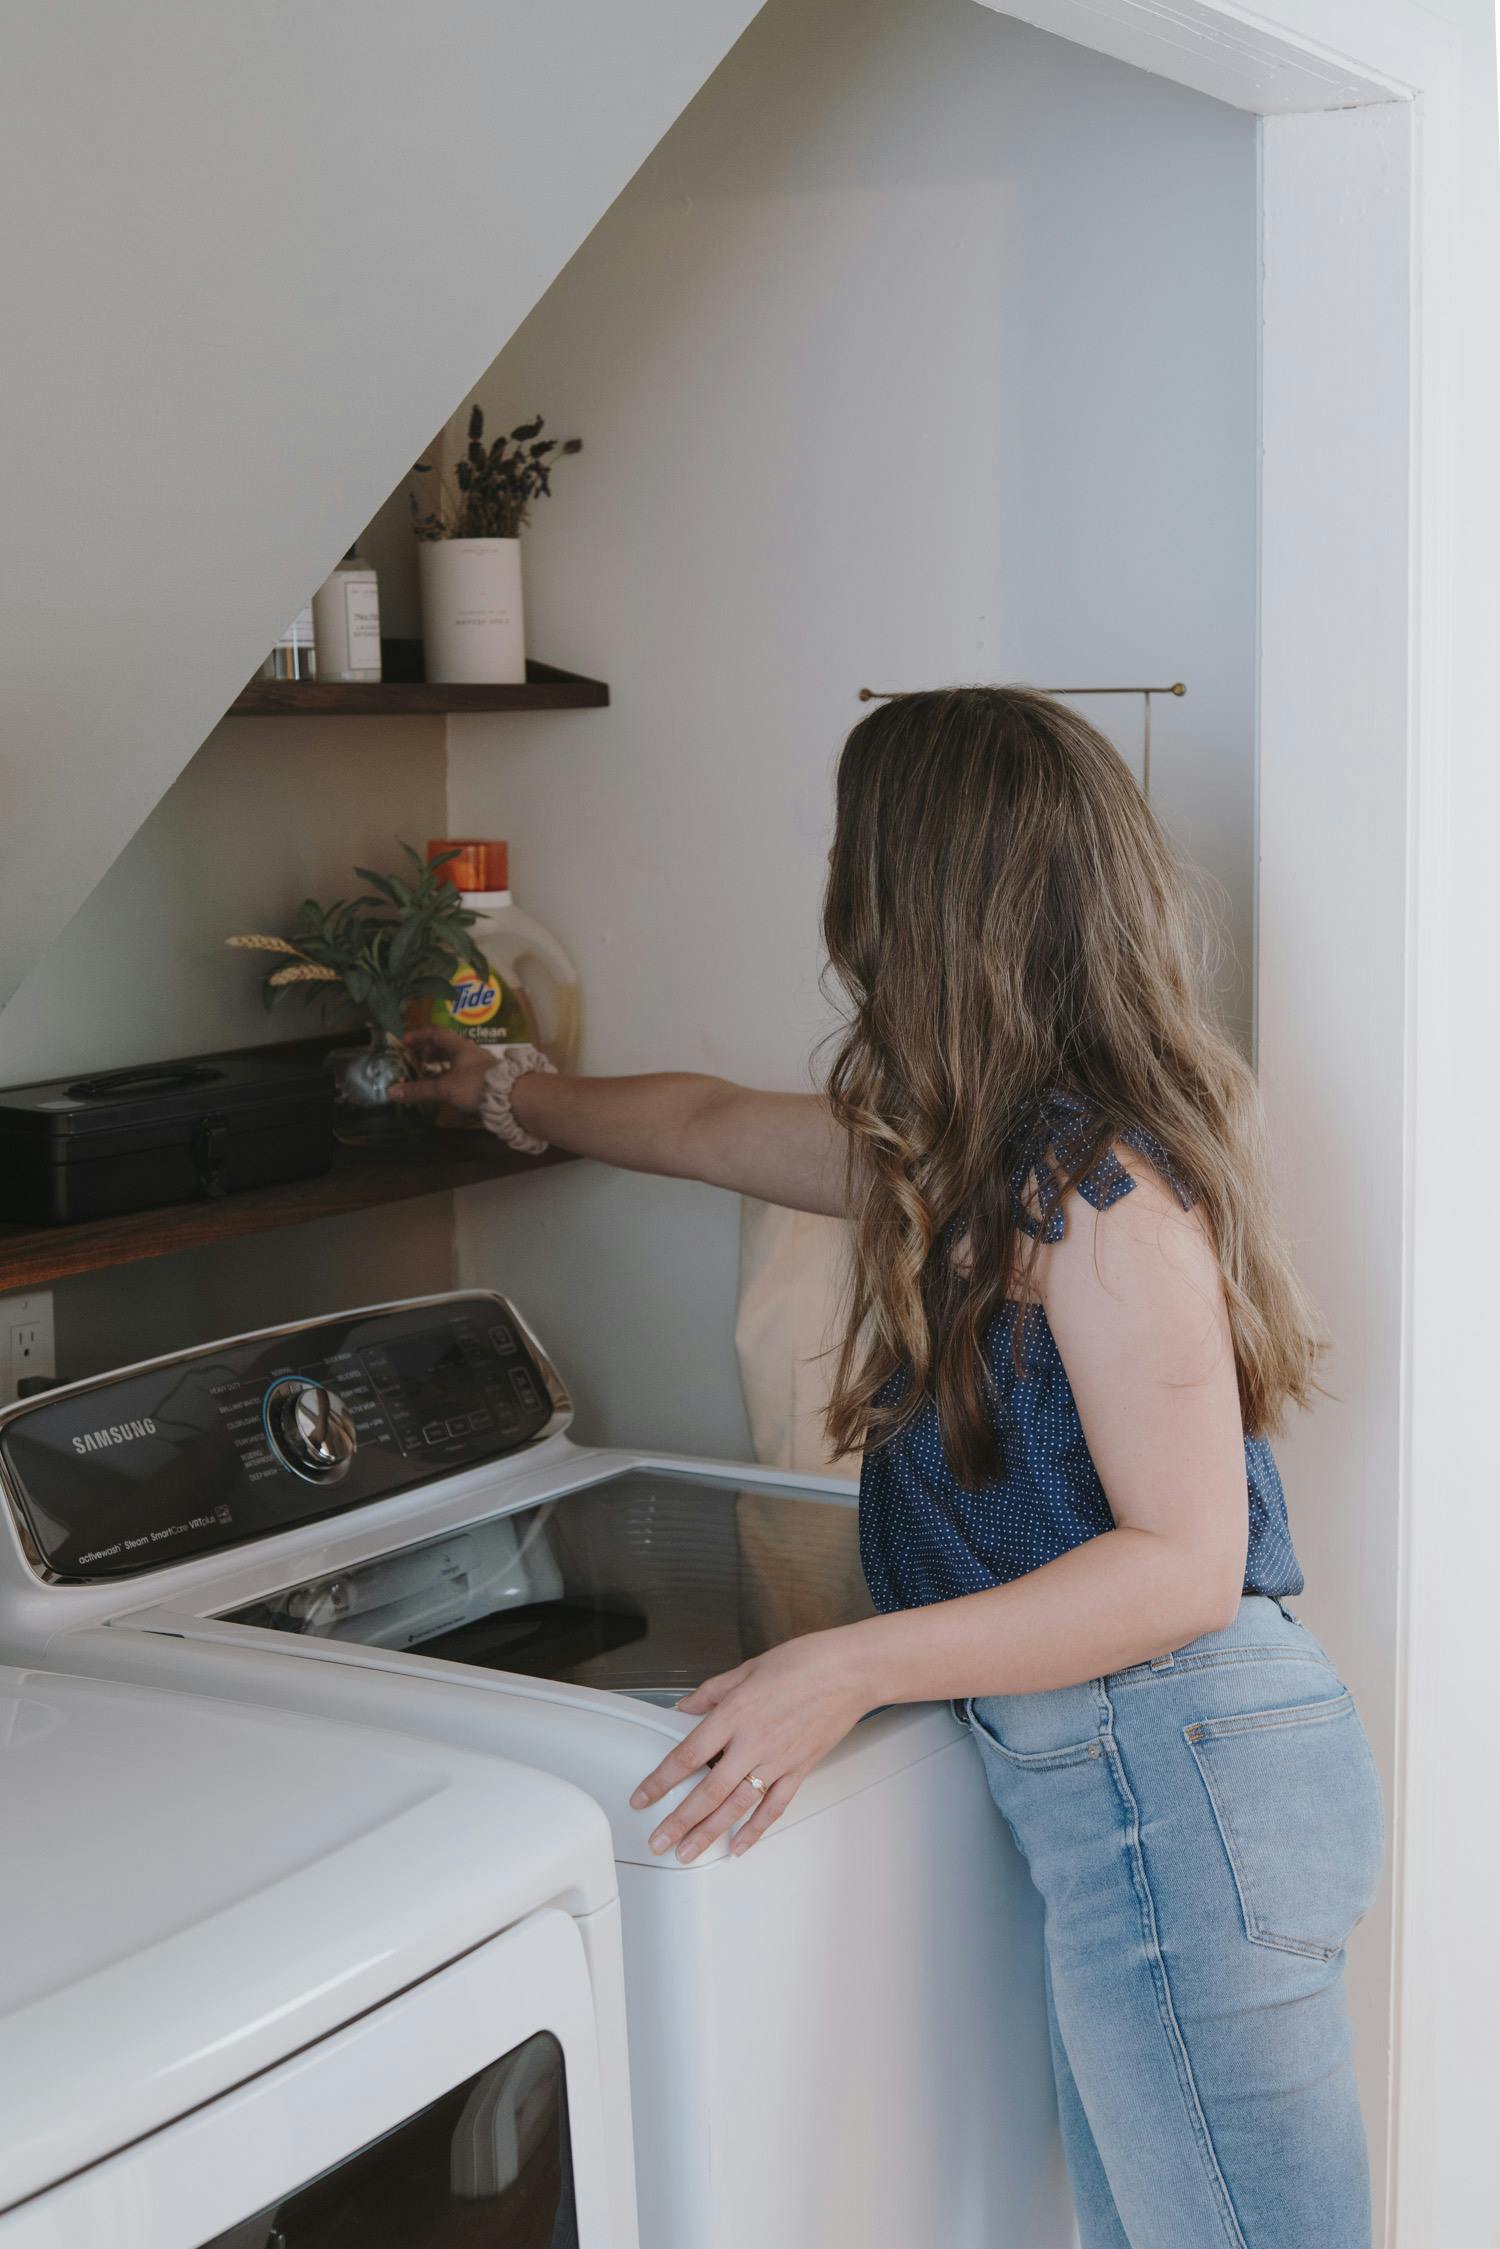
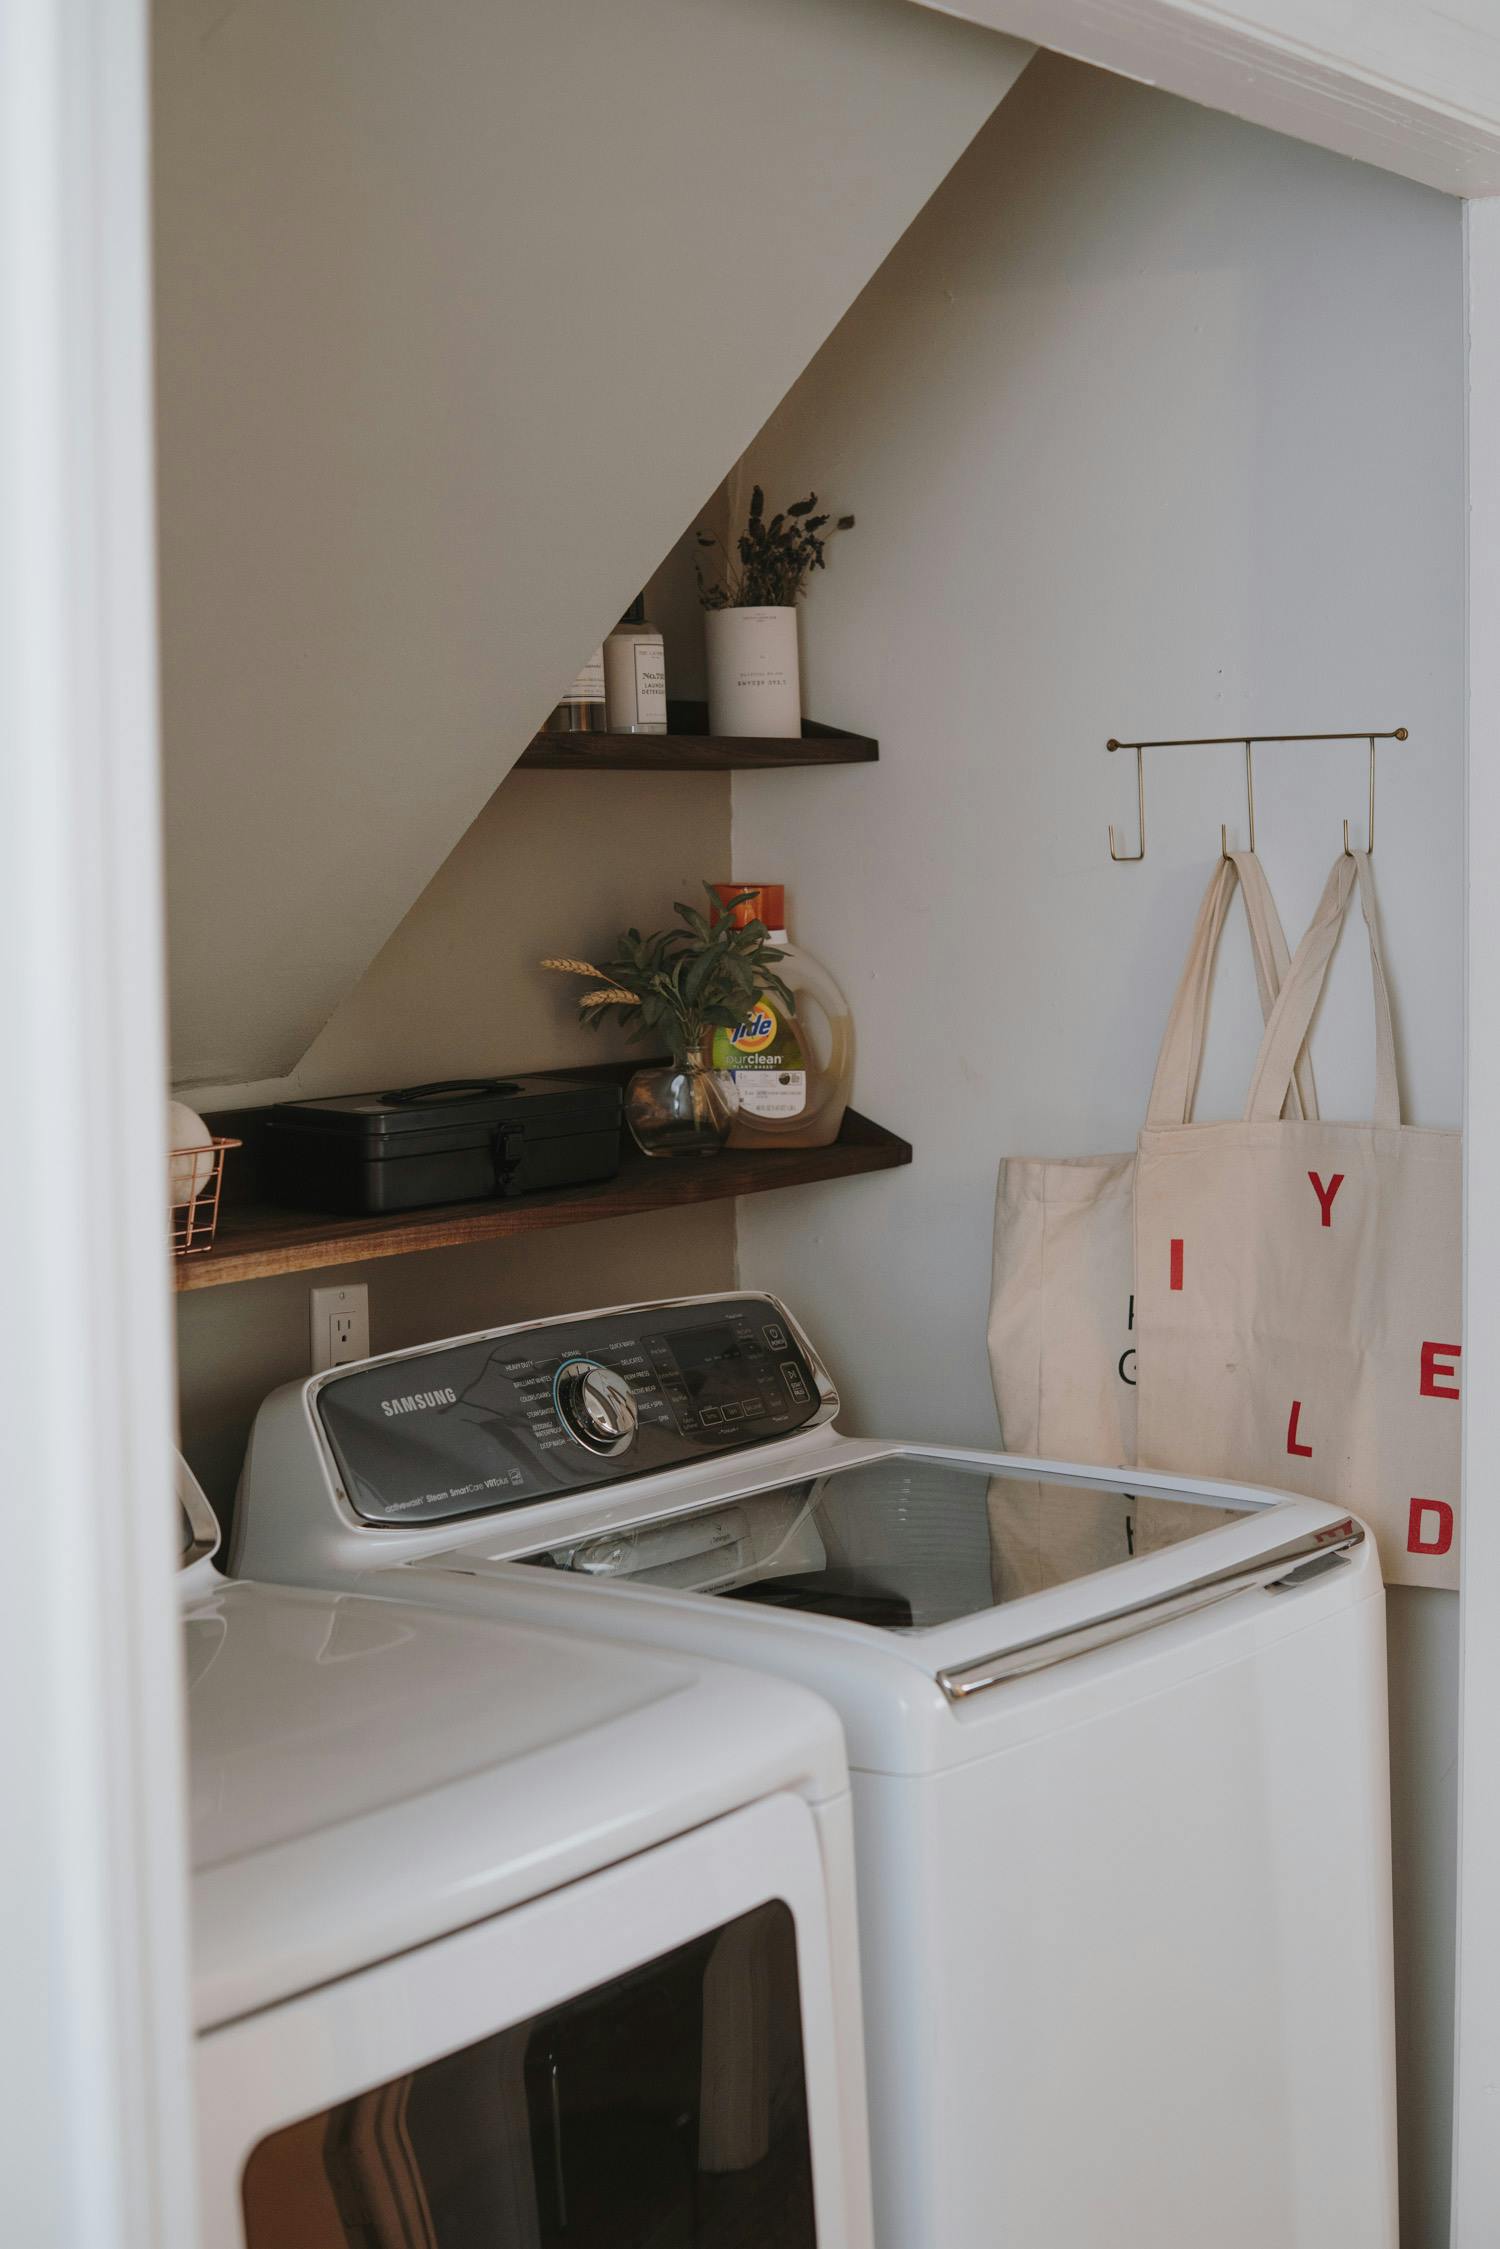
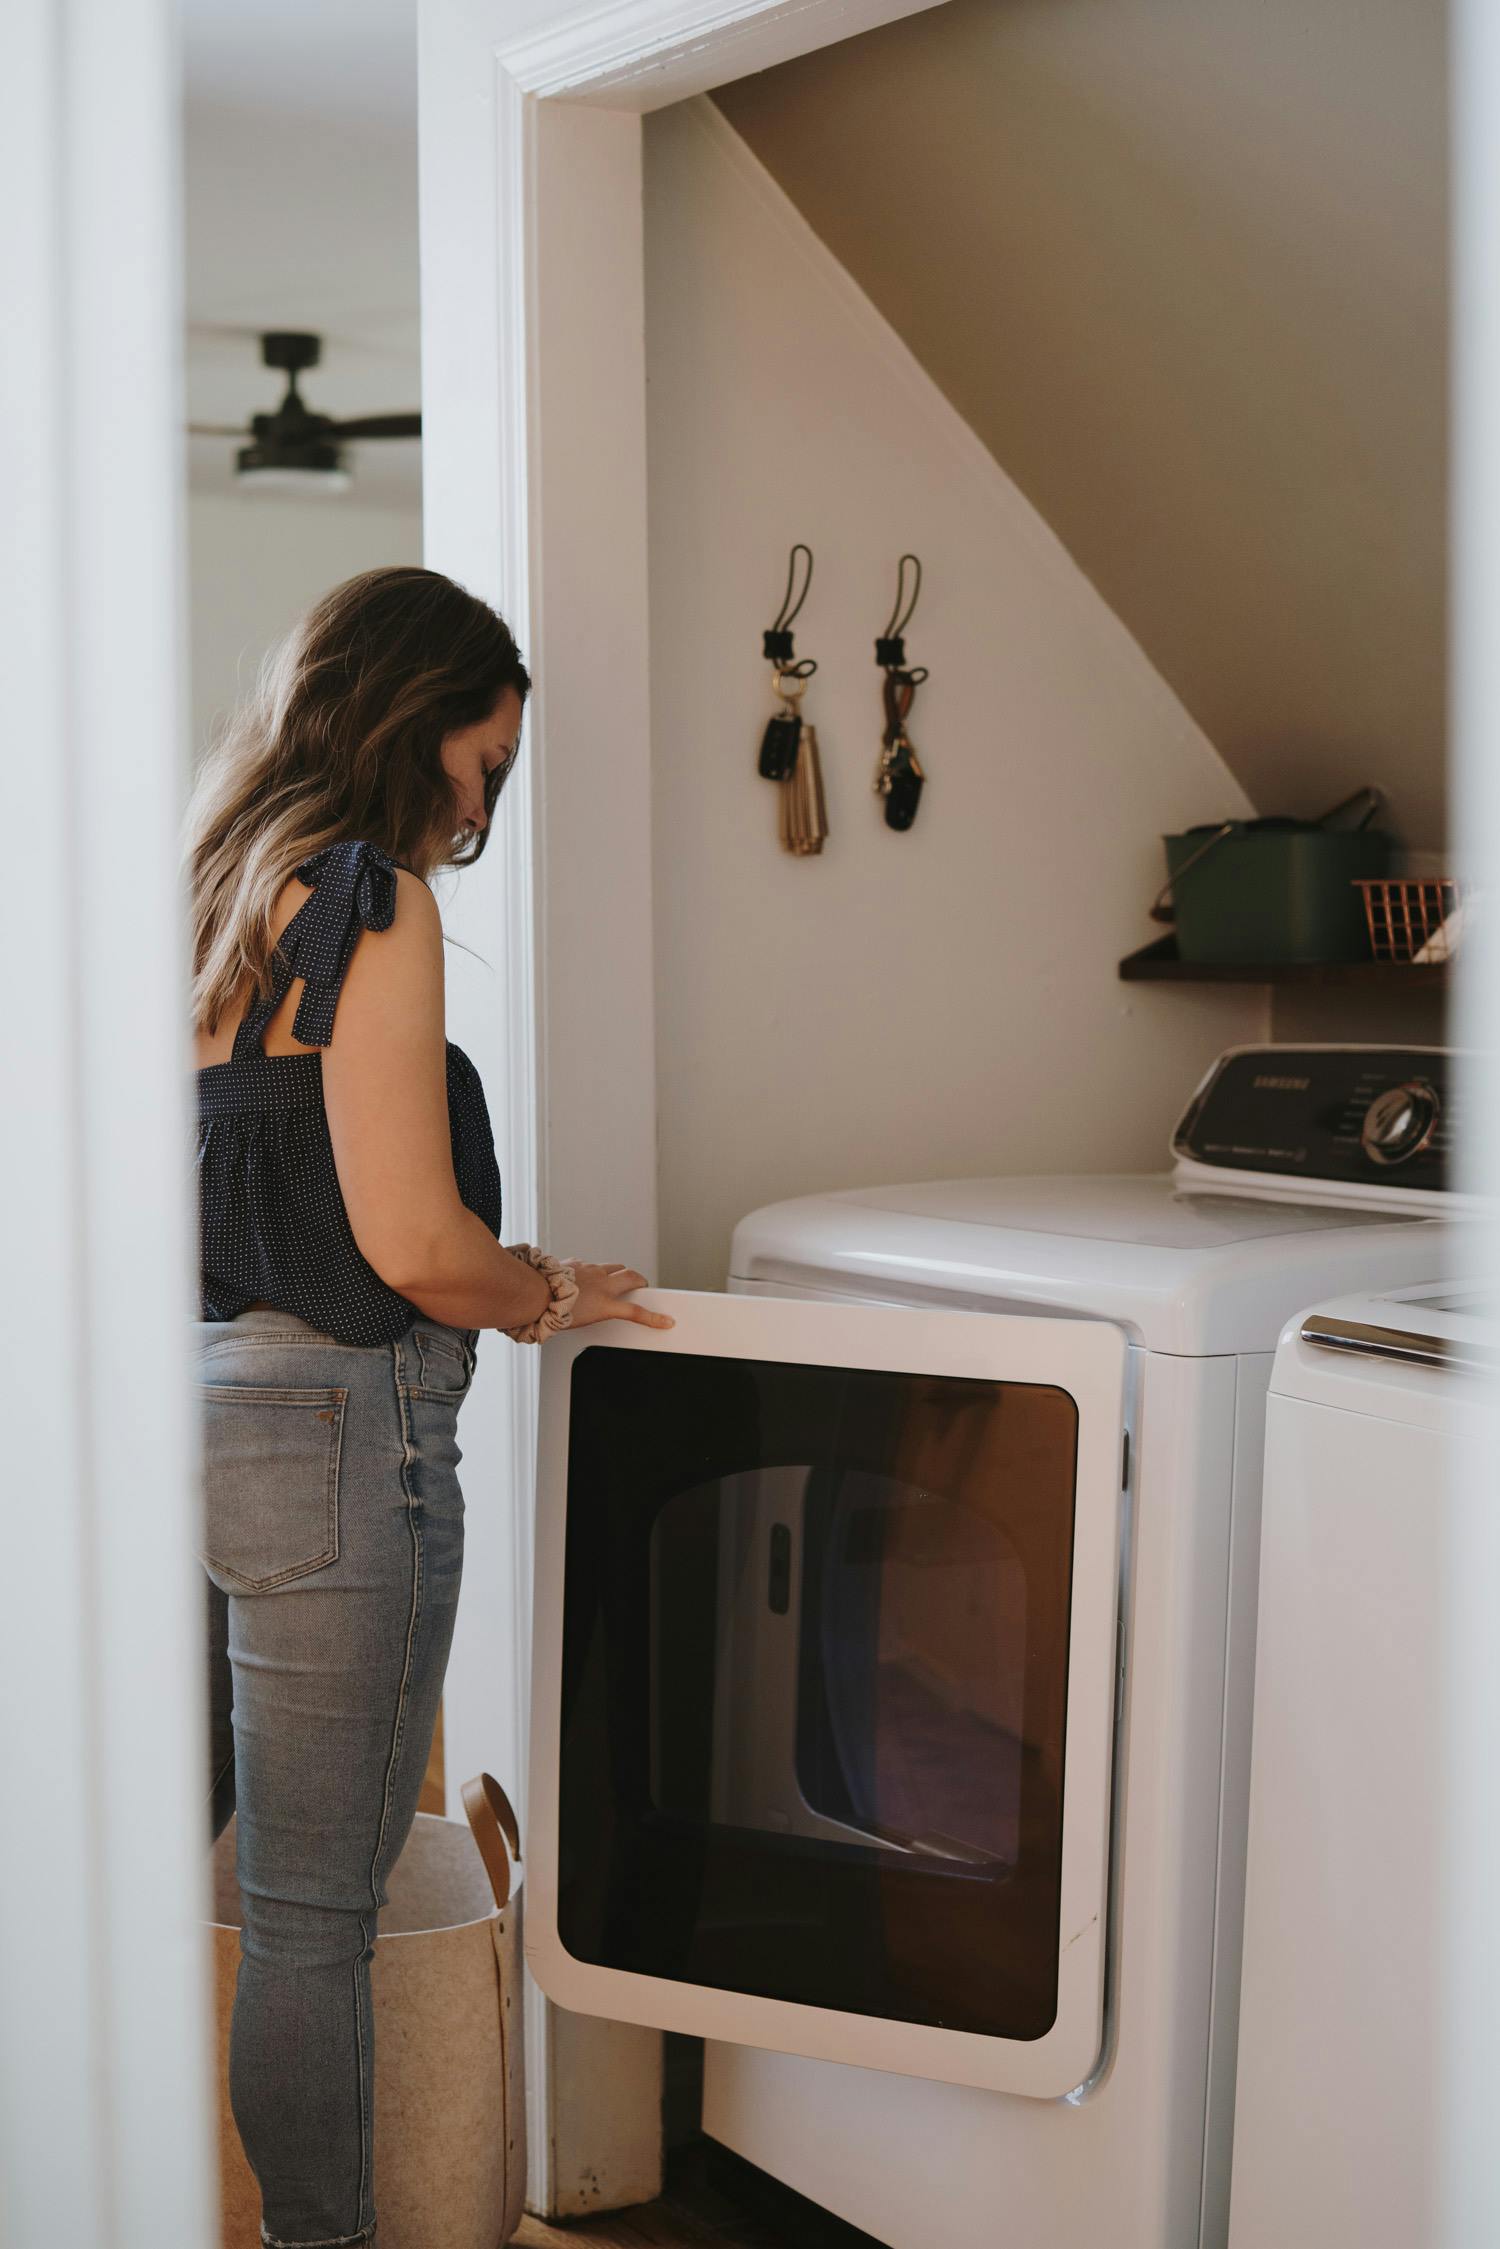
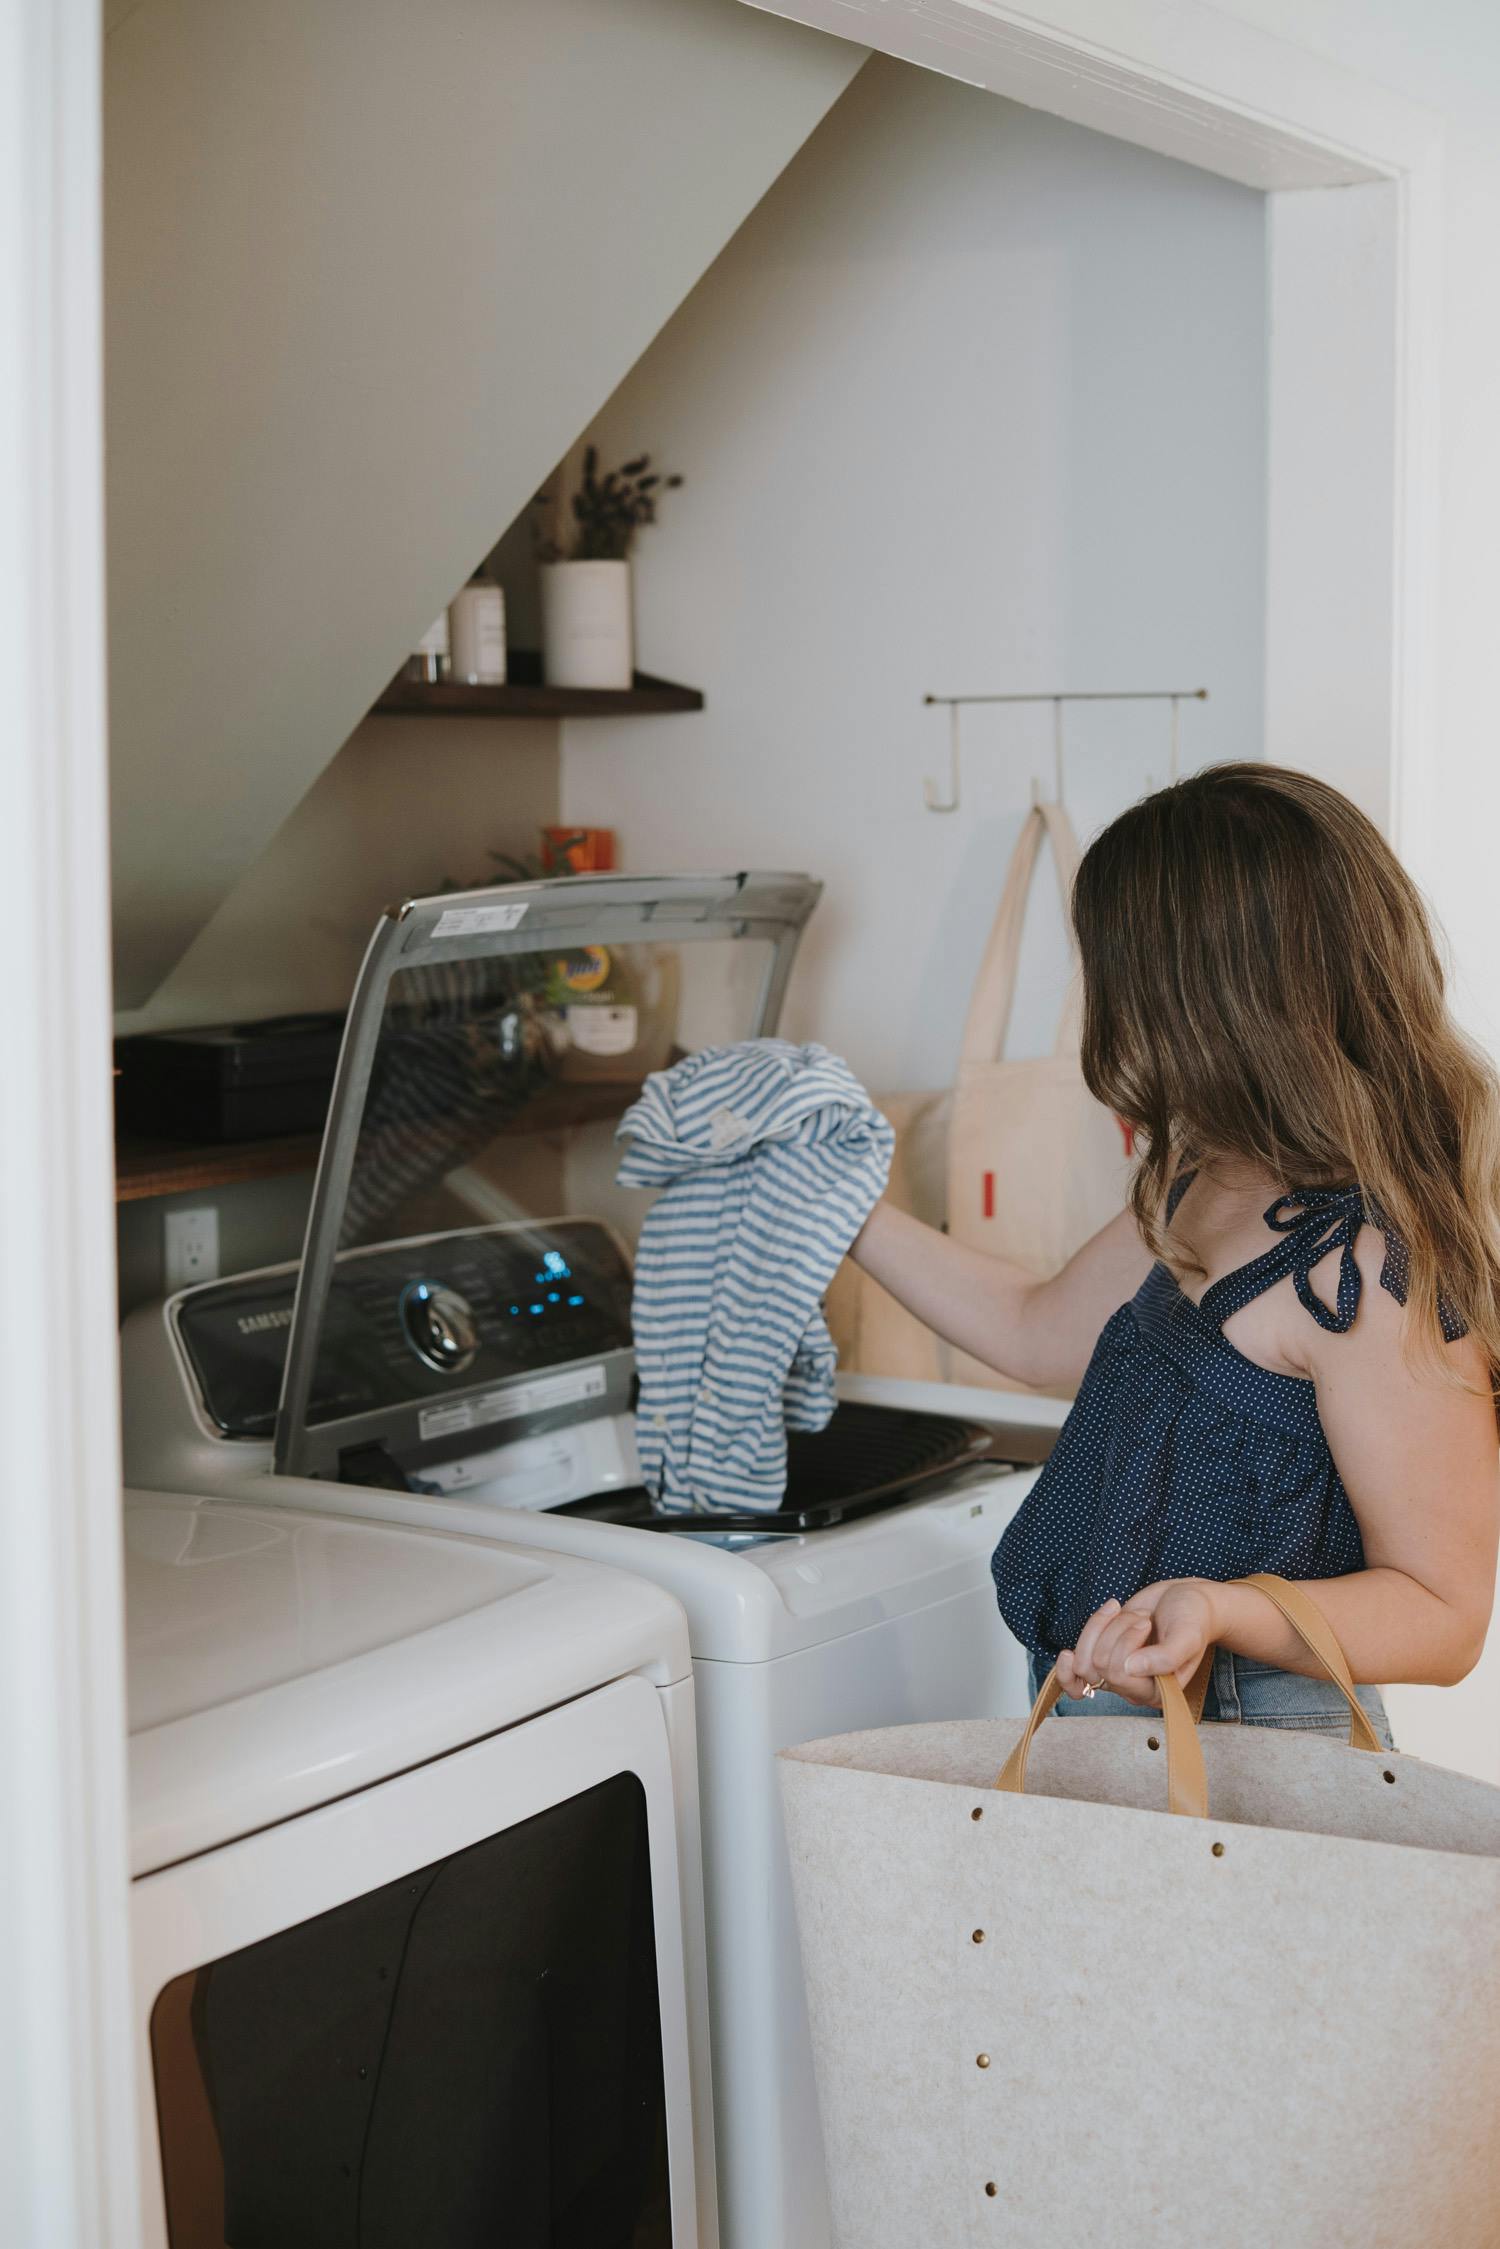
During the bulk of our renovation last year, we kept things simple with the space: paint it white, hang a shelf, hang a hook, slide in our Samsung washer and dryer. It was fine and functional, but still didn't quite match the rest of the downstairs. So when the opportunity to clean it all up presented itself we created a few mood boards and got to work.

Final Reveal
This has been such a fun and easy summer project to work on! The first step was to nail down a reasonable plan then source all the materials. Initially we wanted to re-tile the floor (there's currently a neutral tile down under the washer/dryer) and add tile to a chair rail height on the nook's back wall, but that just didn't sit right with our budget.
Honestly, you can't see much of the floor anyway because it's such a small space and we're happy we didn't decide to tackle a tile job!
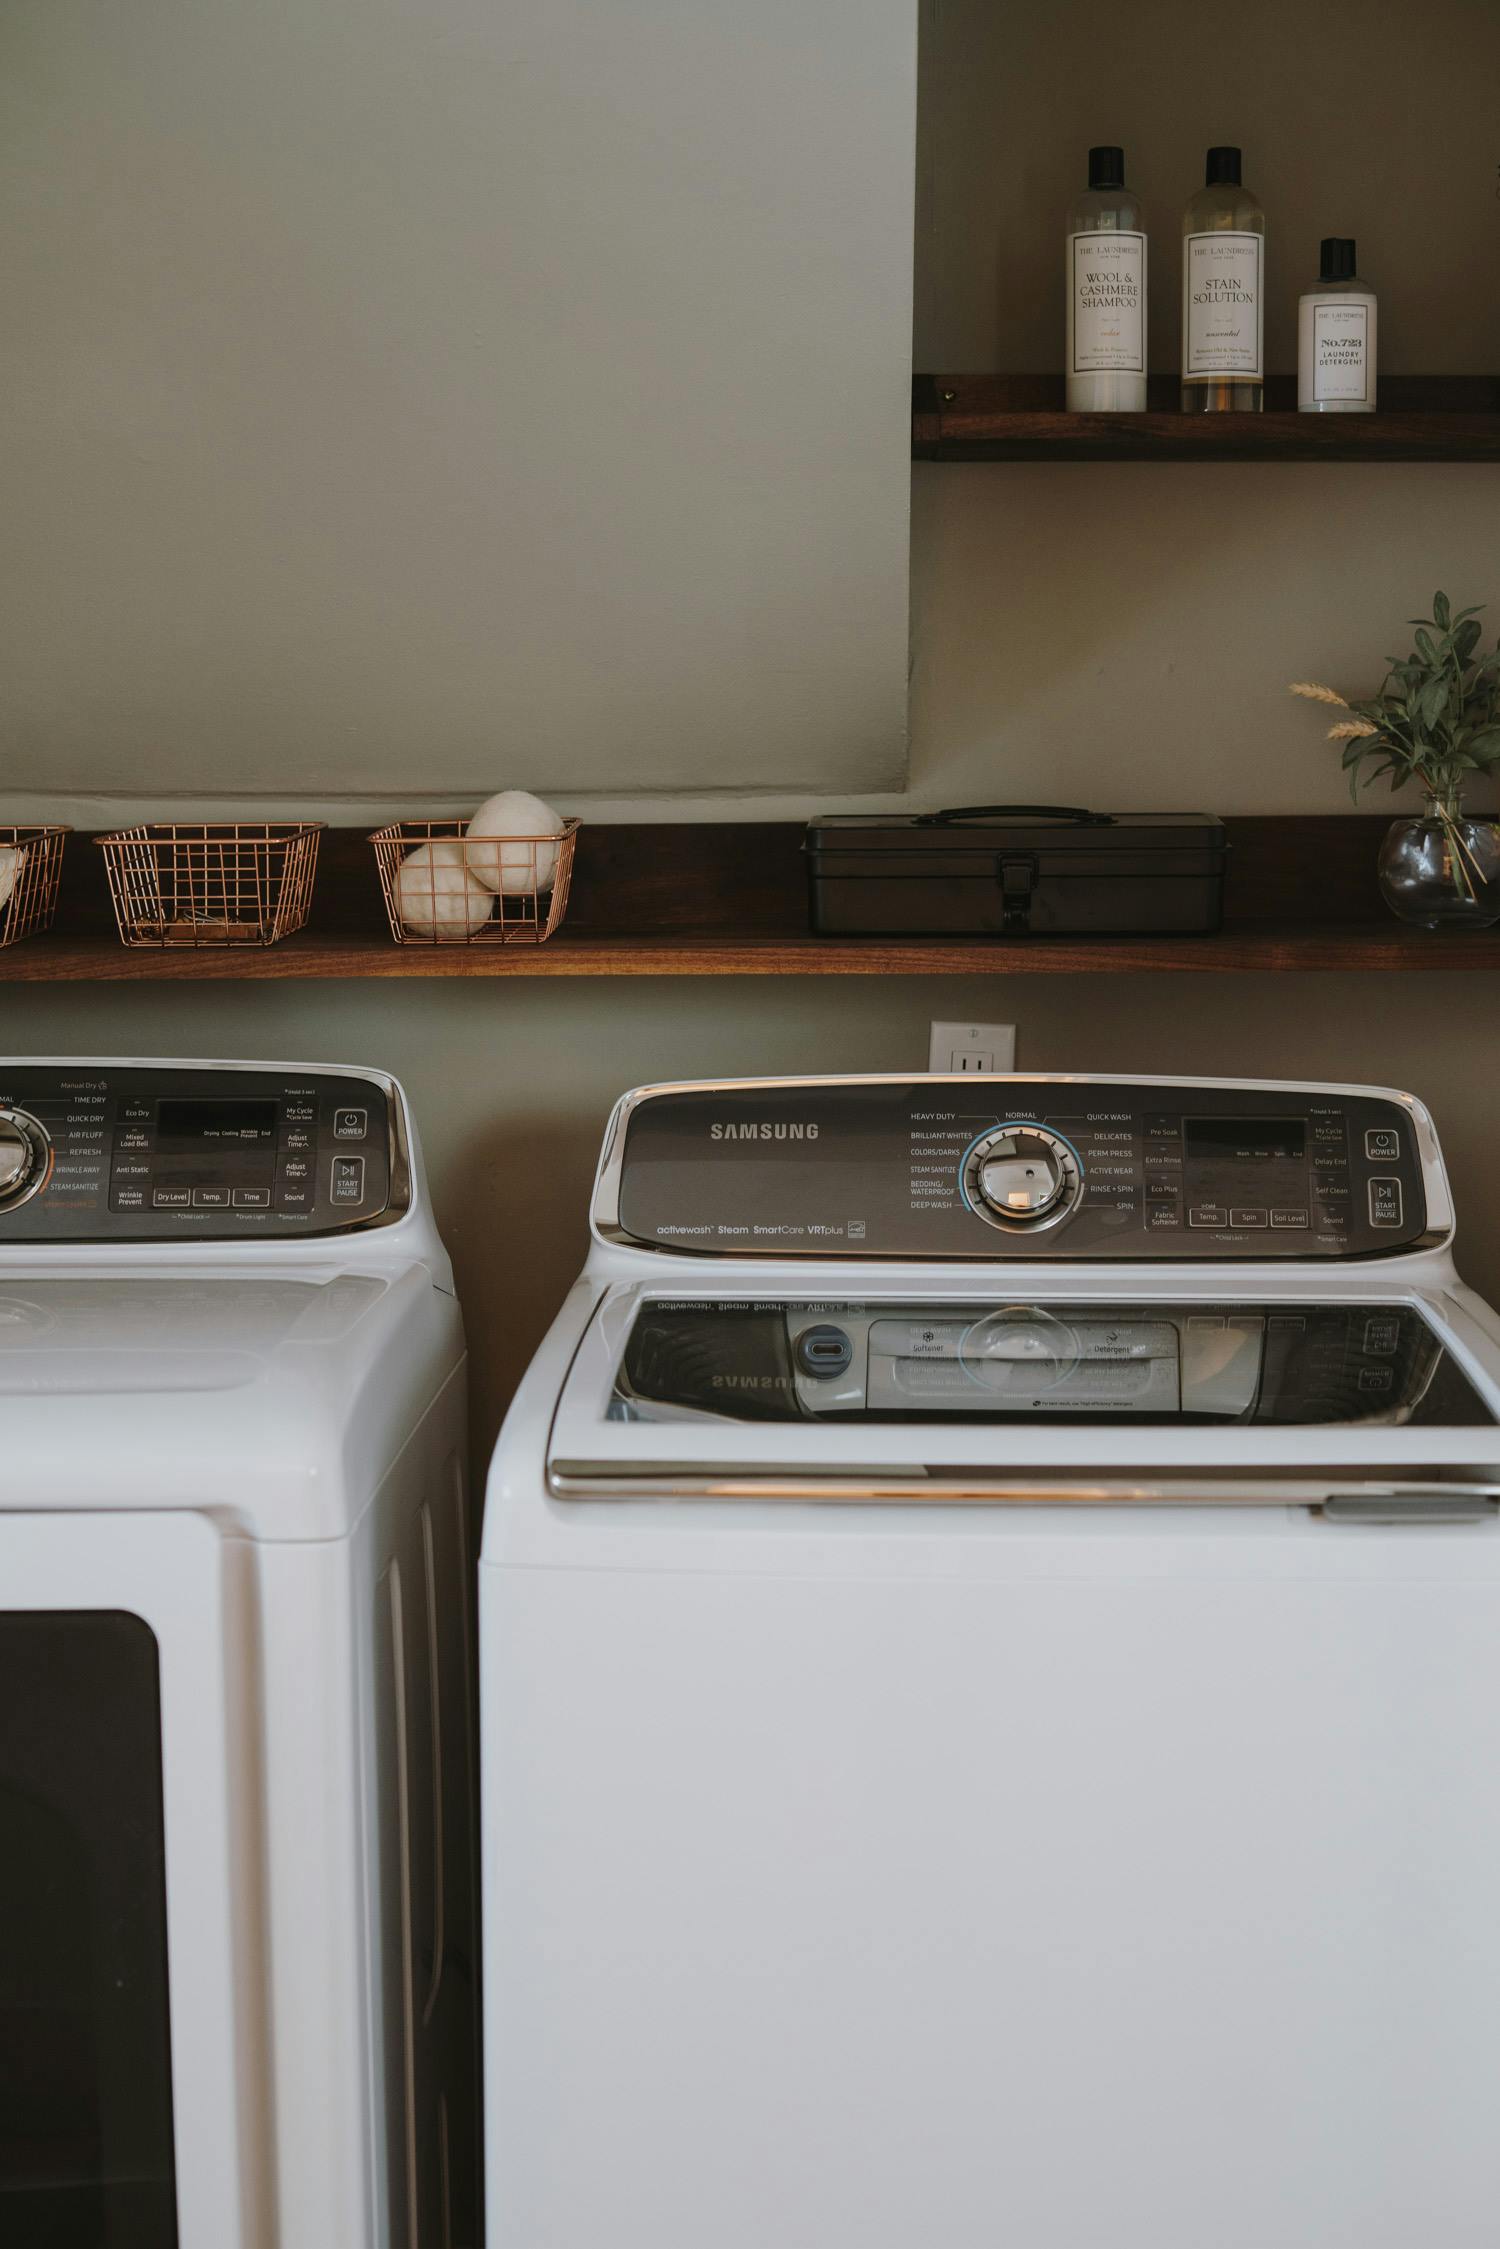
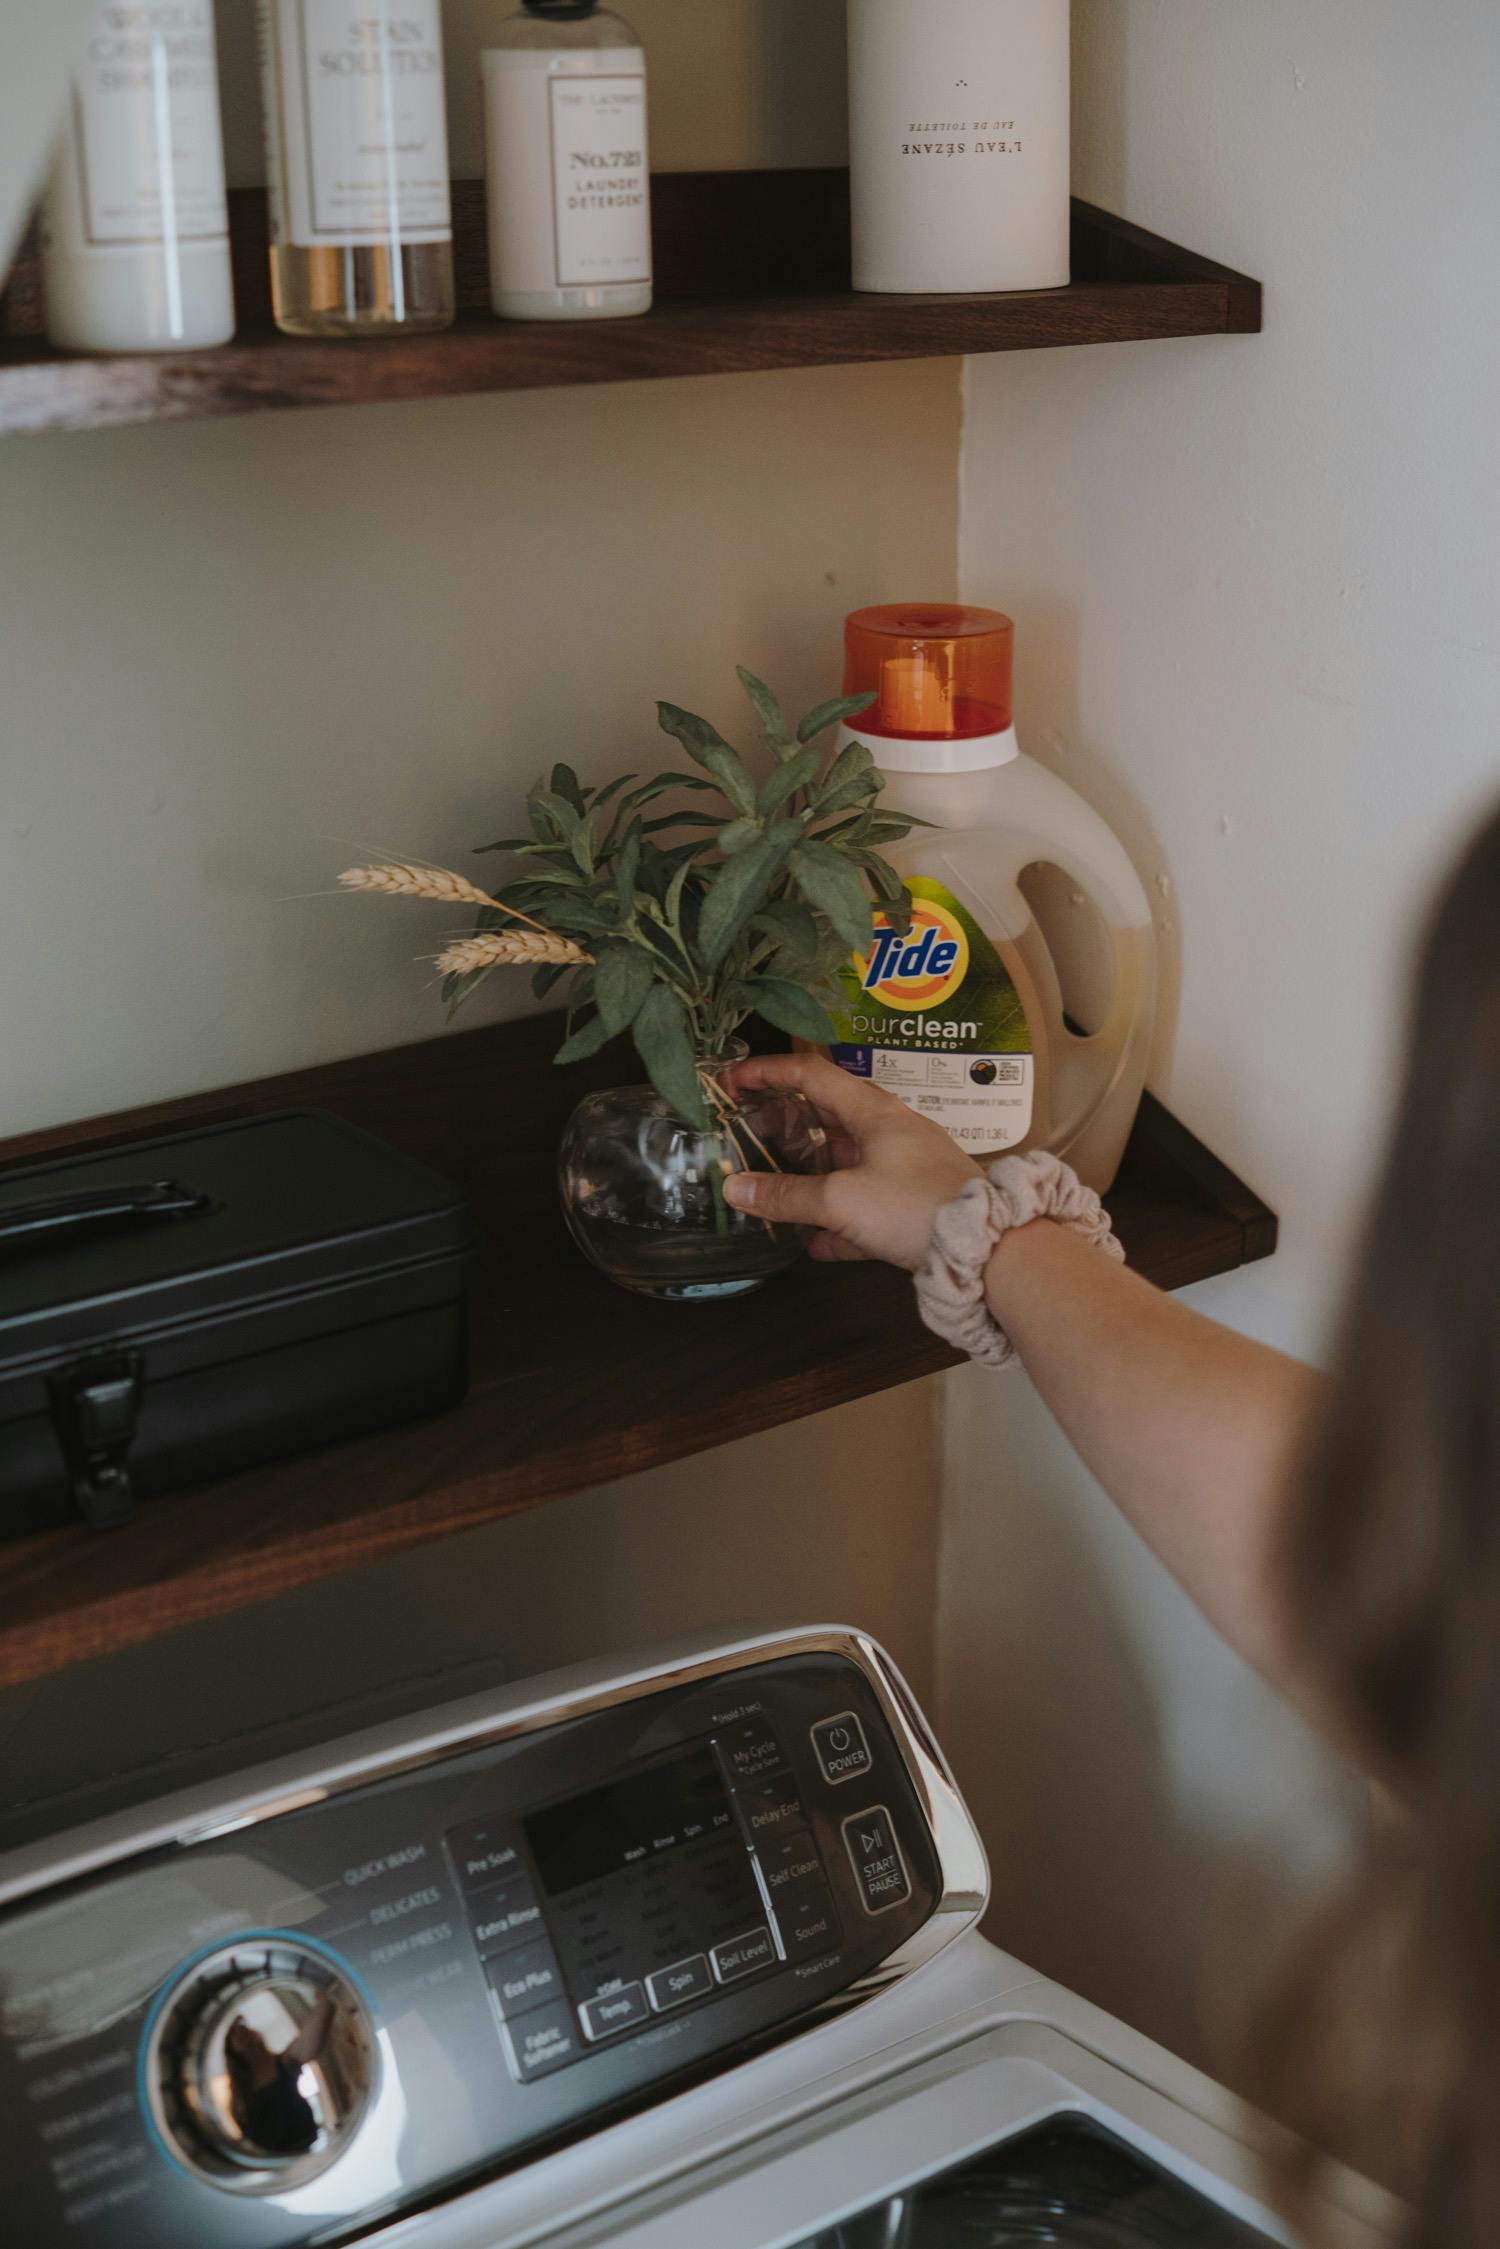
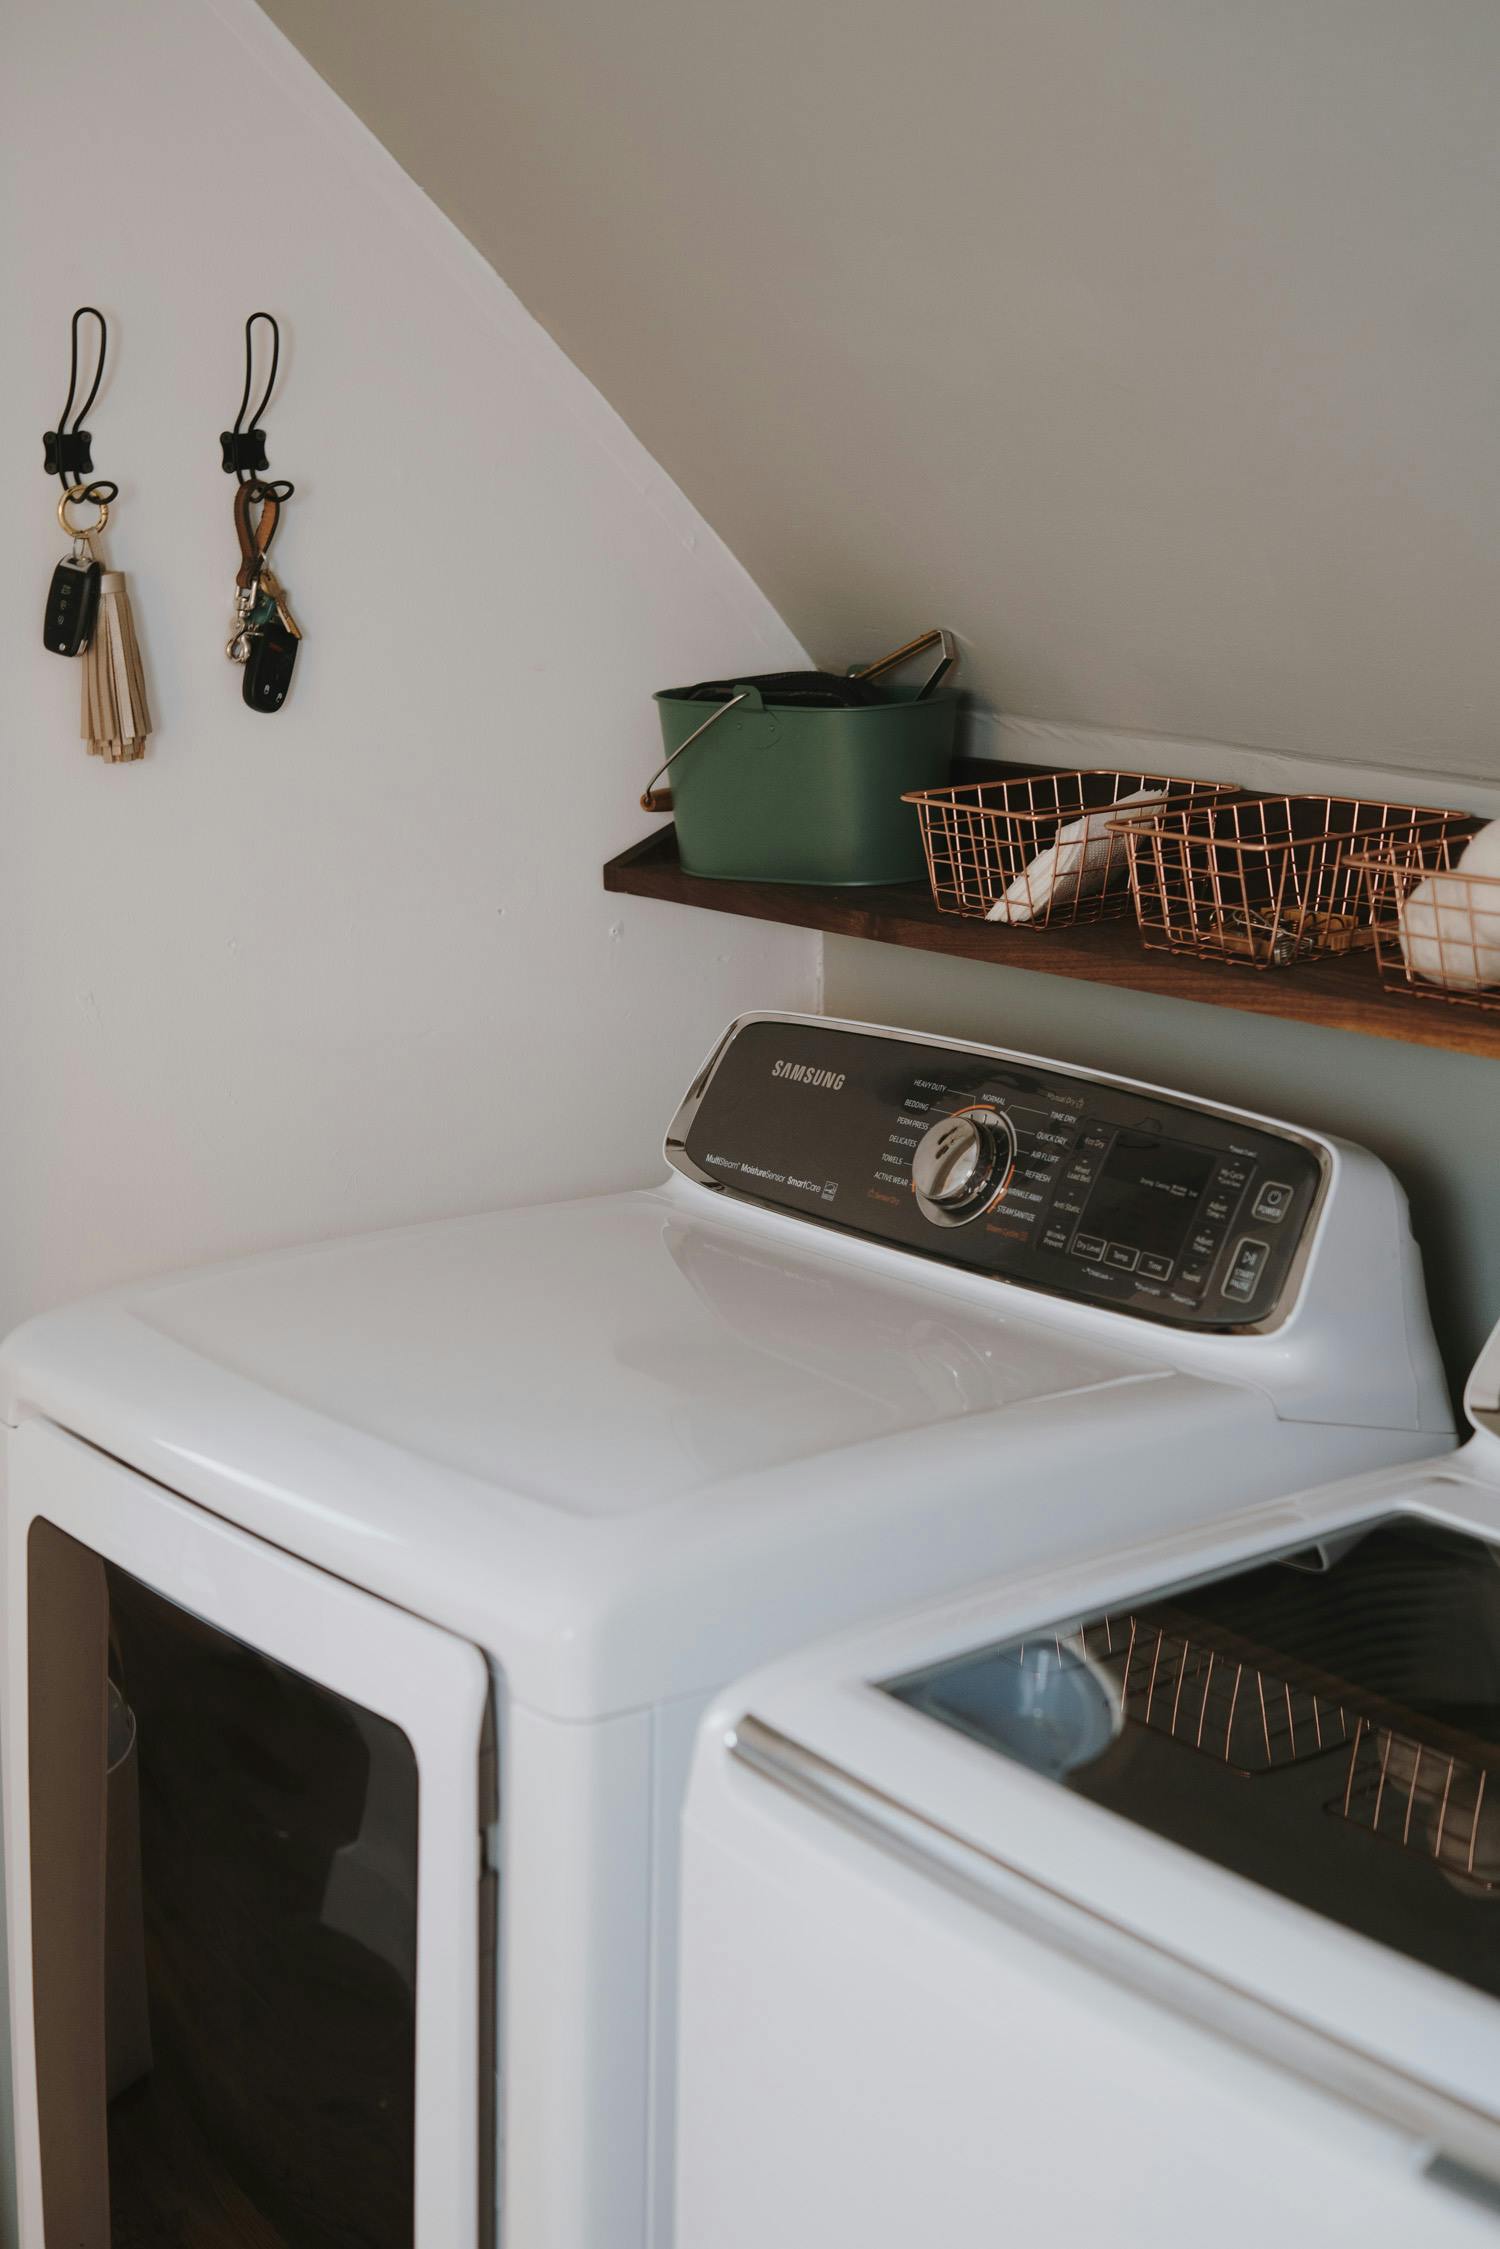
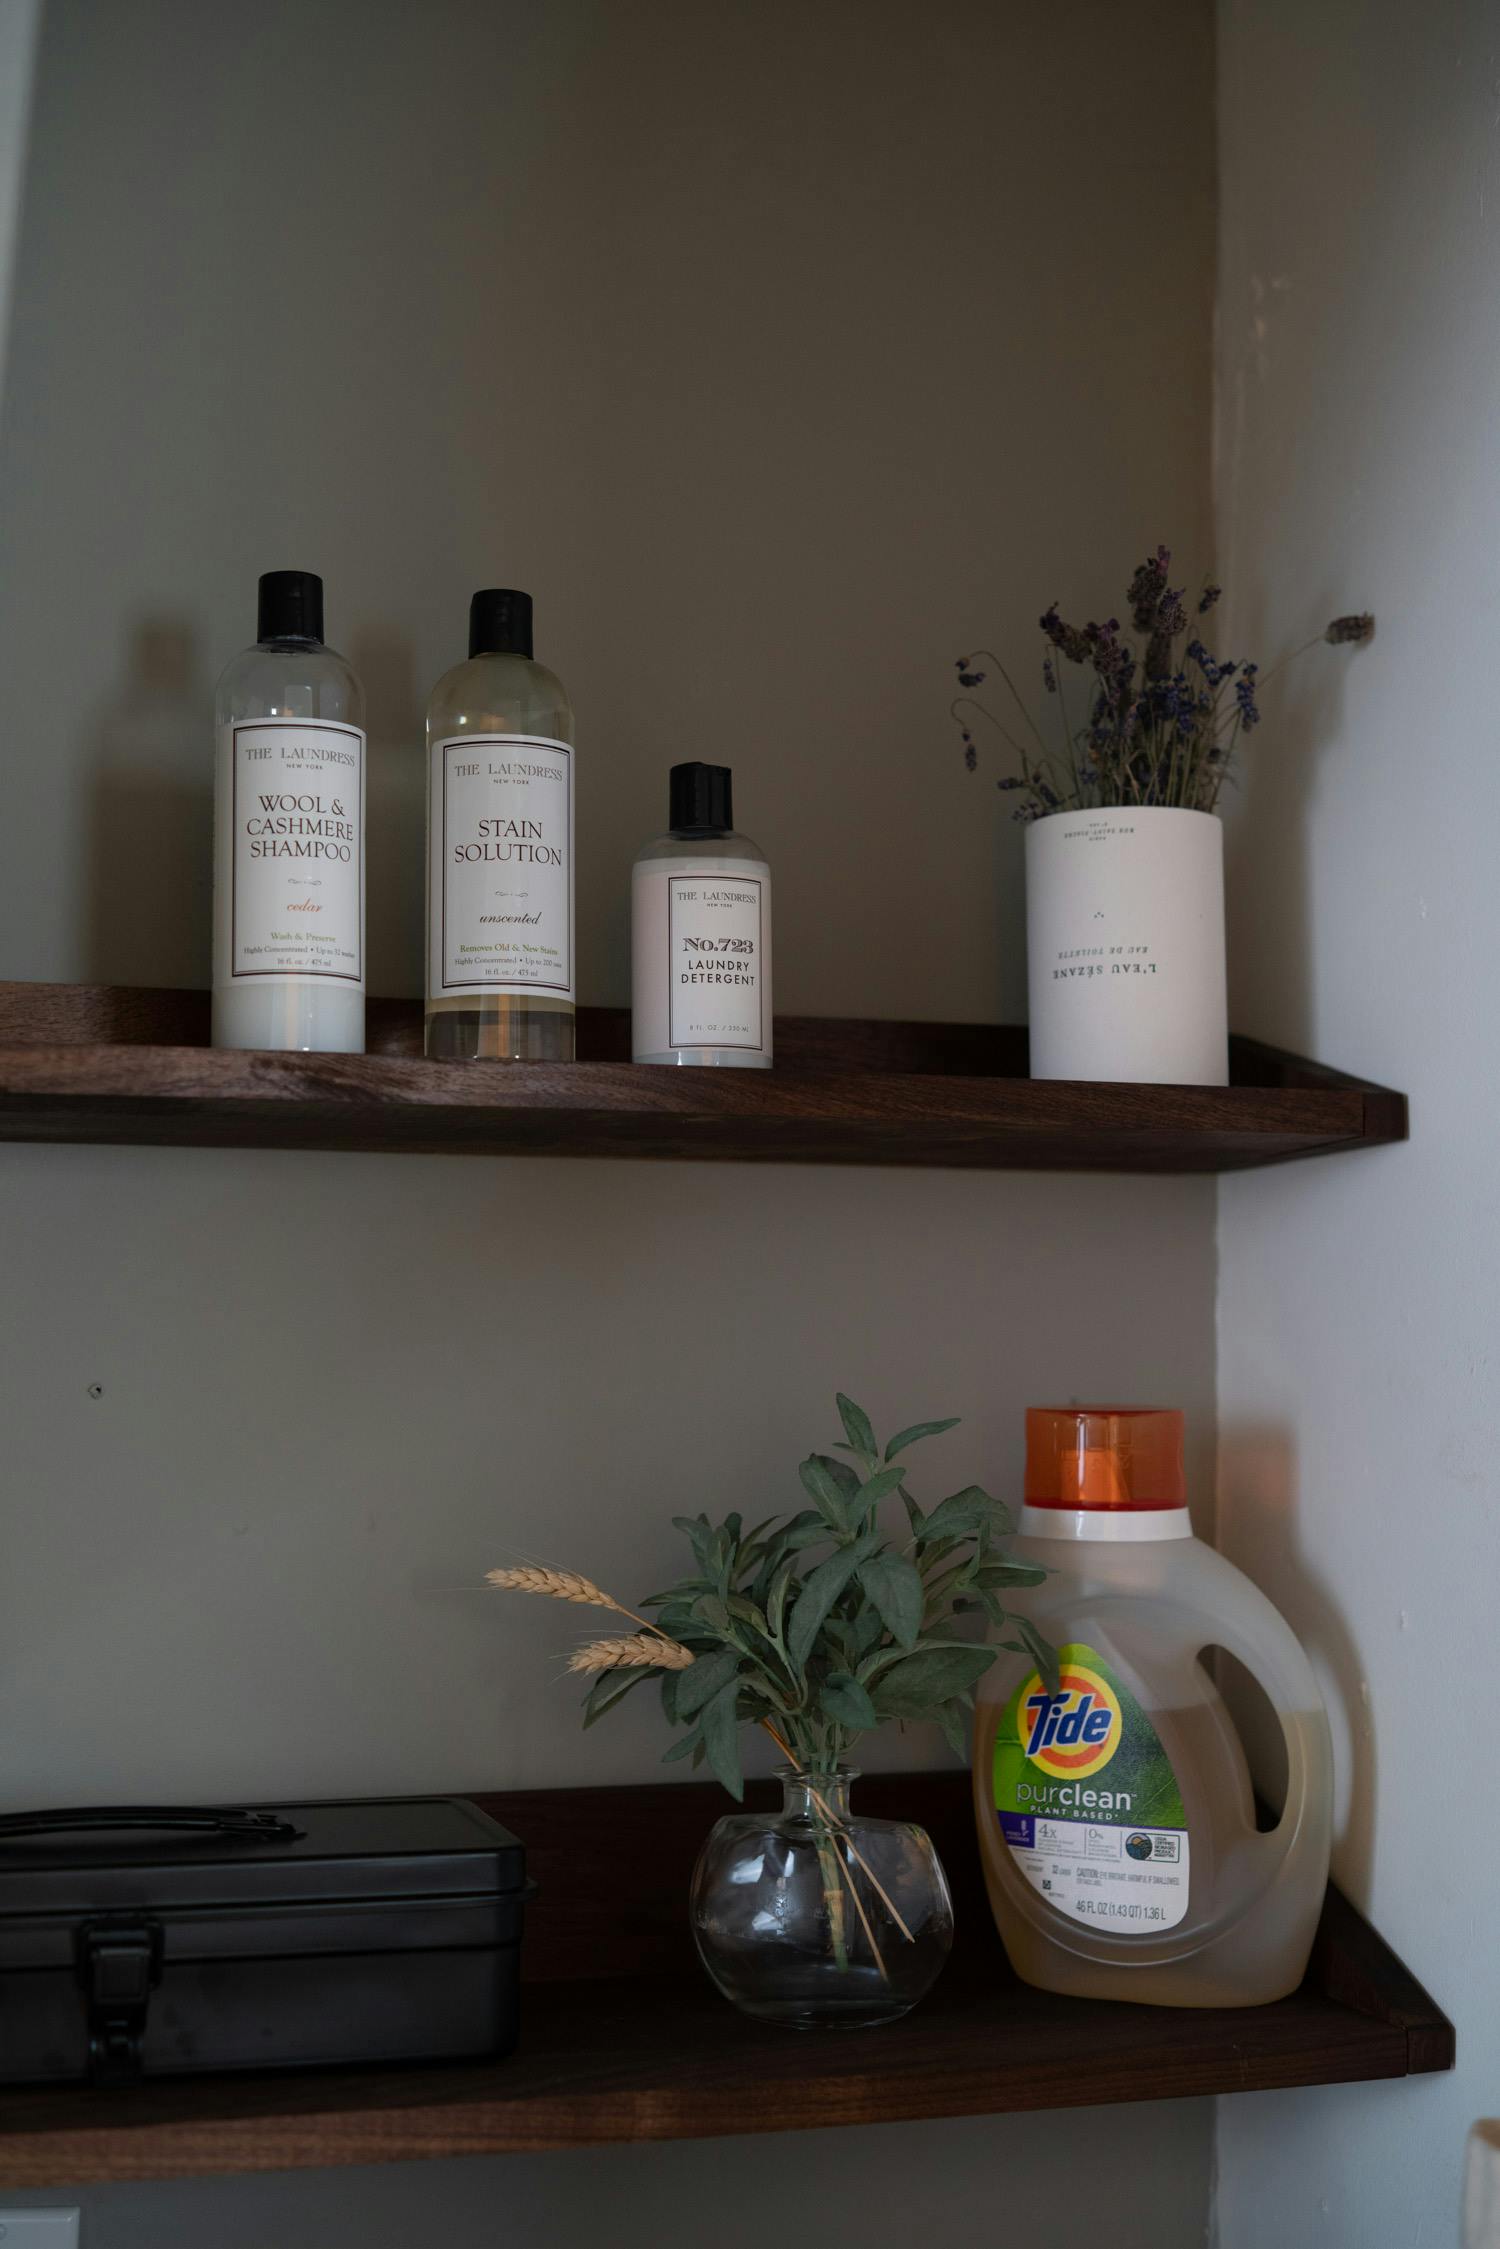
Walnut shelves were really a no-brainer because of the walnut shelving Lee built in the kitchen and dining room. Like I mentioned previously, the laundry nook is in the hall right off the living room and you can see it from the kitchen, so to have the tie-in of the walnut in this space is so perfect. We painted the back wall a grey/green that blends, but also stands out? Then black/gold accents balance and brighten the space.
Ultimately, it came together so seamlessly and has been one of our easier projects to assemble and knock out. The one tiny detail we're missing in these photos is new trim in the hallway/around the nook. We ordered trim back in June and just got it in a few days ago, so for these photos the new trim is not up, but that's our long weekend project.
Source List
We didn't need too much for this project and since we already owned the washer and dryer we probably spent $150 in total for the space – most of that was for the walnut shelf boards.
Building Materials
Walnut Boards -
Sourced locally. If you're from GVL th' Lumber Yard is our go-to for wood.
Walnut Stain
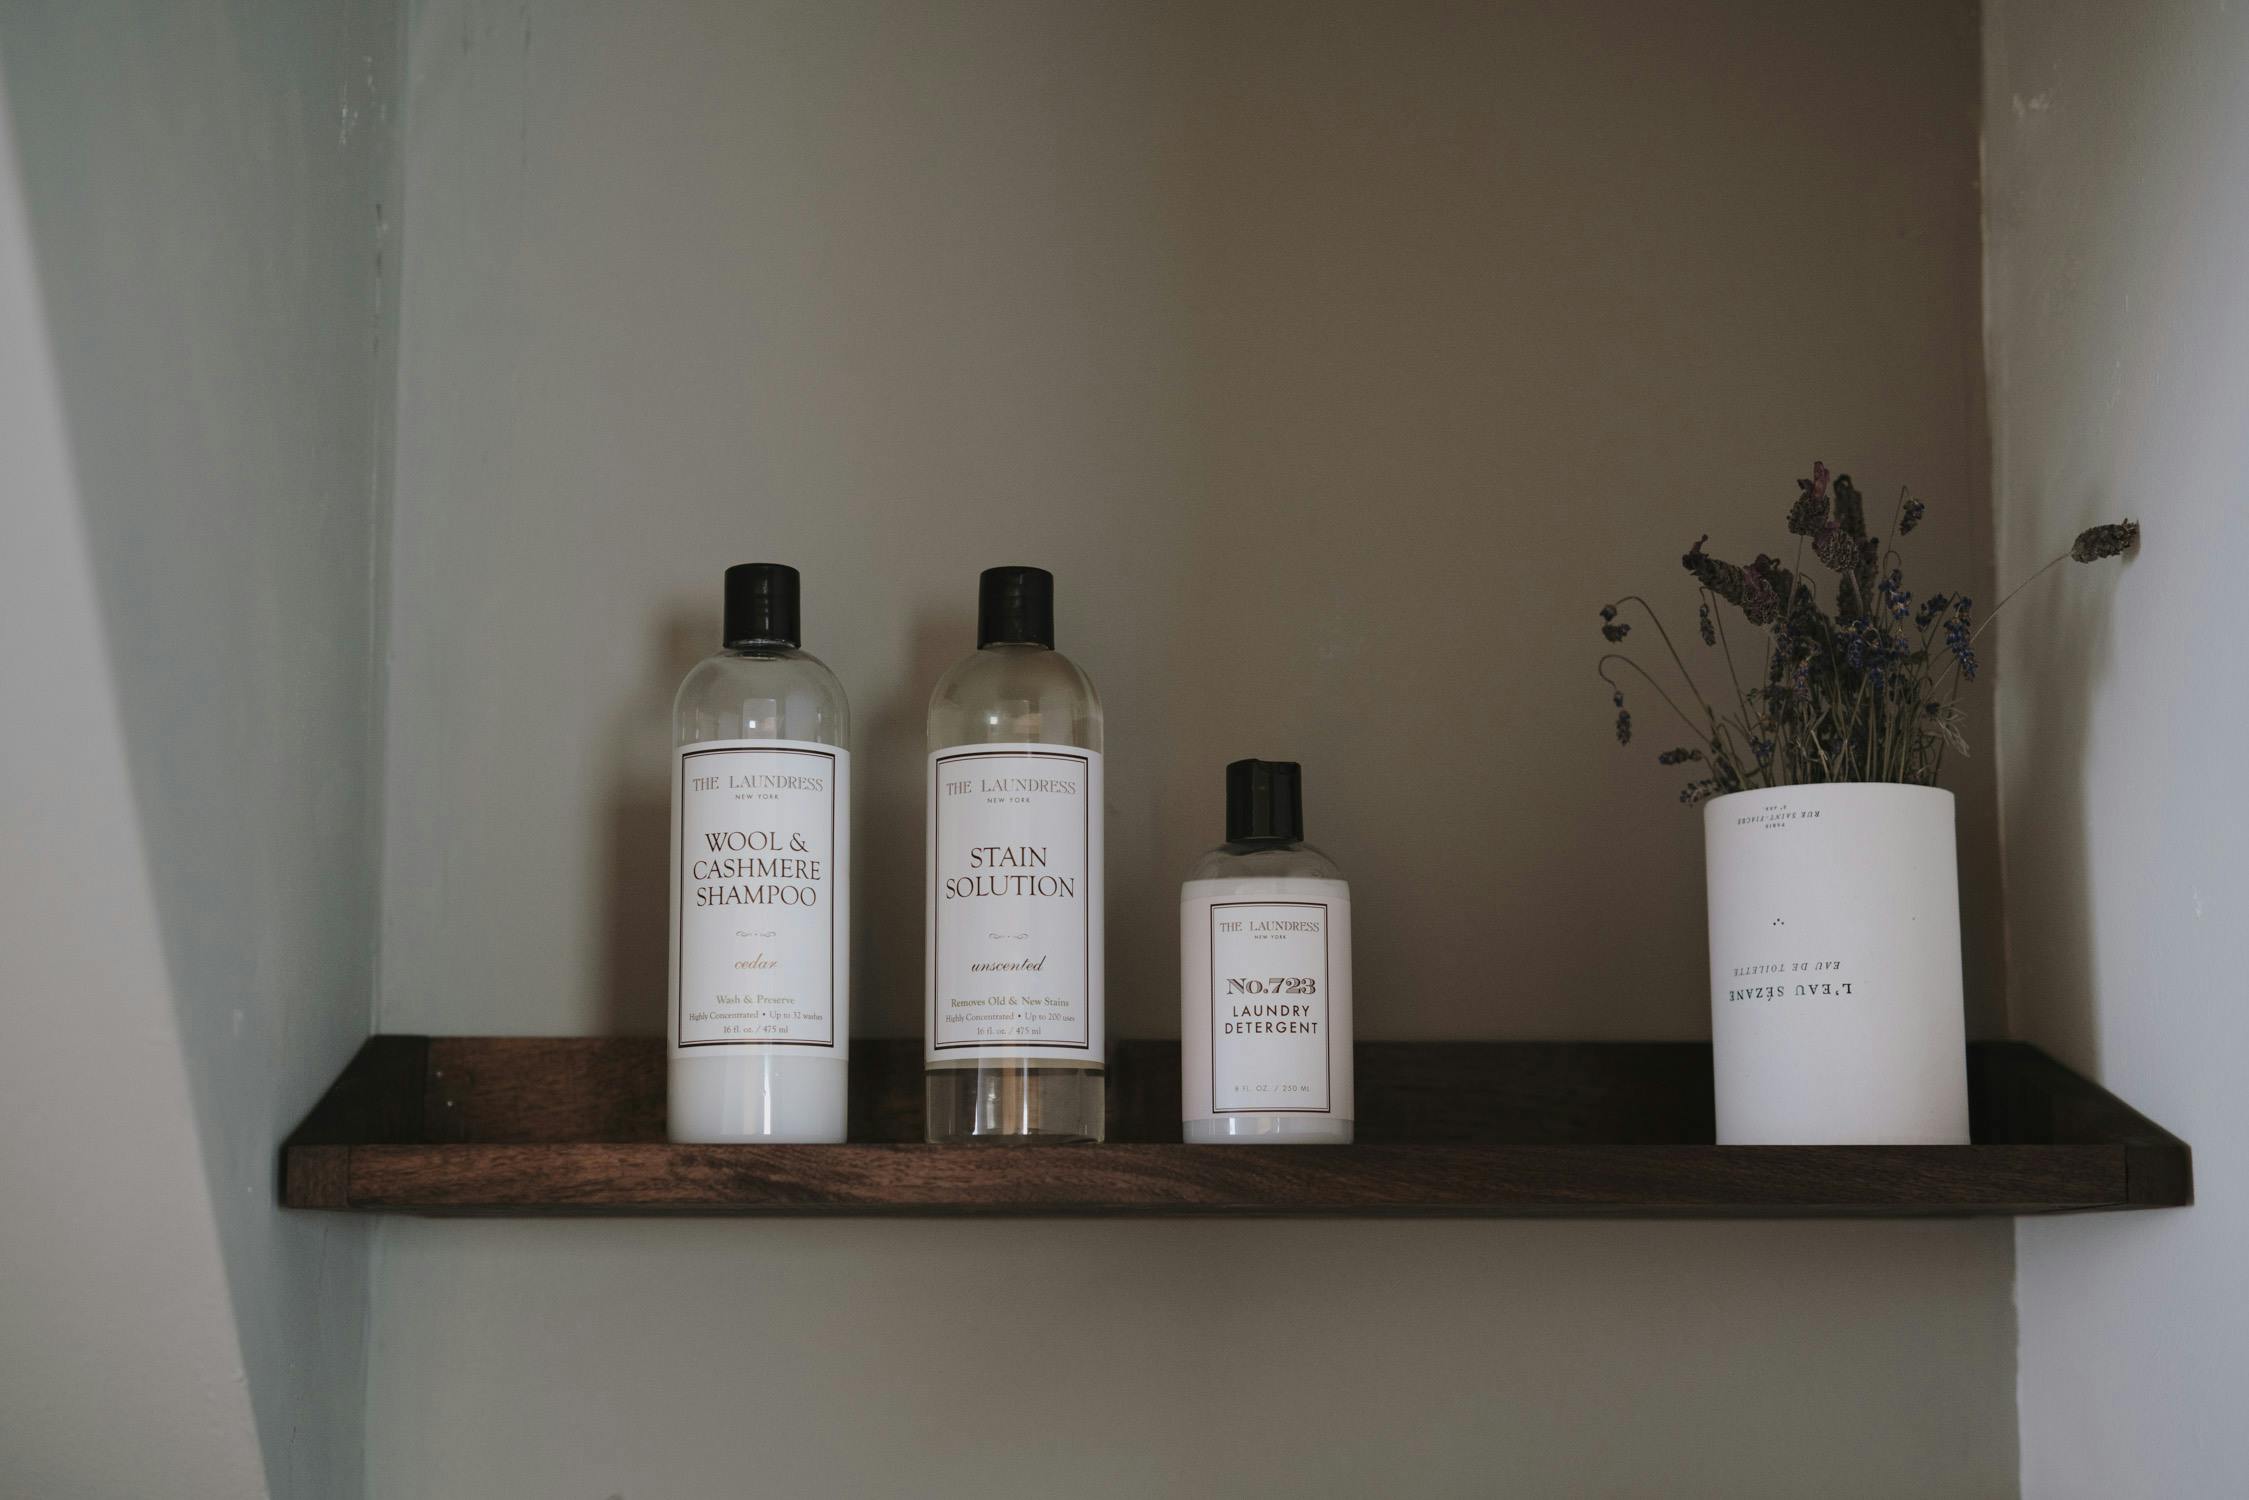
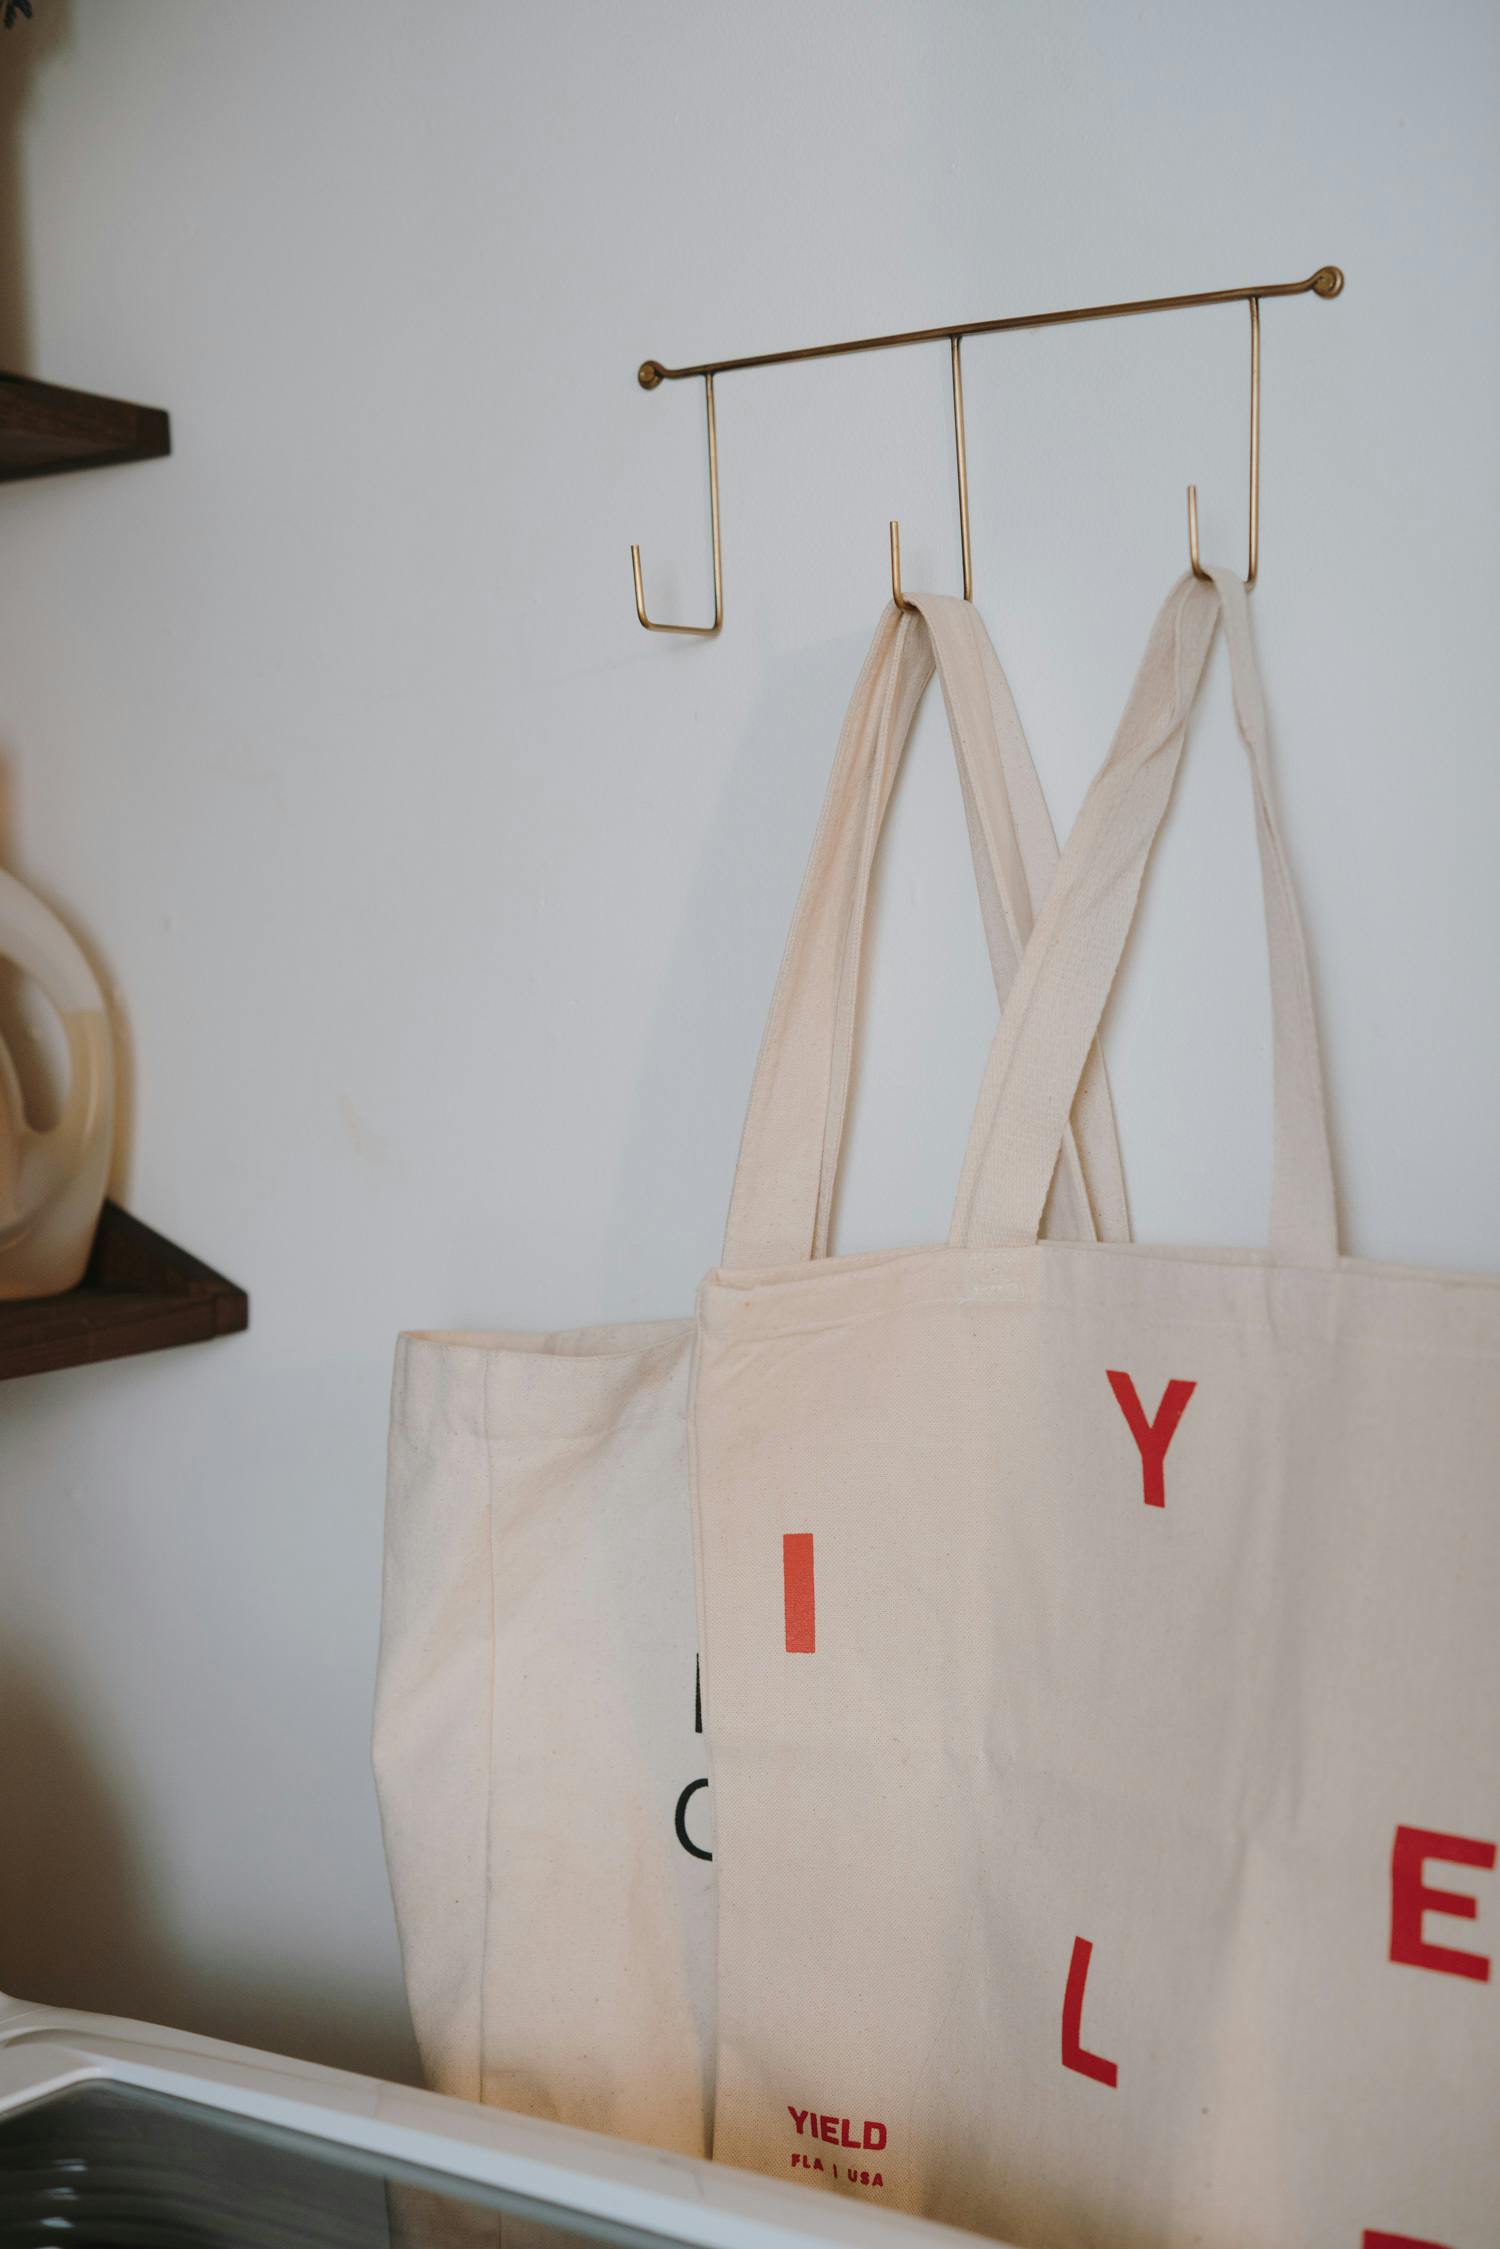
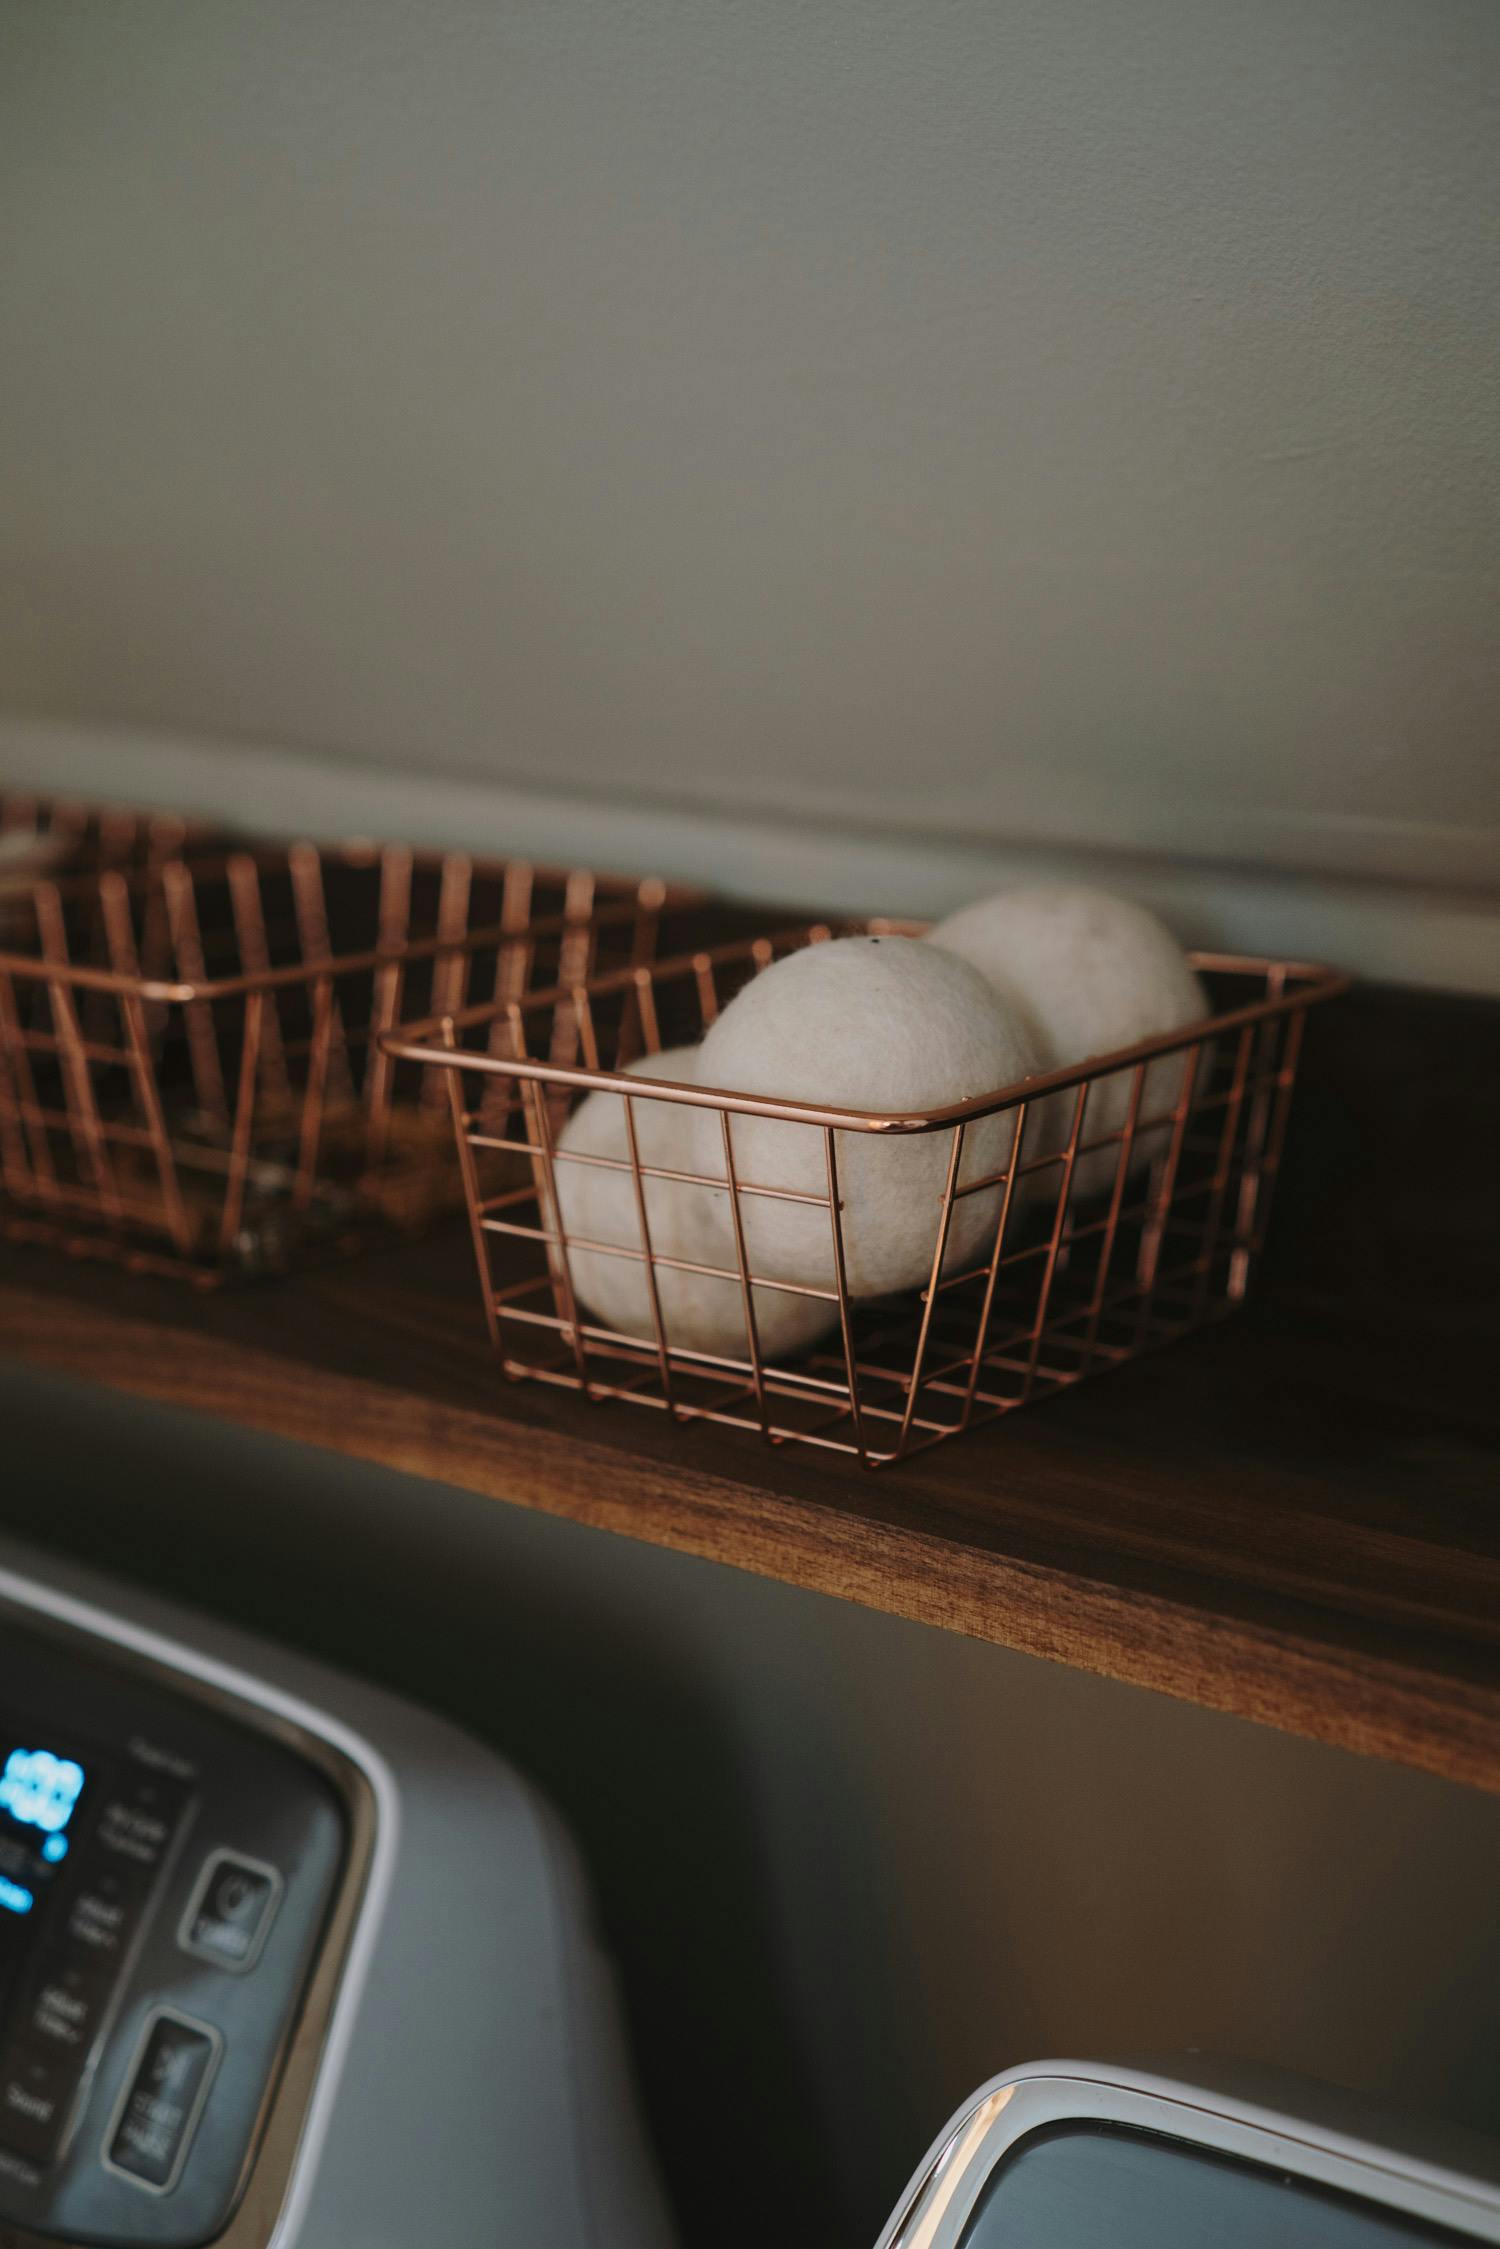
Accents & Decor